What is Phosphorus? Why it is important for Cannabis Cultivation

Have you ever stared at your cannabis plants and wondered why the leaves look a little off or why the buds just aren’t packing on the size you expected? You’re putting in all that work with lights, water, and care, but something feels missing. Well, let me tell you straight up – a lot of the time, it comes down to phosphorus. In Phosphorus cannabis cultivation, this nutrient acts like the secret power source that turns okay plants into absolute rockstars. You see, when you get phosphorus right, your plants get the energy and building blocks they need for strong roots, lush growth, and those dense, resin-covered buds that make harvest day so exciting.

So, stick with me here because I’m gonna walk you through every bit of it in plain, simple words. By the time you finish reading, you’ll feel confident adding the right amount of phosphorus to your setup. No fancy science talk, just useful stuff you can use right away in your grow tent or backyard. And hey, whether you’re growing indoors with a few pots or dreaming of a big outdoor harvest, this is gonna help you big time. Let’s kick things off with the basics and build from there, okay?
However, before we dive deeper, picture this little story. You pop some seeds, watch the sprouts push through the soil, and everything starts green and happy. Then one day, lower leaves start looking weird. That’s often your cue that phosphorus might be low. But don’t worry – once you know what to do, you fix it fast and watch your plants explode with growth. That’s the kind of win you’re after in Phosphorus cannabis cultivation, right?
What Exactly Is Phosphorus?

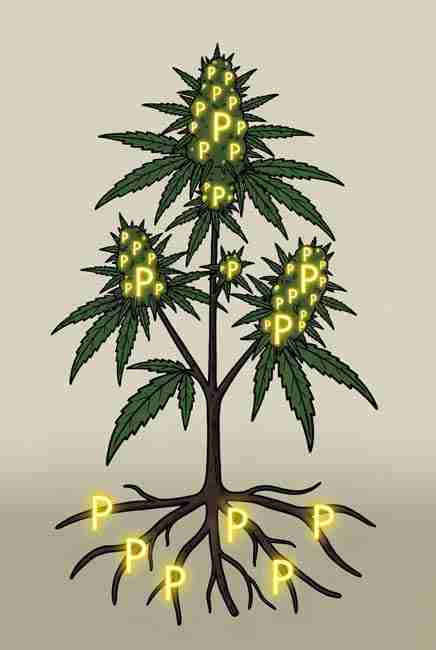
Okay, let’s keep this super easy like we’re chatting in the garden. Phosphorus is a natural element straight from the earth. Its symbol is P, and you find it in rocks, soil, and even old bones that break down over time. For your plants, though, it’s one of the big three nutrients alongside nitrogen and potassium. You see it listed as the middle number on fertilizer bags – that N-P-K thing.
Now, why does your cannabis care so much? Well, phosphorus works like an energy battery inside the plant. It helps make something called ATP, which is basically the fuel that lets the plant do all its jobs, from growing new leaves to creating flowers. In addition, it plays a huge part in building DNA and RNA – those are the instruction books that tell cells how to copy themselves and stay healthy. Without enough, the whole system slows down, kinda like a car trying to drive with a nearly empty tank.
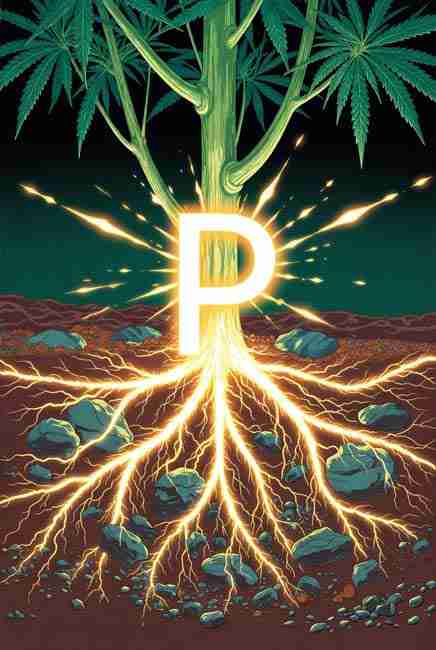
You know, in nature, phosphorus washes slowly from rocks into the soil. But in your grow, you often need to add a little extra because cannabis is a hungry plant that pulls it out fast. However, it doesn’t move around much once it’s in the soil, so you have to place it where the roots can reach it easy. That’s a key point for success in Phosphorus in cannabis growing.
Meanwhile, think about how it teams up with other stuff. It helps turn light into food during photosynthesis by handling the energy part. Oh boy, when levels are good, your plants just look stronger overall – thicker stems, deeper green color, and roots that spread out like crazy. But if it’s missing, problems show up quick, and we’ll cover that soon so you can spot it early.

After all that, you start to see why phosphorus isn’t just another nutrient. It’s the one that powers flowering and makes your harvest worth all the effort. So, in your Cannabis Cultivation using Phosphorus, always keep an eye on it from seed to chop.
Why You Should Use Phosphorus for Cannabis Cultivation Using Phosphorus
So, why bother adding phosphorus on purpose? Because it delivers the kind of results that make you smile ear to ear at harvest, that’s why! In Phosphorus cannabis cultivation, it boosts root growth right from the start so your plants can drink up water and food better. Strong roots mean the whole plant stays happy even when conditions aren’t perfect.
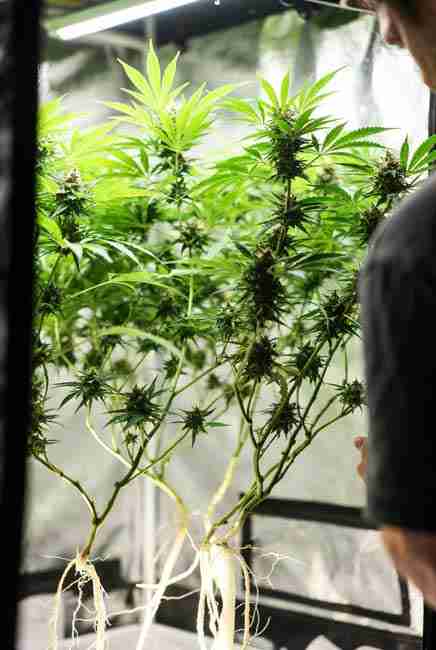
For example, imagine you’re in week two of veg and your little plants are stretching nicely. With good phosphorus, those roots branch out deeper and wider, grabbing more of what they need. Then, when you switch to flowering, phosphorus really shines. It helps the plant create more flower sites and turns those sites into fat, heavy colas full of resin. You will notice the buds get denser and the trichomes sparkle more because the energy is there to support it all.
On the other hand, without enough, your yield drops and the buds stay airy and small. Many growers, just like you, see 20 to 30 percent bigger harvests when they dial in phosphorus during bloom. Wow, that’s a huge difference from the same strain and setup!
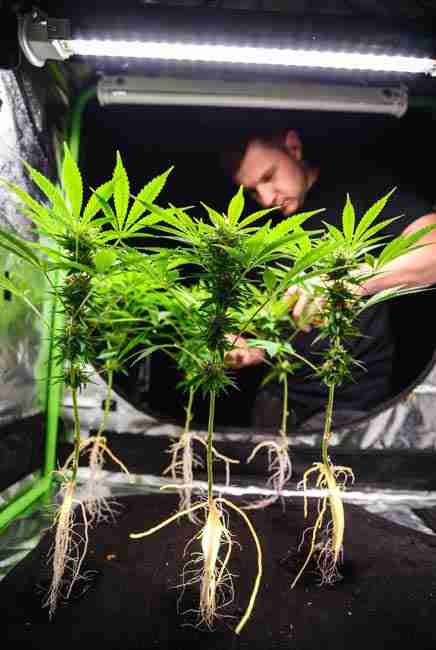
In addition, phosphorus makes your plants tougher. They handle small temperature dips or light stress better and fight off minor pests easier. Therefore, you spend less time worrying and more time enjoying the grow. However, remember balance is everything. Too little hurts, but too much can lock out other nutrients like zinc or iron, so you always watch and adjust.
Next, let’s look at how it fits into the whole life cycle because timing matters a ton in Phosphorus in cannabis growing.
How Phosphorus Helps Across Every Growth Stage
Hey, cannabis changes what it needs as it grows, and phosphorus changes with it. In the seedling stage, a gentle amount helps those baby roots push out fast so the plant anchors itself strong. You don’t need heaps here, but skimping means weak starts that show up later.

Then in vegetative growth, it keeps cell division going so leaves and stems build up nice and thick. The plant uses it to stay energetic while making all that green growth. However, the flowering stage is where phosphorus becomes the superstar. When you flip the lights, the plant shifts from making leaves to making buds, and it needs lots of energy for that. Phosphorus delivers exactly that energy.
For instance, in early flower the buds start forming, and good phosphorus makes more of them and keeps them swelling week after week. By mid flower, the colas get rock-hard and resin production ramps up. You see, the plant is using phosphorus to move sugars and build the structures inside each bud. Late flower, you ease off a bit so the plant can finish ripening clean.

Meanwhile, if you keep levels steady through all stages, the transition feels smooth with no stalling. That’s why experienced growers ramp phosphorus up right around the flip and keep it high through the middle of bloom. Oh, and for autoflowers, you start the boost a little earlier since they flower fast.
After seeing how it works stage by stage, you realize why so many people call it the bloom booster. It truly turns good plants into great ones when you use it smart.
Spotting When Your Plants Need More Phosphorus
One of the best skills you can learn is reading your plants like a book. Phosphorus problems usually show first on the older, lower leaves because the plant moves what it has up to the new growth and buds. So, keep an eye down there.

At first, leaves turn a darker green or even bluish. Then purple or reddish colors creep in on the edges or stems. Next, you might see bronze or brown spots and splotches that look a bit sunken. The leaves can curl downward at the tips and feel kinda stiff or thick. Growth slows way down, new leaves stay small, and in flower the buds don’t fill out like they should. Stems often turn bright red or purple too, though some strains do that anyway.
For example, suppose you’re in week five of flower and notice lower fan leaves going purple with spots while buds stay loose. That’s a classic cry for more phosphorus. Meanwhile, the plant might look stunted overall and more prone to other issues because it’s weak. However, cold soil below 60 degrees can mimic some signs, so always check temperature and pH first.
Here’s a useful list to help you remember the main clues:

- Older lower leaves turning dark green or bluish
- Purple or red tints on leaf edges and stems
- Bronze, brown, or blackish spots and patches
- Leaves curling down and feeling stiff
- Slow or stopped new growth
- Small, airy buds instead of dense ones
- Weaker stems that bend easily
- Overall smaller plant size than expected
Wow, spotting these early lets you fix things before yield takes a big hit. Always double-check by testing runoff pH and EC so you know the real cause.
Fixing Phosphorus Shortages Step by Step

Caught the signs? Great – you can turn it around quick. First, test the pH of your runoff or reservoir. If it’s too high or low, phosphorus gets locked out even if plenty is there. In soil, aim for 6.2 to 7.0. In hydro or coco, keep it 5.5 to 6.2. Adjust slowly with pH up or down products and wait 24 hours before testing again.
Once pH is good, add a phosphorus-rich feed at half strength to start. Water it in thoroughly so it reaches the roots. For organic grows, a bone meal tea or bat guano mix works wonders. Synthetic bloom boosters give fast results too.
Then, keep the root zone warm and give good oxygen with proper watering – never let pots sit soggy. Within five to seven days, new growth should look healthy and green again. Old leaves might not recover fully, but that’s normal; the plant focuses energy on the top.
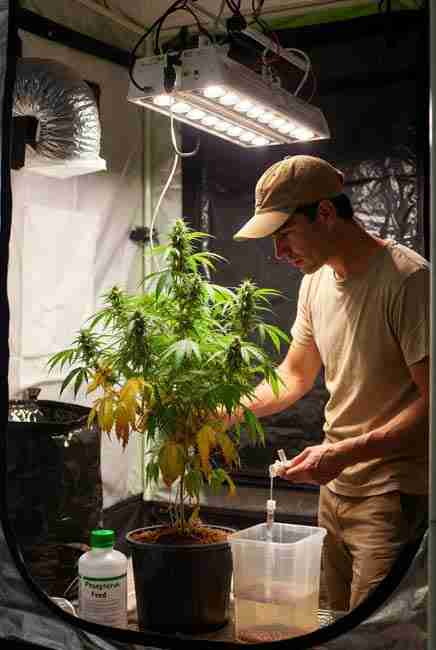
However, if the problem was severe, you might need a light foliar spray with a chelated phosphorus product, although roots are the main way it gets in. After that, monitor daily and adjust slowly. You’ll see the difference in bud development soon, and your yield will bounce back strong.
Best Ways to Supply Phosphorus to Your Plants
Now for the fun part – actually giving it to your plants! You have tons of choices, so pick what fits your style.
Organic options build living soil and often give smoother flavor in the end. Bone meal releases slowly over weeks and is perfect mixed into soil at transplant. Bat guano, especially the high-phosphorus kinds, acts faster and adds beneficial microbes. Rock phosphate lasts even longer and improves soil structure over time. You can also brew compost teas with these for gentle feeding.
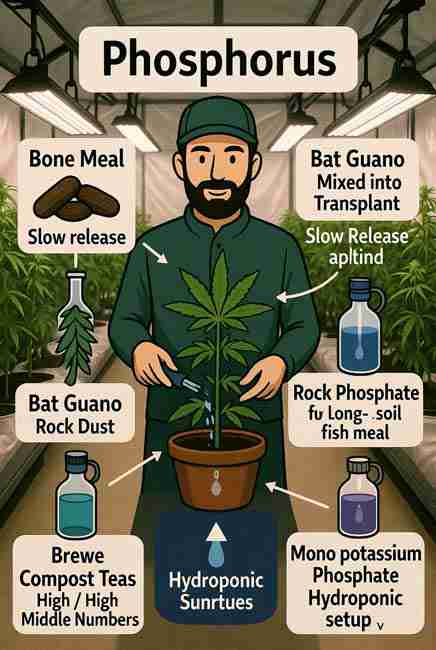
Synthetic sources let you control exact amounts. Bloom formulas with high middle numbers like 1-3-2 or additives such as mono potassium phosphate give an instant boost. They’re great for hydro where you need quick uptake.
Here’s a handy table to guide your NPK choices across stages:
| Growth Stage | Suggested N-P-K Ratio | Phosphorus Level | Notes for You |
|---|---|---|---|
| Seedling | 2-1-2 | Low | Focus on root start |
| Vegetative | 3-1-2 | Moderate | Build structure |
| Early Flower | 1-3-2 | High | Bud sites form |
| Mid Flower | 1-4-3 | Peak | Swell those colas |
| Late Flower | 0-2-3 | Taper | Finish clean |
| Flush | 0-0-0 | None | Clean for smooth smoke |
Use this as a starting point and watch your plants – they will tell you if they want more or less.
Pros and Cons of Adding Extra Phosphorus
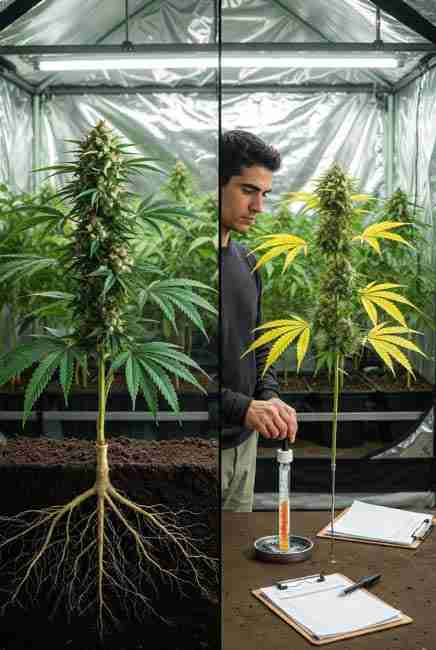
Like anything in growing, there are upsides and downsides. Let’s look at them honestly so you can decide smart.
Pros include bigger, denser buds that weigh more at harvest. Roots get massive, so nutrient uptake improves across the board. Plants use energy better, leading to higher resin and often better potency. They also handle stress better and finish stronger. Overall, your Cannabis Cultivation using Phosphorus becomes more rewarding with less disappointment.
Cons pop up if you go overboard. Too much phosphorus can lock out micronutrients, causing yellow tips or weird spots. It builds up in soil and can harm beneficial life over time. Runoff hurts waterways, so you want to be careful with amounts. Some synthetic options cost more and need flushing at the end. Organic ones work slower, so you plan ahead.
However, most of these cons disappear when you measure, test, and stay balanced. The pros win hands down for most growers who use it right.
pH, Temperature, and Other Tricks That Help Phosphorus Work Better

pH is the boss when it comes to phosphorus. Out of range, your plants can’t grab it no matter how much you add. Keep soil sweet between 6.2 and 7.0 and hydro around 5.5 to 6.2. Test often because water and nutrients can shift it.
Temperature matters too. Cold roots below 60 degrees slow uptake big time, so use heat mats if needed. Good airflow and the right humidity keep everything moving smoothly. Overwatering drowns roots and cuts oxygen, which hurts phosphorus absorption. So water when the top inch dries out.
In addition, adding mycorrhizal fungi to your soil creates a partnership that helps roots find phosphorus better. It’s like giving your plants underground helpers.
Different Setups and How Phosphorus Fits In
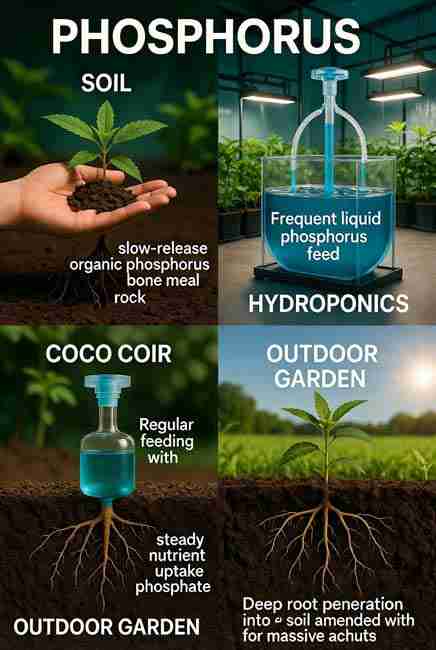
Whether you grow in soil, hydro, or coco, phosphorus still does the same jobs but you apply it differently. Soil holds it longer, so slow-release organics work great. Hydro needs liquid feeds changed often for steady levels. Coco sits in between and loves frequent feeding. Outdoor gardens benefit from rock phosphate mixed deep for long-term supply.
No matter the method, the goal stays the same – happy roots taking up the right amount at the right time for massive results in Phosphorus cannabis cultivation.
Real Grower Tips You Can Use Today
Picture yourself checking your plants each morning. You notice a slight purple tint on a lower leaf, test pH, fix it, add a bloom booster, and five days later new growth looks perfect. That’s the kind of confidence you gain. Start small, observe, and adjust – that’s how you become a pro.
Frequently Asked Questions About Phosphorus Cannabis Cultivation

What is phosphorus and why does it matter so much?
Phosphorus is the energy nutrient that helps plants make ATP, build DNA, and create flowers. In Phosphorus cannabis cultivation it means stronger roots early on and huge, dense buds later. Without it, growth stalls and yields drop, but with the right amount everything thrives.
How do I spot phosphorus deficiency fast?
Look for dark or purple older leaves, curling, spots, and slow growth starting from the bottom. Stems may turn red or purple too. Check pH first because lockout mimics deficiency even when phosphorus is present.
When should I start adding more phosphorus?
Ramp it up around the light flip to 12/12 or two weeks before for autos. Keep it high through mid flower, then ease back near harvest so the plant finishes clean.
Can I use too much phosphorus?
Yes, excess can block other nutrients and cause imbalances or environmental issues from runoff. Always start low, observe your plants, and use the table as a guide rather than dumping heavy doses.
What are the best organic sources for home growers?
Bone meal for slow steady release, bat guano for quicker action, and rock phosphate for long-term soil building. Brew teas from these for gentle feeding that also feeds soil life.
What’s the perfect pH range for phosphorus uptake?
Soil grows do best at 6.2 to 7.0 while hydro and coco like 5.5 to 6.2. Stay in the sweet spot and test runoff weekly so availability stays high.
Does phosphorus affect bud potency or just size?
It supports overall health and energy, which leads to better resin production and often higher quality buds. Healthy plants with good phosphorus simply make more of the good stuff.
How is phosphorus different in hydro versus soil? Hydro gives fast control with liquid nutrients but needs frequent changes to avoid buildup. Soil holds phosphorus longer, so you use slow-release types and top dress less often. Both work great when you match the method to your setup.
There you go – now you have everything you need to make phosphorus your grow’s best friend. Go try these ideas in your next cycle, watch your plants respond, and enjoy those bigger, better harvests.