The Kratky Method for Cannabis: Passive Hydroponics Without Pumps or Electricity


Hey follow growers you know that feeling when you just want to kick back and watch your cannabis plants thrive without fussing over pumps, timers, or electricity bills? Well, the Kratky method for cannabis delivers exactly that. Picture yourself setting up a simple bucket system once, filling it with nutrient water, and then walking away for weeks while your plants do their thing in this no-pump hydroponics marijuana setup. It sounds almost too good to be true, right? But wait, it gets even better – this passive hydroponics cannabis approach works wonders for beginners who want to dip their toes into hydro without the complicated gear.
You might wonder why anyone would bother with kratky hydro weed when traditional soil grows feel so familiar. However, once you try the Kratky method cannabis, you will see how it cuts down on daily chores and boosts growth speed in the right conditions. And since you are reading this in 2026, now is the perfect time to grab some autoflower seeds and test a Kratky cannabis setup that fits small spaces or stealth grows. But hey, let us not jump ahead. First, you need to understand exactly what makes this system tick and how you can make it work like a charm for your marijuana plants.
What Exactly Is the Kratky Method for Cannabis?
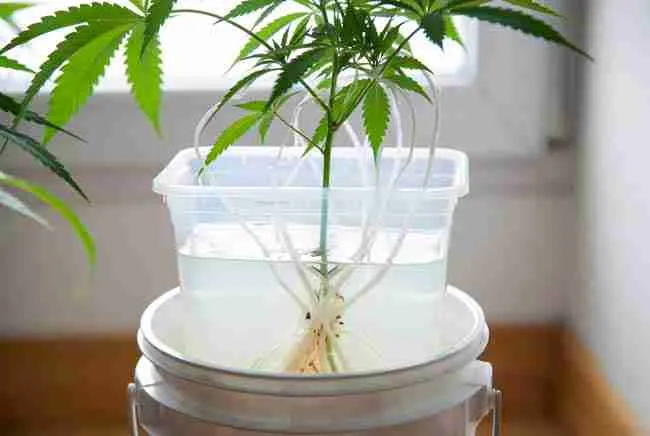
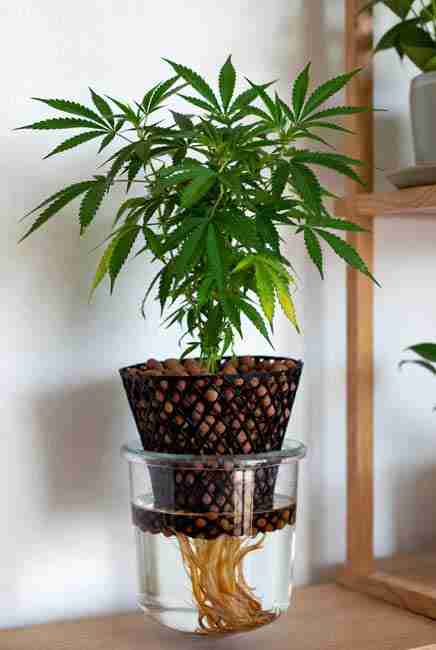
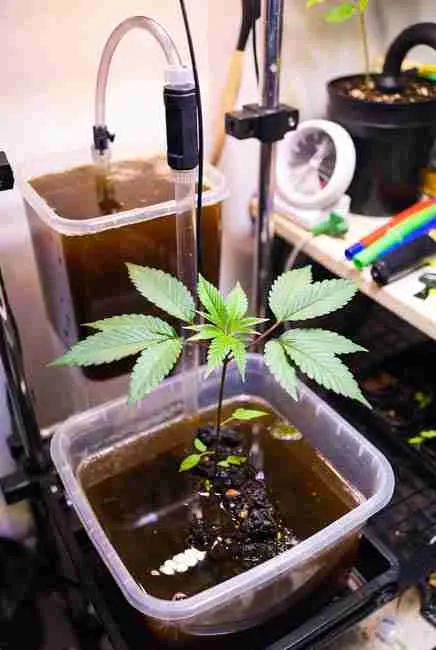
You start with a basic idea dreamed up by Dr. Bernard Kratky years ago for growing lettuce. However, clever growers like you have adapted it for cannabis, turning it into one of the easiest forms of passive hydroponics cannabis around. In simple terms, you suspend your plant in a net pot above a reservoir of nutrient-rich water. The roots dip in at first, and as the plant drinks and the water level drops, an air gap forms naturally. Your cannabis roots then split their time between sipping nutrients and grabbing oxygen from the air – no air stones needed, no electricity required.
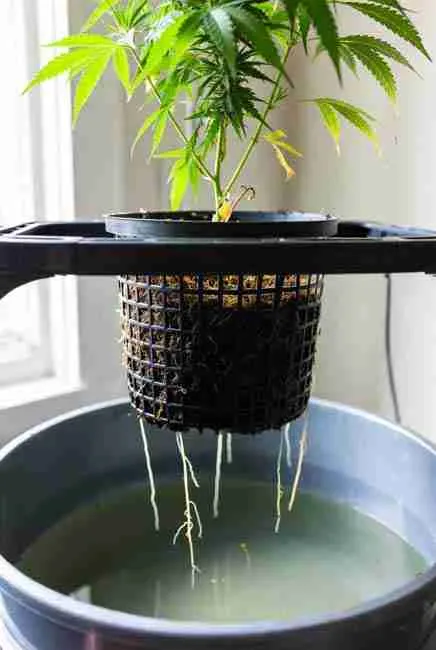
For example, you pop a seedling into the top of a 5-gallon bucket, fill it almost to the brim with your mixed nutrients, and seal the lid tight. Then you just watch. But wait, you cannot treat cannabis exactly like lettuce because weed grows bigger and sticks around longer. So you tweak things a bit, and suddenly you have a beginner hydroponics without air stones system that actually delivers decent buds. Many folks in 2026 swear by the Kratky cannabis setup for autos because those finish fast before the water runs out or pH swings too wild.
Why Passive Hydroponics Cannabis Makes Sense for You Right Now
You probably hate lugging around heavy pumps or dealing with power outages that kill your whole crop. Well, with no pump hydroponics marijuana like the Kratky method, those worries vanish. You save money on electricity, and you free up time for other fun stuff – maybe planning your next seed order or just relaxing. Plus, the system stays super quiet, which helps if you grow in an apartment or shared space.
However, the real magic happens when you combine this with autoflowering strains. You know how autos flip to flower on their own after just a few weeks? They fit the Kratky timeline perfectly before you need to top off the reservoir. And since you want big, sticky buds without constant babysitting, the passive hydroponics cannabis approach gives your roots constant access to food while the dropping water level keeps oxygen flowing. You end up with faster veg growth and surprisingly good yields for such a simple setup.
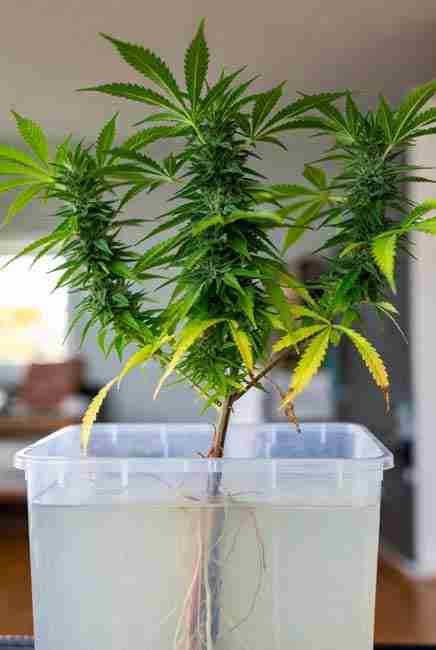
But hold on – you still need to pick the right strains. Fast-finishing autos or compact indicas shine here, while long-running sativas might push the system too far. So you start small, learn the ropes, and then scale up. In 2026, with better nutrient formulas available everywhere, the kratky hydro weed method has never been easier for home growers like you.
Gathering Your Materials for the Perfect Kratky Cannabis Setup 2026
Before you dive in, you need the right stuff. Luckily, you probably already have most of it lying around or can grab it cheap at any garden store. Here is the full list so you do not miss a single thing:
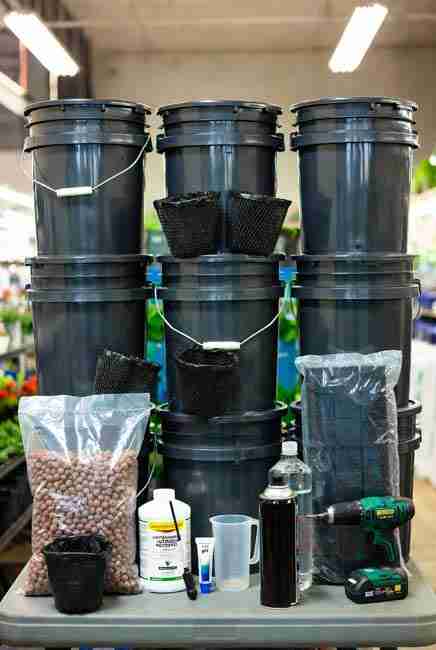
- One or more 5-gallon (or larger) opaque black buckets or totes to block light and stop algae dead in its tracks
- Net pots that fit snug in the bucket lid – start with 3-inch or 5-inch sizes
- Clay pebbles or expanded shale for anchoring your plant in the net pot
- Rockwool cubes or starter plugs for germinating your seeds
- Hydroponic nutrients designed for cannabis (two-part veg and bloom formulas work great)
- pH test kit or meter plus pH up and down solutions
- Measuring spoons or cups for mixing nutrients
- Black spray paint or duct tape if your bucket is not already light-proof
- A drill or sharp knife to cut holes in the lid
- Distilled or RO water to start clean (tap water works after you let it sit)
- Optional but handy: a small airstone and battery pump for emergency oxygen boosts during flower
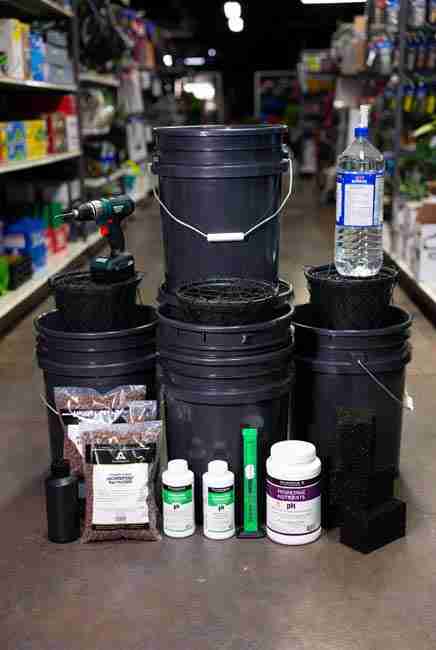
You see how simple this is? No fancy timers or expensive pumps clutter your space. You spend maybe $30 total for your first Kratky cannabis setup, and then you are good to go for multiple grows. However, always buy extra net pots because you will want to experiment with different strains.
Step-by-Step Guide to Building Your No Pump Hydroponics Marijuana System
You ready to build? Great – follow along and you will have your first passive hydroponics cannabis system running in under an hour.
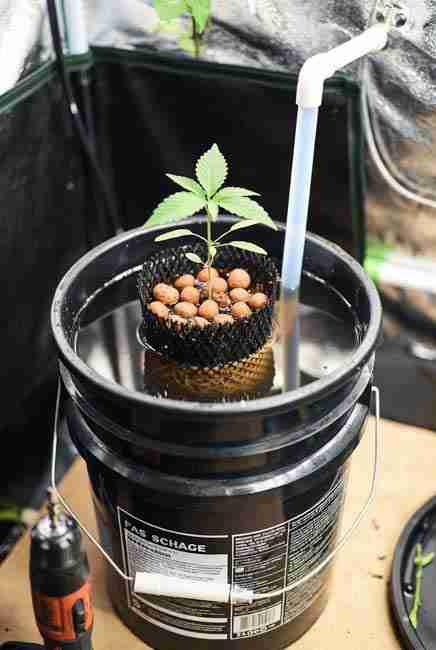
First, take your bucket and drill or cut a hole in the lid big enough for your net pot to sit securely without falling through. Next, paint the whole bucket black or wrap it in duct tape so zero light sneaks in – algae loves light, and you do not want that mess. Then fill the bucket with your nutrient solution mixed to a mild strength (more on that soon). Leave about an inch of air space at the top.
Now grab your seedling that has a couple of true leaves. Gently place it in the net pot surrounded by clay pebbles so the roots just touch the water surface. Pop the net pot into the lid hole, seal any gaps with foam or tape, and you are done. But wait, you must check the water level every few days at first. As roots grow down, the level drops naturally, creating that perfect air zone.
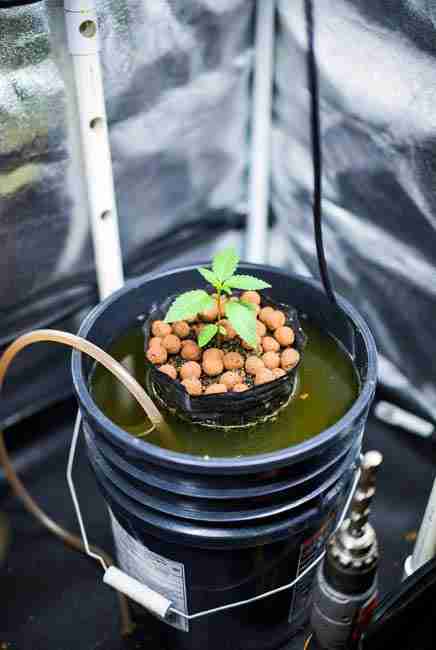
For bigger plants, you use a 10-gallon tote and multiple net pots. However, start with one plant per bucket until you get the hang of it. In 2026 many growers add a simple PVC fill tube so you can top off without disturbing roots – super handy during flowering when your cannabis drinks like crazy.
How the Kratky Method Actually Works Inside Your Cannabis Plants
You probably want to know the science without the boring textbook stuff. Here is the easy version: your cannabis roots start out fully submerged, soaking up water and food. As the plant grows taller and thirstier, the water level drops. The top part of the roots now sits in air, grabbing oxygen, while the bottom tips keep drinking. You never need to add more water until harvest or until the bucket runs low.

However, cannabis changes its appetite big time when buds form. That is why you might top off with a weaker solution early on and then switch to bloom nutrients later. The beauty of this kratky hydro weed system is that the roots do the work themselves – no pumps pushing water around. And since no electricity runs, you can even hide your setup in a closet or under a desk.
But here is a pro tip you will love: keep the reservoir big. A tiny jar works for herbs, but for cannabis you want at least 5 gallons per plant so the nutrients last the whole cycle without wild swings in pH or EC. You know what I mean – stable conditions equal happy plants and fat colas.
Nutrient Tips That Make Your Passive Hydroponics Cannabis Thrive
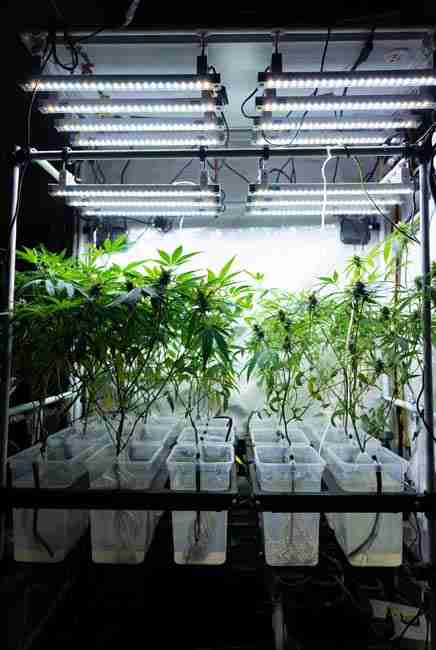
Nutrients make or break any hydro grow, and the Kratky method is no different. You start seedlings at super low strength – think 0.6 to 0.8 EC and pH 5.8 to 6.2. Then you ramp up slowly as your plant hits vegetative stage. During flower you push phosphorus and potassium higher, but you still keep things balanced so roots stay healthy.
Here is a handy table you can copy and use right away:
| Growth Stage | EC Level | pH Range | What to Focus On |
|---|---|---|---|
| Seedling/Clone | 0.6-1.0 | 5.8-6.2 | Gentle nitrogen for root growth |
| Vegetative | 1.2-1.8 | 5.8-6.2 | Balanced NPK for big leaves |
| Early Flowering | 1.6-2.0 | 6.0-6.5 | Boost phosphorus for bud sites |
| Late Flowering | 1.4-1.8 | 6.0-6.5 | Lower nitrogen, add cal-mag |
| Flush (last 2 weeks) | 0.4-0.6 | 6.0-6.8 | Plain water to clean out salts |
You check pH every week and top off with plain water if it climbs too high. However, many 2026 growers add a tiny battery-powered air pump for the last few weeks if they notice any wilting – but remember, pure Kratky skips that step. You experiment and find what your plants love.
Lighting and Environment Secrets for Beginner Hydroponics Without Air Stones
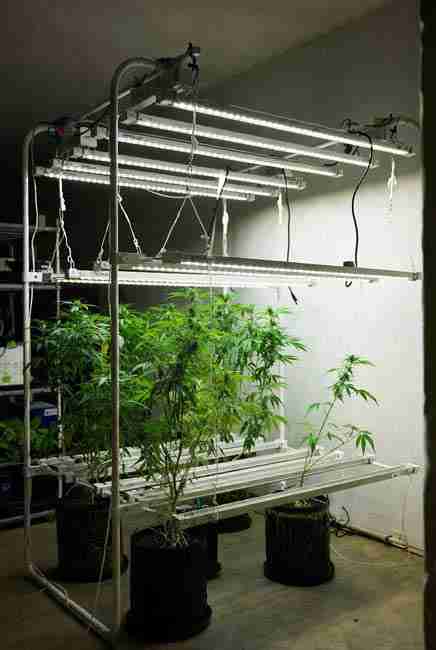
You do not need fancy lights, but you do need decent ones. LED panels that pull 200-400 watts work perfect for one or two buckets. Keep lights 18 inches above during veg and drop to 12 inches in flower. Run 18/6 or 20/4 for autos so they stay happy.
Temperature matters big time – aim for 70-78°F daytime and never let it drop below 60°F at night. Humidity starts high for seedlings (60-70%) and drops to 40-50% when buds fatten up. And since your setup has no moving parts, you can place it anywhere stable so heavy plants do not tip over.
Pros and Cons of the Kratky Method for Cannabis – The Honest Truth
Every system has trade-offs, so let us lay them out clearly in this quick table so you know exactly what you are getting into:
Pros
- Zero electricity or pumps – your power bill stays tiny
- Super simple setup that takes minutes
- Perfect for stealth grows or tiny spaces
- Less daily maintenance than soil or active hydro
- Great entry point to hydro for total beginners
Cons
- Nutrient levels stay fixed unless you top off carefully
- Longer-flowering strains can run out of water or swing pH
- Higher risk of root rot if oxygen gets too low
- Plants can tip if the bucket is not heavy enough
- Not ideal for massive commercial-style yields
However, you fix most cons by using autos, big reservoirs, and occasional top-offs. Many growers in 2026 report solid 2-4 ounce yields per plant with the Kratky cannabis setup – not bad for zero running costs!
Common Problems and Easy Fixes for Your Kratky Hydro Weed Grow

Roots turning brown? That usually means low oxygen, so you add a cheap battery bubbler for a day or two. Leaves yellowing? Check your EC – you probably need more nitrogen in veg. Algae in the bucket? You forgot to block light completely – easy fix next time.
But wait, the biggest issue people hit is top-heavy plants falling over. You simply add bricks or sand to the bottom of the bucket for weight. And if your water runs low too soon, you use a bigger tote next round. You learn fast, and soon your passive hydroponics cannabis system runs like clockwork.
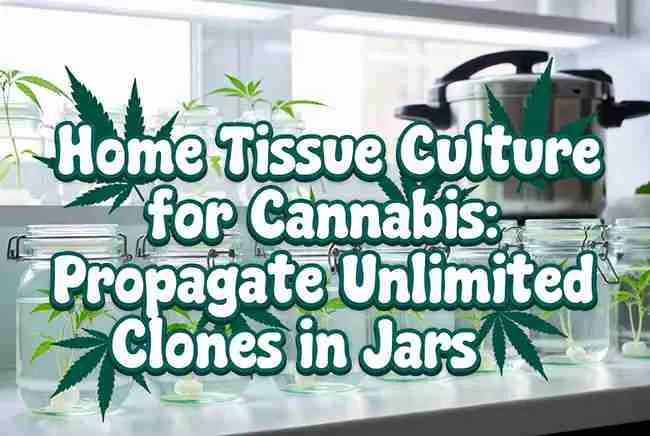
Taking Your Kratky Plants to the Next Level: Home Tissue Culture Micropropagation for Cannabis
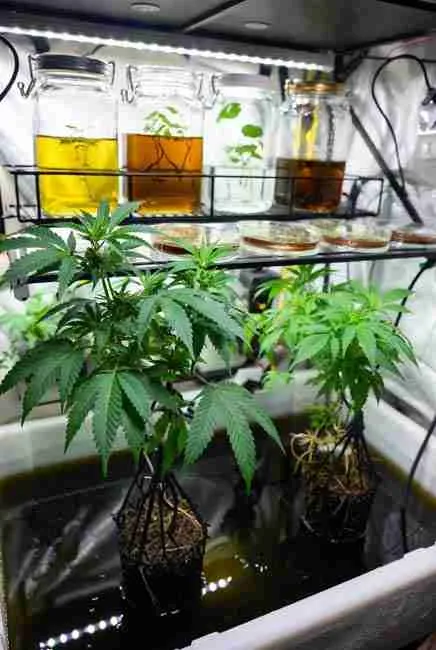
Once you nail the Kratky method and grow some killer mother plants, you will want to keep those genetics forever. Basic cloning shows up in older guides, but tissue culture cannabis micropropagation at home has never been explained for hobbyists like you until now. This technique lets you store genetics forever and produce hundreds of identical plants from one elite mother. You can rejuvenate old strains that have lost vigor and even clean contaminated genetics without losing your favorite traits.
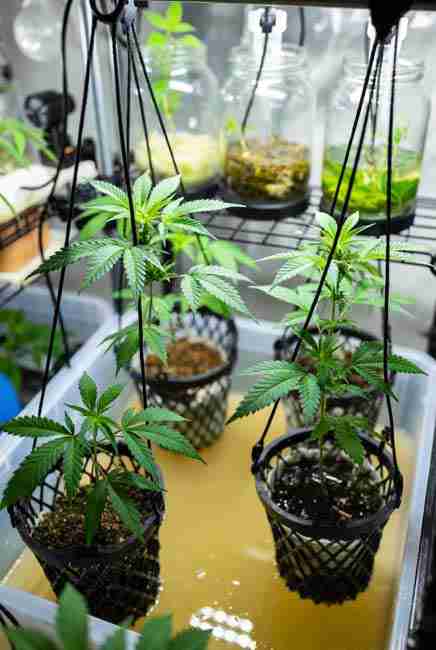
You combine this with your Kratky grows because the stable environment in passive hydroponics cannabis gives you the healthiest starting material possible. Let us walk through every single detail so you can start your own mini lab today.
Full Materials List for a Beginner Sterile Lab Using Pressure Cooker and Jars
You do not need a fancy clean room. Here is everything you grab for under $100:
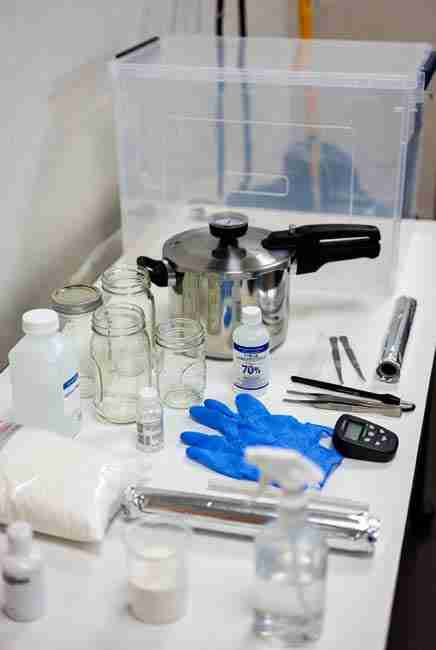
- Pressure cooker (any kitchen one with a gauge works)
- Glass mason jars or baby food jars with lids
- Nitrile gloves and 70% isopropyl alcohol
- Scalpels and tweezers (buy a cheap pack and sterilize them)
- Bleach (unscented 5-10% solution)
- Distilled water
- Agar powder, table sugar, and a basic hydro fertilizer (you adapt it)
- pH meter
- Aluminum foil for wrapping tools
- Rubbing alcohol spray bottle
- Optional: small laminar flow hood made from a clear storage box
You sterilize everything in the pressure cooker at 15 psi for 20 minutes. You use the jars as your culture vessels. Simple, right?
Exact Step-by-Step: Explant Selection, Sterilization, and Media Recipe
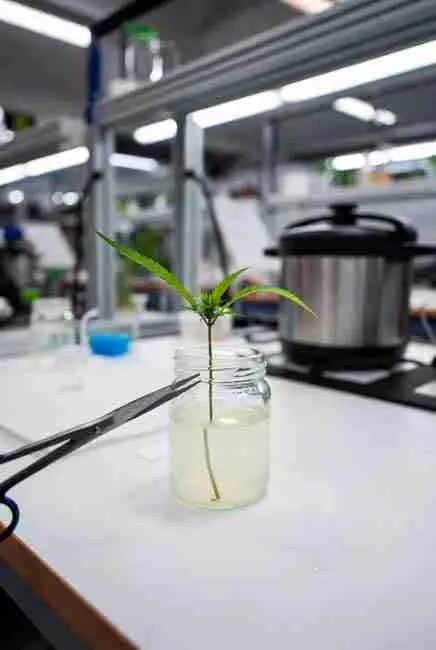
You start by picking the best piece of your mother plant grown in your Kratky system. Choose a young, healthy shoot tip about 2-3 inches long with a growing tip – these have the most active cells. Cut it with sterilized scissors and bring it straight to your work area.
Next comes sterilization because one tiny bacteria ruins everything. First you rinse the explant under running water with a drop of dish soap. Then you dip it in 70% alcohol for 30 seconds. After that you soak it in a 10% bleach solution for 10-15 minutes, swirling gently. Finally you rinse three times in sterile distilled water. You trim the very end again under sterile conditions to get a clean 1-cm piece.
Now the media recipe you mix fresh each time. You combine 4.4 grams of MS salts (or your hydro fertilizer adjusted), 30 grams of sugar, 1 gram of agar per liter of distilled water. You bring it to a boil while stirring, then adjust pH to 5.7-5.8. You pour about 30 ml into each jar while still hot, then pressure cook the filled jars for 20 minutes. Let them cool completely before you add your explant.
You place the sterile explant on top of the cooled gel using your sterilized tweezers. Seal the jar tight and you are off to the races.
Hormones and Lighting Requirements for Multiplication and Rooting Stages
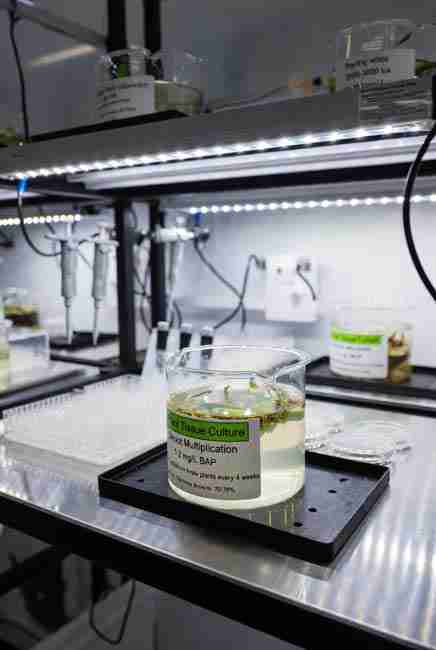
For the multiplication stage you add cytokinin hormones like 1-2 mg/L BAP (benzylaminopurine) to the media. This makes your single explant shoot out 4-8 new baby plants every 4 weeks. You keep the jars under 16-18 hours of cool white fluorescent or LED light at 2000-3000 lux. Temperature stays 72-78°F with 60-70% humidity.
After you have enough shoots, you move them to rooting media. You add 0.5-1 mg/L IBA (indole-3-butyric acid) or IAA. No cytokinin this time. Roots pop out in 2-3 weeks under the same lighting but you can drop to 12 hours if you want. You watch for healthy white roots before the next step.
How to Clean Contaminated Genetics and Rejuvenate Old Strains
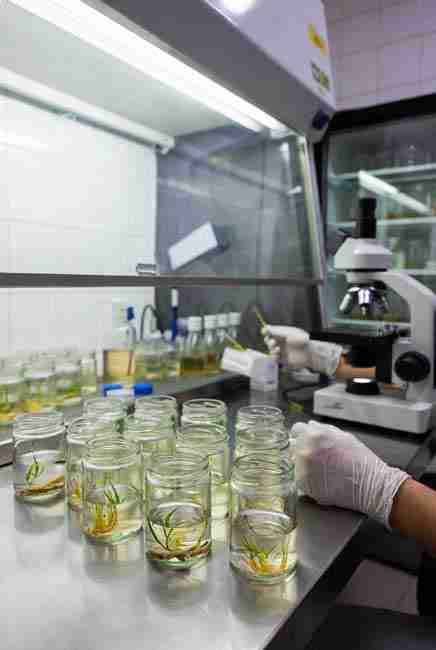
Sometimes your prized strain picks up hop latent viroid or mold from the garden. Tissue culture fixes that. You take tiny 0.5 mm meristem tips – these are usually virus-free because viruses do not travel into the very tip. You sterilize extra carefully and grow them out. Within a few months you have clean, vigorous genetics again.
For old strains that lost vigor after years of cloning, you use the same process. The sterile environment and fresh media reboot the plant’s metabolism. You often see faster growth and stronger terpenes after just two subcultures. You can store the cultures in the fridge for months between transfers, preserving your favorite Kratky-grown mothers forever.
Transitioning Plantlets to Soil Successfully
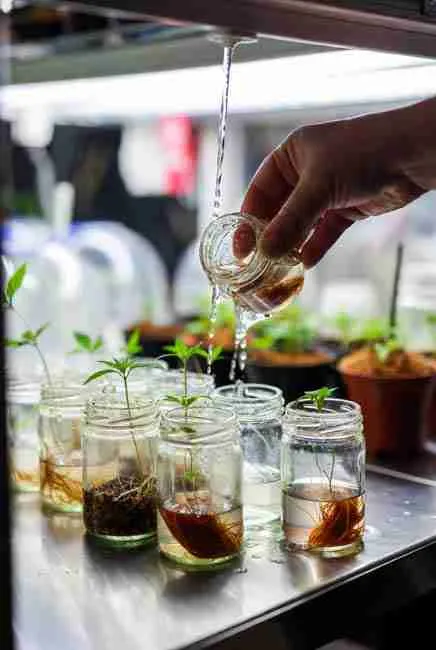
Once roots fill the jar, you gently remove the plantlet and rinse off all agar under lukewarm water. You plant it into a small pot with light seedling mix or coco. You cover it with a clear plastic dome or bag to keep humidity at 90% for the first week. You place it under low light for 7-10 days while it hardens off.
You gradually open the dome over two weeks until the plant tolerates normal room air. Then you transplant into your favorite Kratky bucket or soil and watch it explode with growth. You have now created hundreds of identical babies from one plant – all without losing the genetics you love.
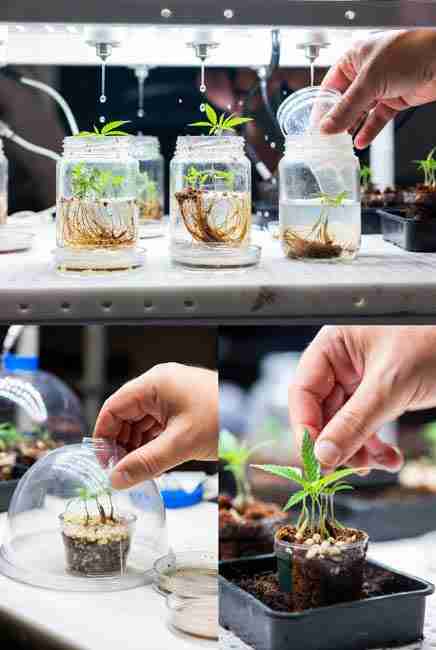
You see how tissue culture takes your Kratky method for cannabis to a whole new level? You preserve winners, clean problems, and multiply like crazy.
Real Grower Stories That Will Inspire Your Next Kratky Cannabis Setup
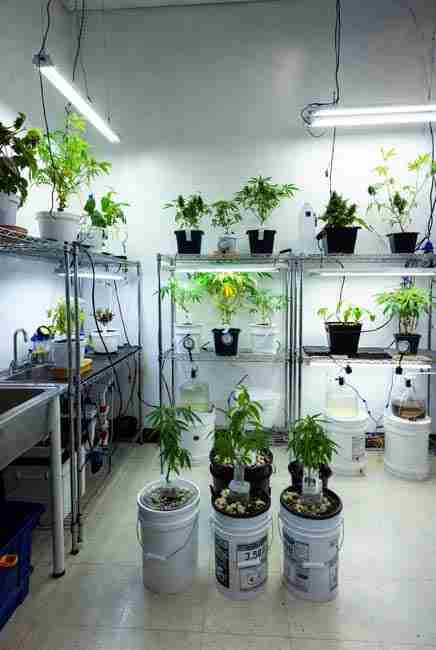
You are not alone in this. One grower started with three autoflower seeds in 5-gallon buckets and harvested 3.5 ounces each after 80 days – all with zero electricity after setup. Another used the system in a tiny apartment closet and kept the whole thing under a desk. Stories like these pop up every month in 2026 because the Kratky method keeps getting easier with better nutrients.
However, the folks who combine it with tissue culture blow everyone away. They keep their best mothers alive for years in tiny jars and never worry about losing a strain again.
FAQ About the Kratky Method for Cannabis and Beyond
Does the Kratky method cannabis really need zero electricity?
Yes! You set it up once and walk away. No pumps, no timers, nothing.
Can I use the Kratky hydro weed system for photoperiod strains?
You can, but autos work better because they finish faster. For photos you top off weekly in flower.
What is the best size bucket for a Kratky cannabis setup 2026?
Five gallons minimum per plant, but 10 gallons gives you more buffer room.
Will passive hydroponics cannabis give me bigger yields than soil?
Often yes, because roots get constant food. Many growers see 20-30% faster growth.
How do I stop root rot in no pump hydroponics marijuana?
Keep the reservoir dark, use big containers, and add a quick air stone if needed.
Can beginners really do tissue culture at home? Absolutely – the pressure cooker method works great and costs almost nothing.
Is the Kratky method good for outdoor grows too?
You bet. You set buckets on a porch or in a greenhouse and forget them all summer.
What strains work best with beginner hydroponics without air stones?
Compact autos and indicas that finish in 8-10 weeks shine here.
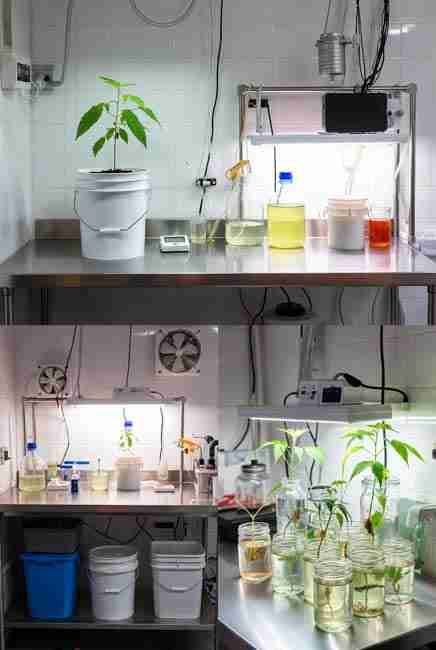
You now have everything you need to crush your first Kratky grow and even step into tissue culture. Grab those seeds, build your setup, and watch your passive hydroponics cannabis garden take off.