Smart Airflow: Mapping Dead Zones with Incense & Paper Strips

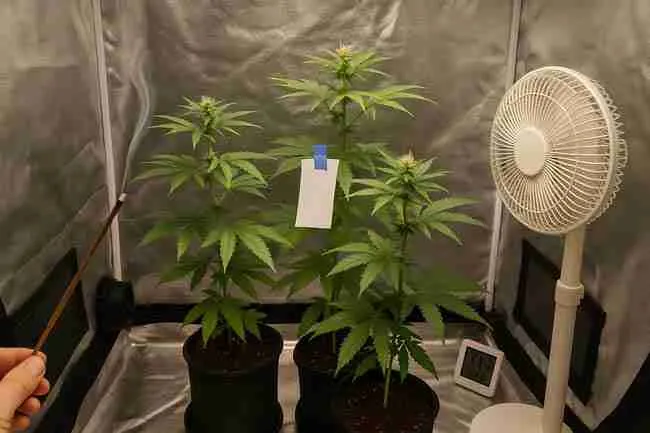
You’ve got plants. You’ve got fans. But—whoa there—your leaves still droop in the corners, your buds feel clammy after lights out, and a weird “mildew magnet” pocket keeps showing up under the canopy. That’s a dead zone, friend. And you’re about to hunt it down with two simple tools: incense smoke and paper strips. This guide shows you, step by step, how to map airflow like a pro so your cannabis airflow setup actually works for you (and not against you).
Quick answer: what’s a cannabis growroom dead zone and how do you find it in 5 minutes?
A dead zone is a spot where air barely moves. It traps warm, wet air and lets powdery mildew and pests feel right at home. To find it fast:
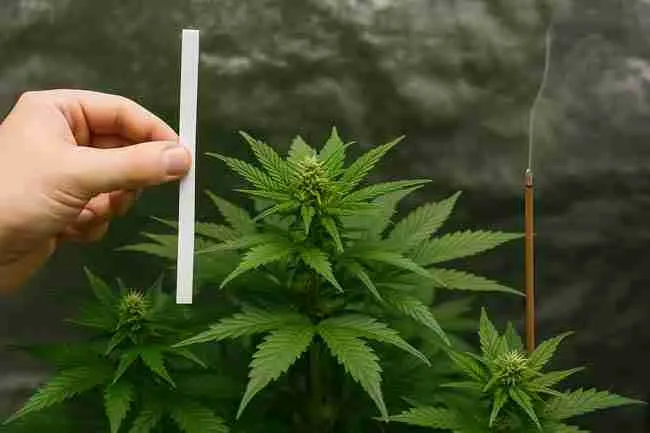
- Light an incense stick, hold it level, and watch the smoke.
- If it hangs or swirls back to you, that spot needs help.
- Hang a paper strip (a thin, 1×6 inch ribbon) in that area.
- If the strip doesn’t flutter or only wiggles weakly, you’ve found a dead zone.
- Re-aim your fan or add a small clip fan until smoke streams and the strip gently flutters.
Boom—dead zone mapped. Now let’s really dial in your cannabis airflow setup.
Why airflow matters more than you think
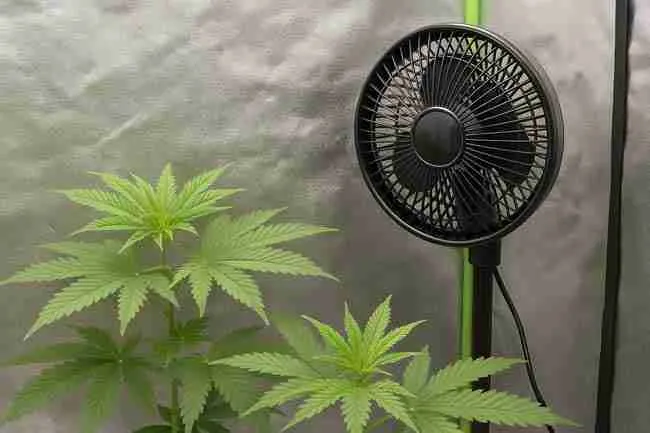
Air’s not just air. It carries away heat, brings in fresh CO₂, and dries tiny water films on leaves that fungi love. Without steady air:
- Transpiration stalls (plants slow down).
- CO₂ delivery drops (growth lags).
- Microclimates form (hot, humid pockets).
- Powdery mildew risk jumps (damp, still leaves = party time for spores).
However, with a balanced breeze, your plants breathe, drink, and build weight like champs.
Build your cannabis airflow setup: tools & specs
Essentials you’ll use today
- Incense sticks (unscented if possible; one stick is plenty for a tent test).
- Paper strips (printer paper or painter’s tape flags; cut to ~1×6″ / 2.5×15 cm).
- Painter’s tape or mini clips (to hang strips).
- Marker + paper (to sketch your airflow map).
- Phone camera (record smoke and strip behavior for later).
Fans & helpers
- Oscillating fans (clip-on for tents; pedestal for rooms).
- Inline exhaust fan with speed control.
- Ducting + carbon filter (remember filters reduce CFM).
- Hygrometer/thermometer (ideally a few, at canopy and pot level).
- Optional: An anemometer (to measure airspeed), fan controller tied to temp/RH.
Rule-of-thumb specs (simple and reliable)
- Air exchange: 1–2 full tent air changes per minute.
- Airspeed at leaves: gentle flutter, not “flag-in-a-storm.”
- Exhaust fan derate for filter/duct bends: multiply by 1.2–1.5 to size your fan.
- Intake low, exhaust high (hot air rises; help it out).
- No direct wind on leaves for hours—rotate or bounce off a wall to avoid windburn.
Step-by-step: smoke mapping (the incense test)
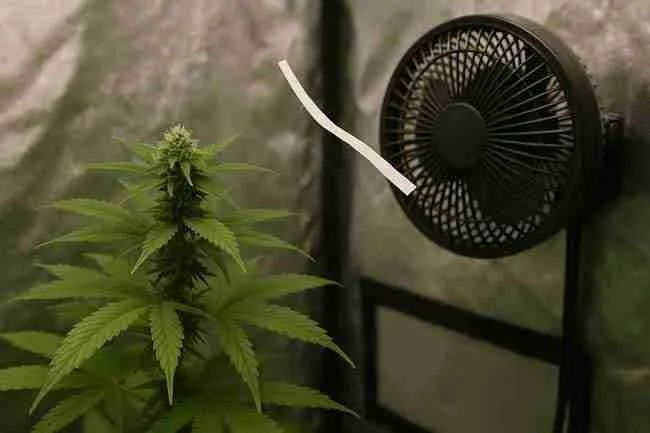
1) Prep the space
- Close the tent/room as normal.
- Put plants where they live. Don’t test an empty space unless you’re pre-setup.
- Turn on only intake/exhaust first (leave oscillating fans off).
2) Baseline (exhaust on, oscillators off)
- Light incense. Hold it still at canopy height.
- Watch smoke: does it rise and stream toward the exhaust? Great.
- Move slowly to corners, behind the filter, under the canopy, and along paths blocked by pots.
- Mark on your sketch: streams, hangs, swirls, backflows.
3) Add oscillating fans (one at a time)
- Turn on one oscillating fan, lowest speed.
- Hold the incense again and keep mapping.
- You want movement everywhere—but no blasting. Leaves should shimmy, not shake.
- Add the second fan (if using), and repeat the test.
4) Fine-tune the angles
- Bounce airflow off tent walls to soften it.
- Aim some flow below the canopy (stagnant air loves hiding there).
- Keep intake low, exhaust high and avoid sharp duct bends.
5) Capture proof
- Take short videos of problem spots and fixes.
- Update your sketch with arrows showing flow direction and strength (thin = light, thick = strong).
Paper strips: the “set-and-forget” airflow sentries
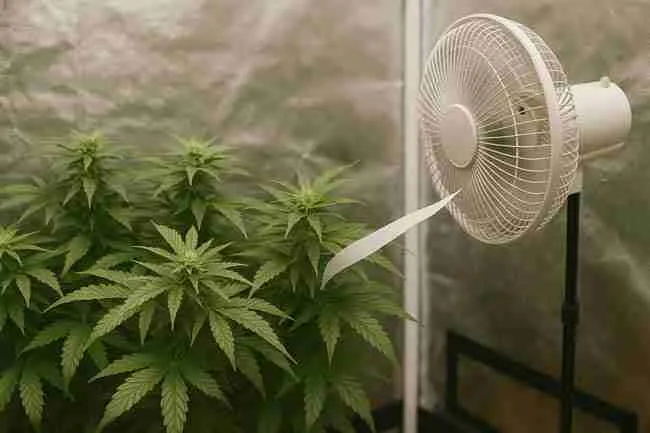
Incense shows motion now. Paper strips watch the air all day.
How to hang
- Cut strips about 1×6 inches (2.5×15 cm).
- Hang at canopy height, under-canopy, at corners, and behind obstacles (filters, big colas, dehumidifiers).
- Use painter’s tape or clips; keep strips near—but not touching—leaves.
How to read the strips
- No movement = dead zone.
- Barely moving = weak flow; mildew risk if humid.
- Steady gentle flutter = perfect.
- Fast snapping = too strong; risk of windburn and edge curl.
Paper strip signals → What to do
| Paper strip behavior | What it means | Your best fix |
|---|---|---|
| Hangs limp | No airflow | Re-aim nearest fan; add a small clip fan; open a path under canopy |
| Tiny twitch every few seconds | Weak, unstable airflow | Increase oscillation sweep; bounce air off wall; raise fan slightly |
| Smooth, gentle flutter | Goldilocks airflow | Keep it; log the angle/height for repeatable setups |
| Whipping/snapping constantly | Overkill, risk of windburn | Lower speed, increase distance, or bounce airflow rather than direct blast |
| Random swirl, changes direction | Turbulent pocket | Remove obstructions; spread pots; add a low fan to “push” air through |
Where dead zones love to hide (and how to fix each one)
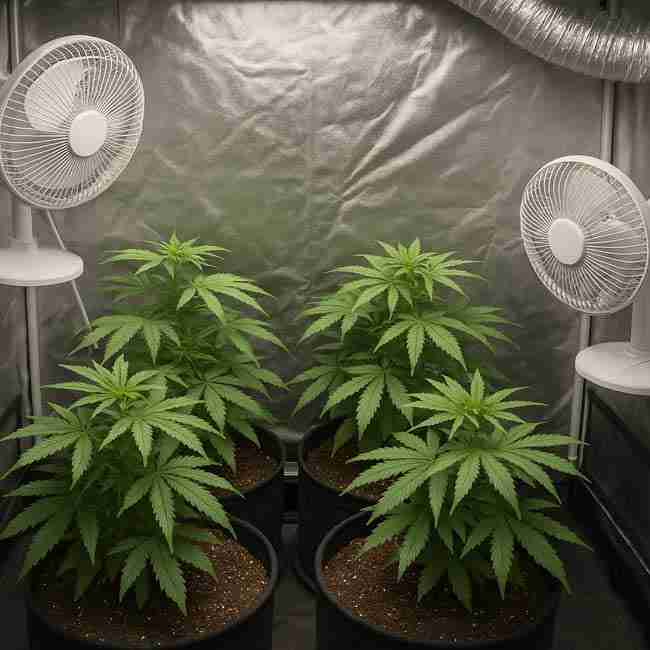
Classic trouble spots
- Back corners behind carbon filters or duct elbows
- Under the canopy (especially in dense scrogs)
- Between large pots (“pot alley”)
- Behind oscillating fans (paradoxical, but true—behind the cage is a shadow)
- Deep nooks near dehumidifiers, AC units, or big buckets
Fixes that work
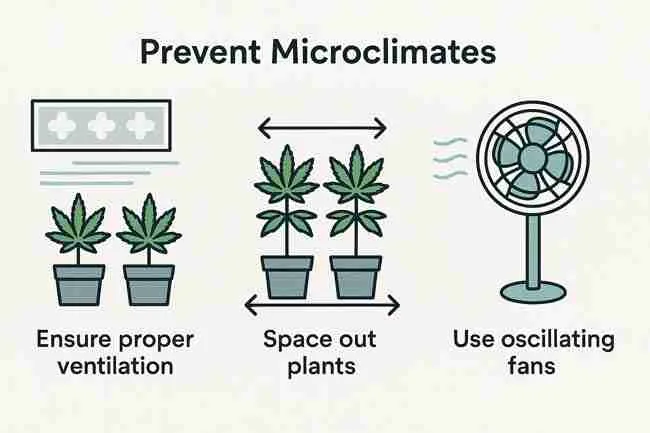
- Bounce, don’t blast: aim fans at walls to spread flow.
- Stagger heights: one fan slightly above canopy, one slightly below.
- Clear pathways: tuck cords, spread pots, trim a few interior leaves (not a haircut—just a path).
- Rotate sweeps: offset oscillation angles so fans complement each other.
- Add a micro-fan: a small clip fan under the canopy often erases the funk.
Size your exhaust right (simple table you can trust)
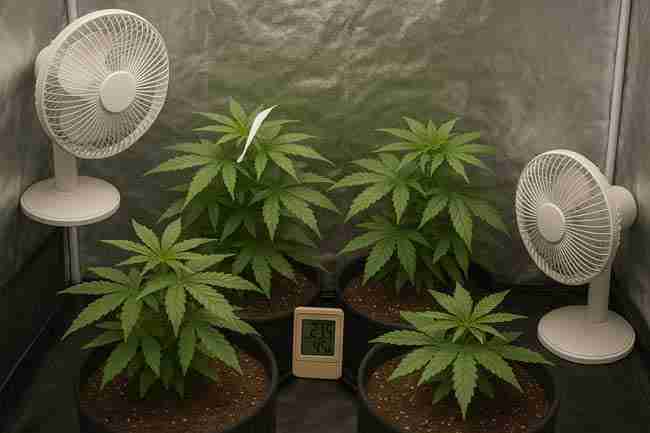
Use your tent’s volume (L×W×H) to target 1–2 air changes per minute. Then add headroom for filters/ducting.
| Tent size (feet) | Volume (ft³) | Target CFM (1–2× volume) | After filter/ducting (×1.2–1.5) |
|---|---|---|---|
| 2×2×5 | 20 | 20–40 | 24–60 |
| 3×3×6 | 54 | 54–108 | 65–162 |
| 4×4×6.5 | 104 | 104–208 | 125–312 |
| 5×5×6.5 | 162 | 162–324 | 195–486 |
| 4×8×6.5 | 208 | 208–416 | 250–624 |
Tip: Hot U.S. Southwest summers or humid Atlantic Canada nights? Lean toward the higher end of the range.
Stage-by-stage dialing for your cannabis airflow setup
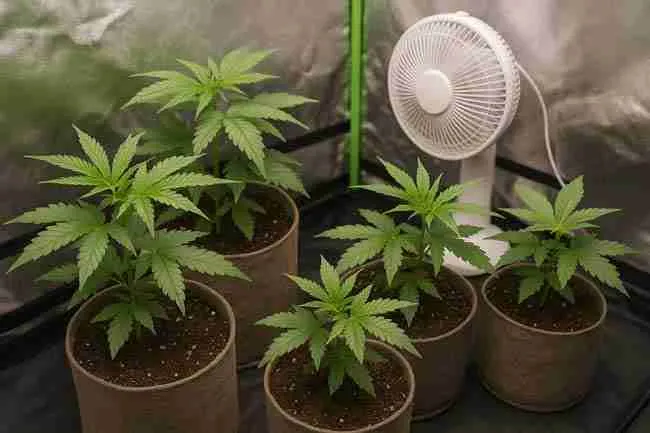
Seedlings (gentle as a whisper)
- Aim for barely-there movement—cotyledons should wiggle, not flap.
- Keep exhaust slow; strong pull can dry cups too fast.
- One small clip-on fan, bouncing off the wall, is plenty.
Veg (build strength, not stress)
- Increase exhaust toward 1–1.5× volume/min.
- Two oscillating fans: one above, one below canopy.
- Maintain gentle leaf shimmy across the whole space.
Early flower (stack those calyxes)
- Keep air even to reduce mold risk from swelling buds.
- Under-canopy micro-fan becomes a secret weapon.
- Watch for hot corners—incense test weekly after defoliations.
Late flower (heavy heads, higher stakes)
- Buds are dense; moisture hides.
- Prioritize under-canopy flow and steady exhaust.
- Avoid strong direct wind on colas to prevent desiccation and foxtailing.
Prevent microclimates before they start
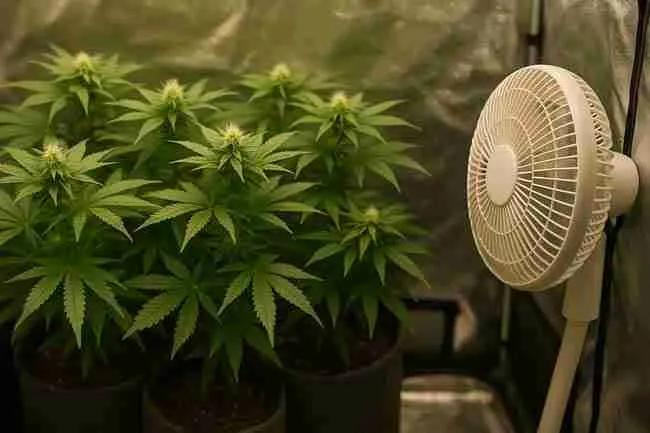
Canopy control that actually helps airflow
- Level the canopy (use risers for short plants).
- Selective leaf tucking to open lanes (don’t overstrip).
- Trellis nets keep tops spaced for air to pass.
- Raise dehumidifiers slightly so dry air doesn’t pool at the floor.
Intake & exhaust placement (the simple recipe)
- Intake low, exhaust high, short duct runs, gentle elbows.
- Use active intake in bigger tents/rooms to reduce strain on exhaust.
Powdery mildew airflow: your daily checklist
- Keep leaves dry and moving (gentle flutter).
- Avoid cold, damp pockets at lights off—run fans 15–30 minutes after dark.
- Hold RH in a sane range for your stage; don’t let it spike when lights switch.
- Never let strips hang still; still air = spore heaven.
Oscillating fans placement: the “no-burn, no-dead-zone” plan
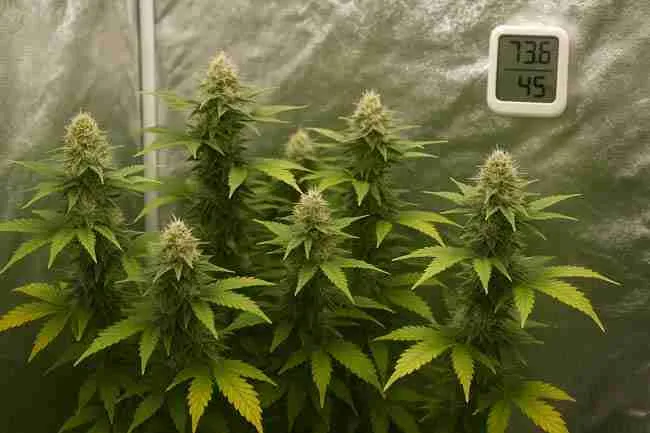
How many fans do you really need?
- 2×2: 1 clip-on (bounced off wall)
- 3×3: 1–2 clip-ons (above & below canopy)
- 4×4: 2–3 oscillators (corners diagonal; one low)
- 5×5 or 4×8: 3–4 oscillators plus a targeted under-canopy fan
Direction & sweep (the sweet spot)
- Don’t point a fan right at a cola for hours.
- Do bounce airflow off a side wall or tent door.
- Let sweeps overlap slightly to cover corners without blasting any one plant.
Troubleshooting your airflow map (and when to retest)
When to re-run the incense & paper tests
- After every major plant move, defoliation, trellis reset, or harvest.
- When seasons change (summer heat waves, humid fall nights, winter dryness).
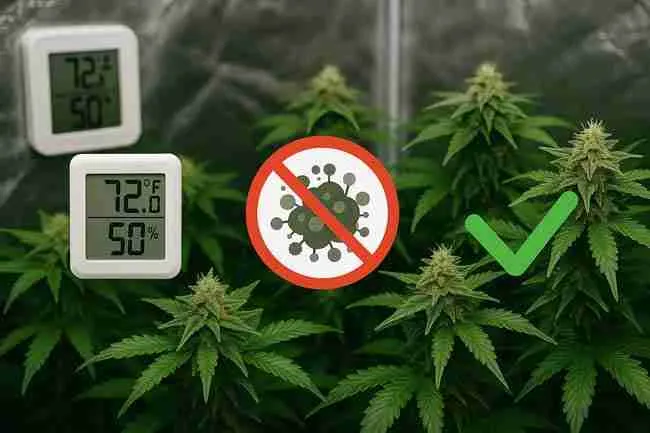
- If edges canoe, leaf tips crisp, or RH spikes after lights out.
Quick diagnostics (fast and safe)
- Paper strip zip-tie test: tie ribbons to poles at 3 heights. You’ll see the flow layers immediately.
- Incense “pencil line” test: hold stick steady and watch for smooth “pencil” lines—no wobbles.
- Avoid foggers/chemicals for mapping; residue can harm flowers and filters.
Advanced options (only if you want to)
Smarter fan control
- Use temp/RH controllers to ramp fans smoothly.
- Variable-speed inline fans maintain negative pressure without blasting.
Better duct design
- Keep runs short, avoid sharp 90° turns, and support heavy filters to prevent sag.
- Size duct equal to fan diameter; reducers add restriction—plan accordingly.
HEPA intake & pre-filters
- A clean intake keeps dust off leaves and sticky buds.
- Wash or replace pre-filters regularly to keep CFM happy.
CO₂ and airflow (sealed rooms)
- If supplementing CO₂, mix air inside the room without dumping it out.
- Gentle, well-distributed internal circulation is the name of the game.
Pros and cons: incense & paper mapping
Pros
- Cheap, fast, visual.
- Spots laminar vs. turbulent flow at a glance.
- Paper strips give ongoing feedback.
- Works in tents and rooms, Canada and U.S. climates alike.
Cons
- Incense has smell—avoid long burns near late flower.
- Smoke is qualitative, not a precise measurement.
- Needs you to observe carefully (but hey, that’s growing).
Specifications cheat sheet (plain and simple)
- Air exchange: 1–2× room volume per minute.
- Leaf airspeed: a gentle flutter (roughly ~0.2–0.5 m/s / ~0.7–1.6 ft/s).
- Fan derate for filter/ducting: plan +20–50% capacity.
- Placement: intake low, exhaust high; avoid sharp bends.
- Circulation: one fan above, one below canopy in 3×3 and larger.
- Testing: incense for now, paper strips for always.
Real-world walkthrough (4×4 tent example)

You’ve got a 4×4×6.5 ft tent with a 6″ carbon filter and two clip-on oscillators.
- Exhaust only: Smoke streams nicely center-to-top but hangs in two back corners.
- Add one fan low, bouncing off a wall: Back-left corner wakes up; paper strip starts to twitch.
- Second fan high, opposite corner: Under-canopy ribbon flutters smooth; canopy strips show gentle, even movement.
- Tweak angle 10° and lower speed: Leaves stop over-shivering; strips keep fluttering—perfect.
- Log it: You jot down fan heights, angles, and speeds so you can repeat this exact winning layout next run.
Result: fewer hot spots, steady VPD, happy plants. And, yes, fatter, cleaner buds.
Maintenance that keeps airflow honest
- Dust the fan grills (a soft brush works).
- Wash pre-filters on the carbon filter as needed.
- Tighten mounts so oscillators don’t drift into blasting a single cola.
- Replace tired fans—wobbly bearings = noisy, weak airflow.
- Re-check after big growth spurts; plants change the whole wind map.
FAQ: your airflow questions, answered
Where should I put oscillating fans for the best results?
Place one slightly above the canopy and one slightly below. Bounce air off a side wall so leaves flutter gently. In bigger tents, add a third fan to wash corners and a small under-canopy clip fan to clear stagnant air paths. Keep sweeps overlapping but avoid blasting a cola for hours.
How do I prevent microclimates in a dense scrog?
Keep paths open under the canopy, stagger fan heights, and bounce flows off walls to spread the breeze. Hang paper strips where humidity spikes; if they stop moving, re-aim a fan or add a tiny clip fan. After any defoliation or trellis shift, retest with incense.
What’s the best airflow strategy to reduce powdery mildew risk?
Run a gentle, even cross-breeze at and below the canopy, plus steady exhaust. Avoid still pockets—paper strips should always flutter a bit. Keep fans running 15–30 minutes after lights out to prevent moisture from lingering on leaves.
Will incense smoke hurt my plants?
A short test won’t. Use minimal smoke, keep it brief, and avoid heavy incense sessions in late flower. You’re mapping air, not perfuming buds.
How many air changes per minute do I really need?
Aim for 1–2× your space volume per minute. In hot U.S. summers or humid coastal Canada, lean toward the higher end. Add 20–50% for filters and bends.
My leaves are canoeing—bad airflow?
Maybe. Canoeing can be heat, light, or wind stress. Check your airflow map: if a fan blasts a top for hours, back it off and bounce the breeze. If a corner is still, wake it up with a low clip fan.
Do I need an anemometer?
No, but it’s handy. Your eyes and paper strips are surprisingly accurate. If you love numbers, shoot for a soft leaf flutter (~0.2–0.5 m/s).
Put it all together (and keep it simple)
- Map with smoke.
- Watch with paper.
- Bounce, don’t blast.
- Fill the dead zones.
- Retest after every big change.
Do that, and your cannabis airflow setup will stop being a guessing game and start being your quiet, steady yield booster—coast-to-coast, from humid Nova Scotia basements to dry Arizona garages.