Seed Storage Mistakes That Kill Viability (And How to Avoid Them)


You open a jar, pick your favorite cannabis seeds, and—yikes—nothing sprouts. It’s not bad luck. It’s usually preventable. Most failed germination comes back to a handful of very fixable Seed Storage Mistakes. In this guide, you’ll get crystal-clear steps, simple rules, and pro tips to keep your seeds sleeping safely until the day you wake them up.
Quick Answer
How do you avoid Seed Storage Mistakes?
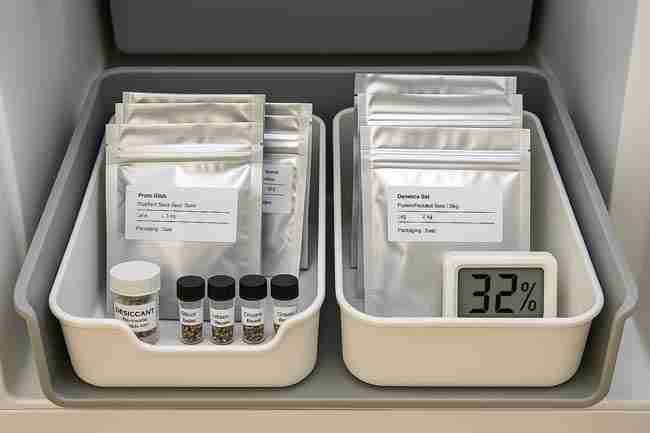
Keep seeds cool (4–8°C / 39–46°F), dry (20–30% RH in the container), dark, and stable. Store in airtight, lightproof containers with fresh desiccant, label everything, and let sealed containers warm up to room temp before opening to prevent condensation.
The Science-Lite: What Actually Kills Seeds
You don’t need a lab coat—just a few basics.
- Heat: Warms up seed enzymes. Over time, they degrade and die.
- Moisture: Wakes seeds too early (or grows mold).
- Oxygen: Feeds oxidation (aging).
- Light/UV: Damages DNA.
- Time + Fluctuations: Repeated swings in temp/humidity do more harm than steady, cool conditions.
- Contamination: Mold spores, pests, and funky odors seep in when containers or environments are sloppy.
When you control those, you control longevity.
Storage Specifications (Your Simple Targets)
Memorize these. Tape them to your seed drawer. Live by them.
- Temperature: 4–8°C (39–46°F) for long-term (fridge). Below 0°C/32°F only if seeds are properly dried and sealed (freezer).
- Relative Humidity inside container: 20–30% RH (use silica gel or molecular sieve).
- Seed moisture content (approx): 6–9% before long-term storage.
- Light: 0 exposure (opaque container).
- Oxygen: As low as you reasonably can (airtight; consider oxygen absorbers only with seeds dried correctly).
- Stability: Minimal temp/RH swings.
- Handling: Dry, clean hands or tweezers; avoid breath moisture.
- Warm-up protocol: Always warm up sealed containers to room temperature before opening.
Table: The Five Big Killers (and Your Fixes)
| Killer | What It Does | Classic Seed Storage Mistakes | What To Do Instead |
|---|---|---|---|
| Heat | Speeds aging/oxidation | Storing in a warm closet or near electronics | Use fridge (4–8°C) or deep-cool cabinet away from heat |
| Moisture | Wakes seeds or molds | No desiccant, damp basements, opening cold jars | Add fresh desiccant; keep airtight; warm up sealed before opening |
| Light/UV | Damages DNA, reduces vigor | Clear jars on a windowsill | Opaque containers, dark box/drawer |
| Oxygen | Oxidation over time | Loose lids, baggies with pinholes | True airtight containers, optional oxygen absorbers (only if seeds are dry) |
| Fluctuations | Repeated stress = death | Fridge door shelf; constant door opening | Back of fridge; rarely opened; stable environment |
Seed Storage Mistake #1: Warm Storage

Leaving seeds in a “room temp” drawer seems harmless. However, that steady 21–24°C (70–75°F) chips away at life, day after day.
How to Avoid It
- Use a dedicated fridge zone (4–8°C).
- Place seeds in an opaque, airtight container so the fridge’s humidity and light don’t touch them.
- If you must store at room temp short-term (weeks, not months), keep them in a cool, dark, interior closet with desiccant.
Seed Storage Mistake #2: High Humidity (or RH Swings)
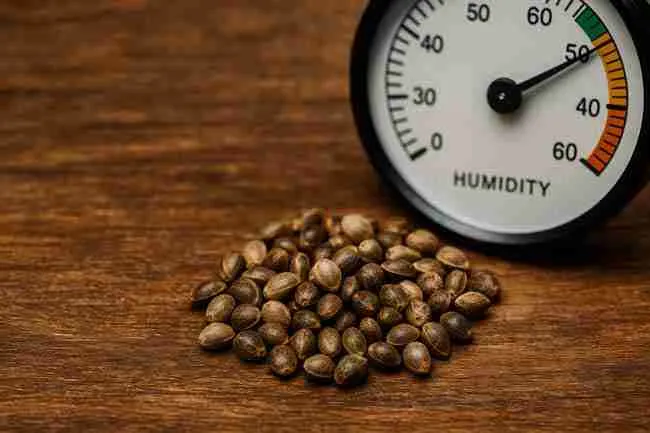
Moist air is enemy #2. It triggers partial “wake-ups,” mold, and internal damage.
Fix It Fast
- Put fresh silica gel (indicating type) or molecular sieves inside containers.
- Aim for 20–30% RH inside the container.
- Replace or regenerate desiccant when color changes.
Seed Storage Mistake #3: Clear Jars and Light Leaks
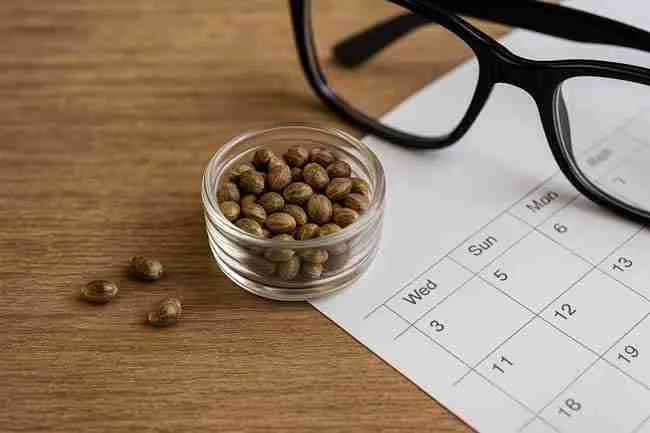
Looks pretty. Kills slowly.
Do This Instead
- Use amber glass, mylar, or opaque tins.
- Store in a dark box or drawer—no windows, no grow lights nearby.
Seed Storage Mistake #4: Loose Lids and Leaky Bags
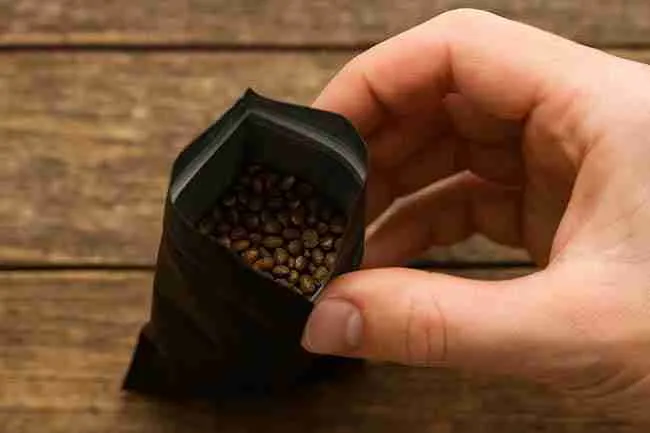
Oxygen sneaks in; moisture follows.
Best Practice
- Prefer glass jars with proper gaskets or thick mylar with heat seals.
- If you use vacuum sealing, don’t crush the seeds. Use a rigid sleeve (clean straw, coin flip) inside the pouch.
Seed Storage Mistake #5: The Fridge Door Shelf
Every time someone gets milk, your seeds get a roller coaster.
Better Placement
- Put containers in the back of the fridge, low shelf, or a drawer with minimal temp swings.
- Consider a small “seed mini-fridge” that stays closed.
Seed Storage Mistake #6: Opening Cold Containers
You pull a cold jar out, pop it open, and—whoosh—room air condenses on cold seeds.
The No-Condensation Protocol
- Remove the container from the fridge/freezer.
- Do not open it.
- Let it reach room temperature for 6–24 hours (bigger jars take longer).
- Only then, open it to remove seeds.
Seed Storage Mistake #7: Freezing Wet (or Not-Dry-Enough) Seeds
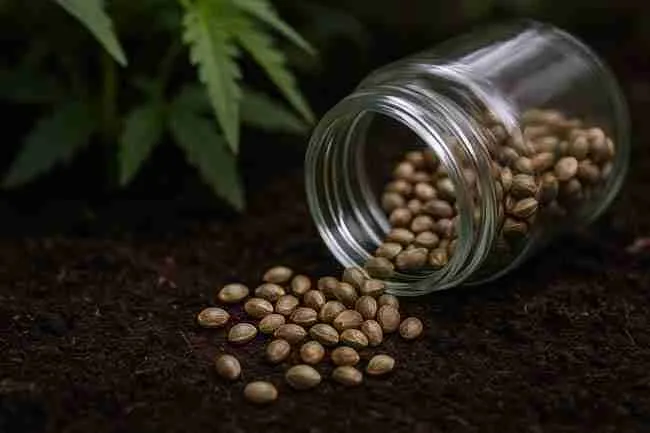
Freezing can be fantastic—but only if seeds are dry enough. Ice crystals shred cells.
Freezer-Safe Method (H4)
- Dry seeds to ~6–8% moisture (use desiccant for several days).
- Pack in airtight mylar or glass + gasket, include desiccant.
- Optional: oxygen absorber if you’re 100% sure seeds are dry.
- Freeze once, leave frozen until you need them, then use the no-condensation protocol above.
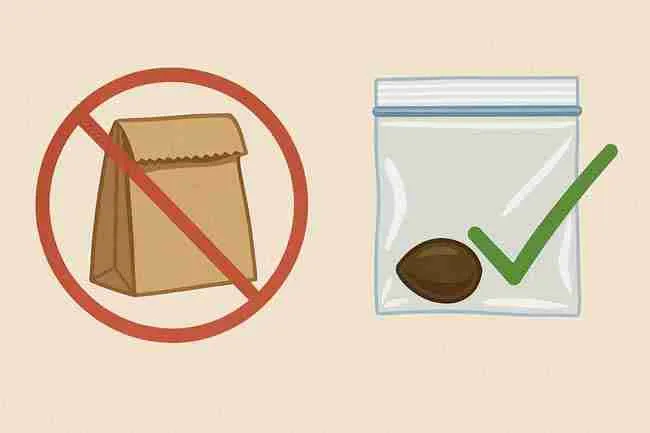
Seed Storage Mistake #8: “Basement in a Paper Bag”

Paper breathes; basements breathe mold.
Fix
- Paper is only for short, dry handling—not storage.
- Transfer to airtight, opaque containers with desiccant.
Seed Storage Mistake #9: No Labels, No Dates, No Clue
You think you’ll remember. However… you won’t.
Label Like a Pro
- Strain / Breeder / Batch
- Harvest or purchase date
- Storage start date
- Container # and desiccant refresh date
Seed Storage Mistake #10: Handling with Damp Hands

Skin oils, sweat, and breath moisture add up.
Hygienic Handling
- Wash and dry hands thoroughly.
- Or use tweezers.
- Work over a dry, clean tray.
Seed Storage Mistake #11: Over-Drying Seeds

Too dry can crack internal structures and lower vigor.
Stay in the Safe Zone
- Target 6–9% seed moisture before long-term storage.
- Don’t bake seeds. Don’t blast them with heated air. Slow + steady drying with desiccant is best.
Seed Storage Mistake #12: Storing with Smelly Stuff

Paints, solvents, fertilizers, even onions in the fridge—odors migrate. Seeds are little sponges.
Keep It Clean
- Dedicated seed area with no chemicals or food odors.
- Extra barrier: double-bag inside a clean jar.
Seed Storage Mistake #13: Using Dead Desiccant
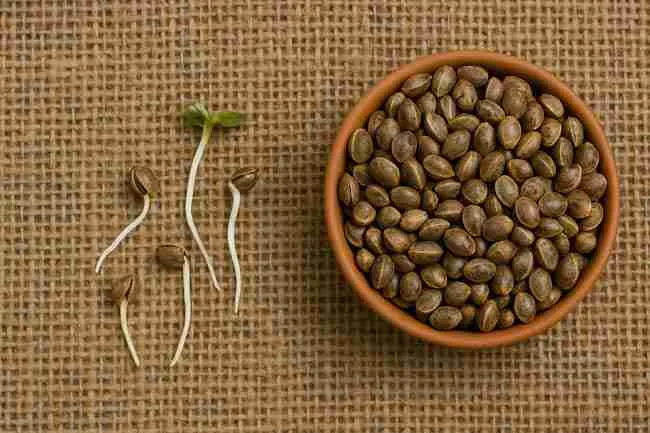
A blue bead turned pink and you shrugged. Meanwhile, RH climbs.
Maintain the Silica
- Use indicating silica gel.
- Replace or regenerate when color changes.
- Date the packet so you know its service life.
Seed Storage Mistake #14: Constant Peek-a-Boo

You love your collection. However, every peek lets in air, moisture, and light.
Discipline = Longevity
- Consolidate info in a digital list instead of opening containers.
- When you must access, move fast in a dry room and reseal.
Real-World Mini-Story (Why This Matters)
You stashed three packs in a warm closet. One year later, you try to germinate: 2/10 sprout. You switch to an airtight jar, toss in fresh silica gel, and store at 6°C in the back of a mini-fridge. Next year, you test: 9/10 jump to life in 48 hours. Same genetics. Different storage. Result: night and day.
Container Showdown: Pros & Cons
| Container Type | Pros | Cons | Best Use |
|---|---|---|---|
| Glass jar w/ gasket | Truly airtight, reusable, easy to label | Breakable, space heavy | Fridge storage, batches |
| Mylar heat-seal bag | Lightproof, low O₂ ingress, cheap | Need sealer, can crease | Long-term freezer/fridge |
| Vacuum bag | Low O₂, compact | Can crush seeds; not all are truly airtight | With internal rigid sleeve |
| Plastic zip bag | Cheap, quick | Leaky over time, light exposure | Very short-term only |
| Metal tin (opaque) | Lightproof, durable | Seal varies, can dent | Inside a second barrier (mylar/jar) |
Step-by-Step: Rock-Solid Fridge Storage
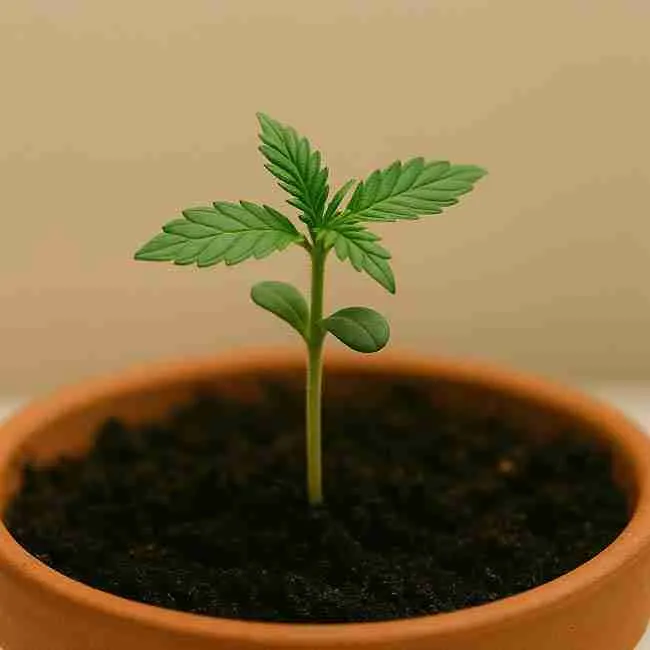
- Dry seeds with indicating silica gel in a small, closed container for 3–7 days.
- Put seeds in coin flips, vials, or mini paper sleeves (for organization).
- Place those inside an opaque, airtight jar with fresh silica gel.
- Label clearly (strain, date, desiccant date).
- Store back of the fridge (4–8°C).
- When you need seeds, warm up the sealed jar to room temp before opening.
Step-by-Step: Freezer (Advanced but Powerful)
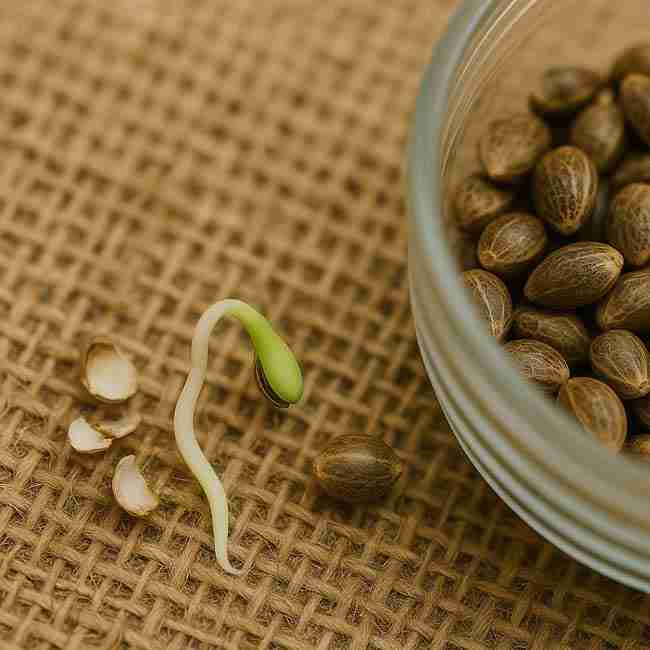
- Dry to ~6–8% (silica gel for 7–14 days).
- Pack in heat-sealed mylar or glass + gasket with desiccant.
- Optionally add oxygen absorber (only if certain they’re dry).
- Freeze once. Don’t cycle.
- Before opening, warm sealed to room temp (12–24 hours).
How Long Can Seeds Last?
- Room temp (in the dark, with desiccant): months to a couple years if you’re lucky.
- Fridge (airtight + desiccant): several years, often 5–10+ with careful handling.
- Freezer (correctly dried + sealed): potentially 10+ years with excellent vigor.
Related reading (internal link idea): “How to Store Cannabis Seeds for 10+ Years Without Losing Viability” and “How to Freeze-dry Marijuana Seeds (So They Last for Years)”.
Extreme Mistake You Might Not Expect: Ethylene & Off-Gassing

Storing seeds with fresh plant material, fruits, or onions? They emit gases that can age seeds.
Prevent It
- Keep seeds isolated from food and plant storage.
- Use double barriers (sealed mylar inside a jar).
Tools & Materials Checklist

- Opaque airtight containers (amber jars, mylar, tins)
- Indicating silica gel or molecular sieves
- Labels + fine marker (archival ink)
- Tweezers / gloves
- Optional: vacuum sealer, oxygen absorbers, mini-fridge
- Hygrometer cards (optional, to spot-check RH in larger containers)
Mini-Table: How Much Desiccant?

(Rule of thumb—always follow the manufacturer’s guidance.)
| Container Volume | Silica Gel (Indicating) |
|---|---|
| 50–100 mL (mini vial/jar) | 1–2 grams |
| 250 mL (small jar) | 5 grams |
| 500 mL (mason jar) | 10 grams |
| 1 L (big jar) | 20 grams |
When to Refresh Desiccant

- Color change? Refresh or regenerate immediately.
- Container opened frequently? Refresh every 1–3 months.
- Long-term sealed storage? Refresh upon annual check, preferably in a dry room and quickly.
Quality Control: Simple Home Viability Test

- Every 6–12 months, test 5–10 seeds from older packs.
- Track germination rate and time-to-sprout (faster = healthier).
- If vigor is dropping, consider replicating (growing and making fresh seed if legal in your area) or moving to stricter storage (freezer).
Related reading (internal link idea): “How to Test Cannabis Seed Viability Without Germinating Them”.
Don’t Forget the “Wake-Up” Stage
Even perfect storage fails if you botch the handoff to germination.
- Warm up sealed containers to room temp first.
- Once opened, use seeds soon; don’t leave them exposed.
- If re-sealing, pop in fresh desiccant.
Common Myths (And Quick Truths)

- Myth: Rice works as well as silica gel.
Truth: Rice is weak as a desiccant. Use silica gel or molecular sieves. - Myth: Freezer always kills seeds.
Truth: It kills wet seeds. Dry + sealed = long life. - Myth: Vacuum sealing is always better.
Truth: Vacuum is great if seeds won’t be crushed and are already dry.
Pros and Cons of Popular Methods

Room-Temp “Dark Drawer”
Pros: Easy, cheap, no special gear.
Cons: Faster aging, RH swings, higher risk of Seed Storage Mistakes.
Use when: Short-term (weeks to a few months), emergency.
Fridge (Back Shelf)
Pros: Ideal balance of cool + accessible; excellent longevity.
Cons: Condensation risk if you open cold; family fridge = more temperature swings.
Use when: Medium to long-term; most growers should start here.
Freezer
Pros: Best longevity when done correctly; slows life to a crawl.
Cons: Preparation matters; condensation and moisture mistakes can kill seeds fast.
Use when: Long-term vaulting, valuable genetics, minimal access.
“Do This, Not That” (Fast Wins)

- Do: Opaque, airtight, desiccant, labeled, cool, stable.
- Don’t: Clear jars in sunlight, door shelves, sticky fingers, opening cold containers.
- Do: Warm-up sealed, work fast, reseal tight.
- Don’t: Breathe into the jar, leave lids half-twisted, let silica gel die.
Troubleshooting: Signs Your Storage Is Failing

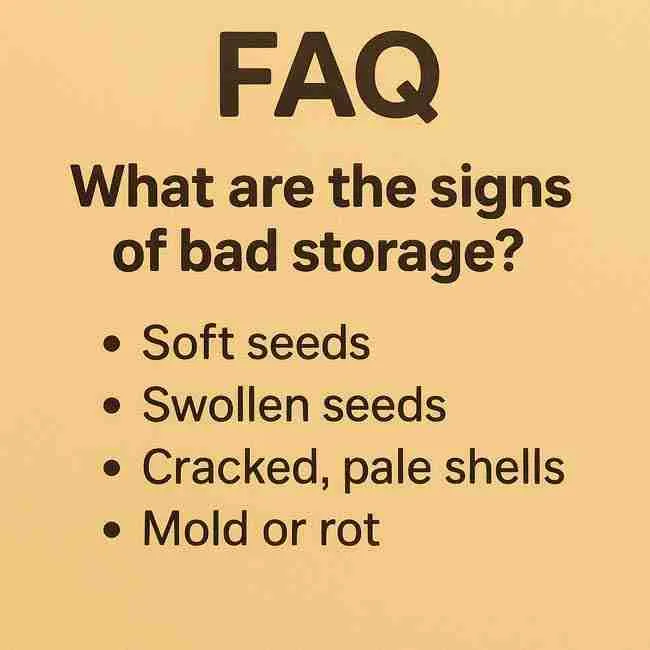
- Seeds crack or look chalky (over-dry or old).
- Musty smell (mold history).
- Germination slows from 24–48h to 5–7 days (aging).
- Lower % sprout than last test (oxidation/moisture damage).
Immediate actions: Refresh desiccant, move to a colder, more stable spot, and test a small sample next run.
FAQ: Seed Storage Mistakes (Straight Answers)
Q: What are the most common Seed Storage Mistakes at home?
Storing warm, skipping desiccant, clear containers in light, fridge door shelf, opening cold jars, and not labeling.
Q: How dry should seeds be before long-term storage?
Around 6–9% moisture. Practically: dry with indicating silica gel for 3–14 days depending on batch size.
Q: Is the freezer better than the fridge?
Yes—if seeds are properly dried and sealed. Otherwise the fridge is safer for most growers.
Q: Can I use rice instead of silica gel?
You can, but it’s weak. For real protection, silica gel or molecular sieves win every time.
Q: Why do I need to warm up sealed containers before opening?
To prevent condensation. Opening cold jars invites room moisture to condense on seeds.
Q: How often should I refresh desiccant?
When the indicator changes color or at least every few months if you open containers periodically.
Q: Are oxygen absorbers safe for seeds?
Yes, if seeds are fully dry and the container is airtight. Otherwise, focus on dryness first.
Q: What’s a quick way to check if my setup is working?
Spot-check with a small hygrometer card or monitor germination speed of a test sample every 6–12 months.
Your Action Plan (Pin This)
- Pick your container: Opaque, airtight (amber jar or mylar).
- Dry seeds: Indicating silica gel to hit ~6–9% moisture.
- Pack + label: Strain, date, desiccant date, batch.
- Cool storage: Back of fridge (4–8°C); consider freezer for vaulting.
- Warm-up sealed, then open to use seeds.
- Refresh desiccant when color changes.
- Test a few seeds every 6–12 months to track vigor.
Follow this, and you’ll dodge the biggest Seed Storage Mistakes and keep your genetics alive and ready.