Quarantine Like a Pro: Intake Protocols for Clones & Seeds


Estimated reading time: 15 minutes
You’re about to bring new life into your grow. Exciting, right? But—whoa there, partner—before you rush those shiny new clones or seeds into the main tent, you’ve gotta protect your house. Hidden pests ride in like stowaways. Pathogens hitch a lift on stems and soil. With a smart, simple system, you can run cannabis quarantine clones like a pro and keep your garden safe, healthy, and drama-free.
Below, you’ll get a complete, step-by-step IPM intake protocol that’s easy to follow, works in small apartments and big basements, and helps you prevent pest introduction from day one. No fluff. Just practical moves you can copy, paste, and run.
What “Quarantine” Really Means for Home Growers

Quarantine is just a short, separate stay for new plants—away from your main plants—so you can watch, wash, and win against problems before they spread. Think of it as a friendly timeout where you give new clones and seedlings a spa day, a checkup, and a clean bill of health.
Why clones and seeds aren’t the same risk
- Clones can carry pests and pathogens already living on leaves, in stems, or in the rooting media.
- Seeds are lower risk, but not zero. They can arrive dusty, or you can introduce issues during germination with dirty tools or damp, stale media.
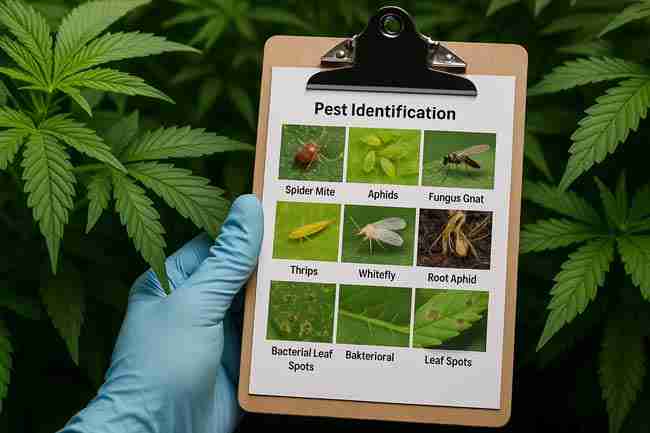
The usual hitchhikers (meet your not-so-secret enemies)
- Spider mites: tiny specks, webbing under leaves.
- Thrips: silvery streaks and little rice-shaped larvae.
- Aphids: soft, pear-shaped sap suckers; sticky honeydew.
- Fungus gnats: black gnats hovering; larvae in wet media.
- Powdery mildew (PM): white floury film on leaves.
- Root rot (Pythium): mushy roots, sour smell, plant wilting.
- Broad/cyclamen mites: distorted, clawed new growth.
Your goal in one sentence
Give every new plant 21 days of separate care, with smart scouting and gentle prevention, so your main room stays spotless.
Quick-Start Intake Checklist (Copy This)
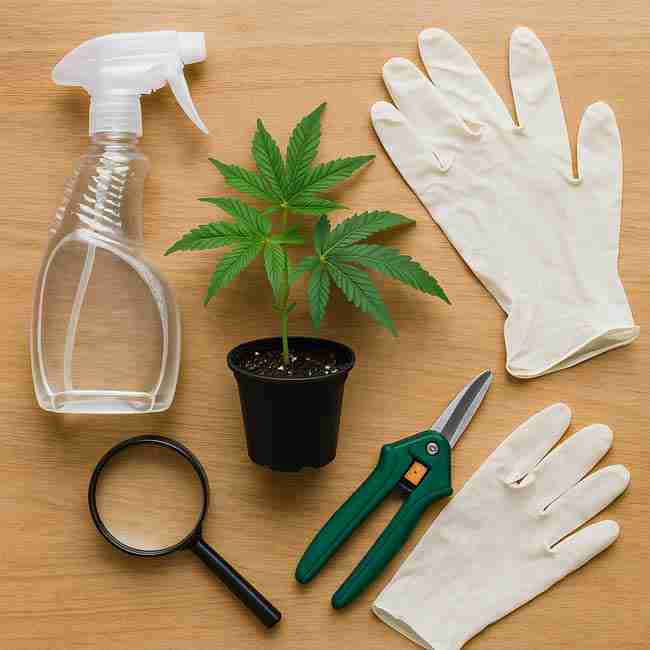
- Set up a separate zone (even a shelf or closet) with its own light, fan, and tools.
- Wash your hands and put on a clean shirt before entering the quarantine zone.
- Open boxes outside your main grow. Bag shipping trash right away.
- Triage each plant: inspect tops, bottoms, petioles, stems, media surface.
- Label each plant with date + source.
- Rinse & dip clones (details below). Seeds get a gentle start in clean media.
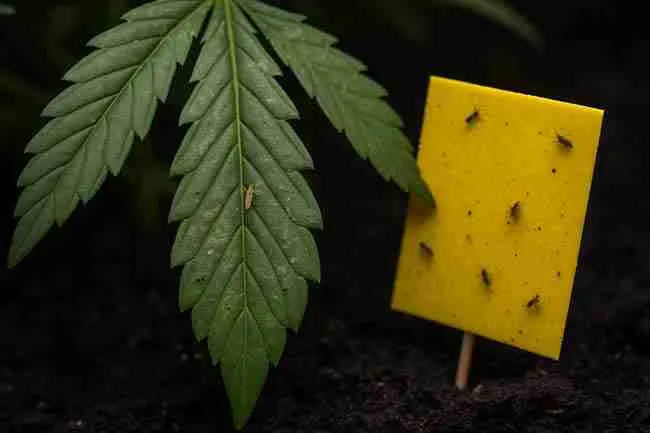
- Sticky traps (yellow/blue) go in immediately.
- Scouting schedule: Day 0, 2, 5, 7, 10, 14, 21—log what you see.
- Rotate gentle preventives (leaf wash, beneficials) during the 21 days.
- No sharing tools with your main grow. If you must, disinfect first.
- Graduation to main room only after plants pass all checks at Day 21.
Your 21-Day Isolation Timeline (At-a-Glance)
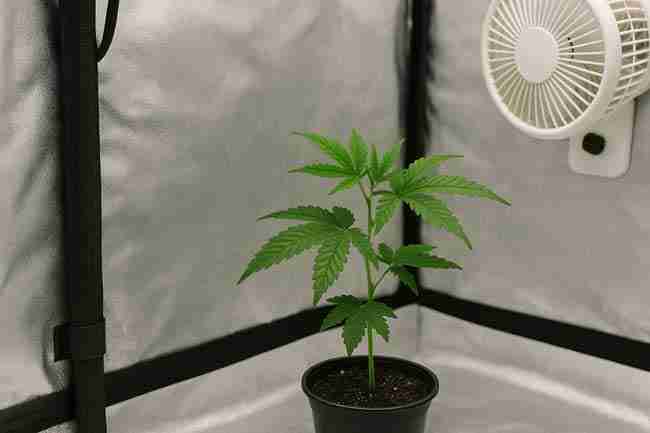
| Day | What You Do | What You’re Looking For | Pass/Fail Decision |
|---|---|---|---|
| 0 | Intake inspection, leaf rinse, clone dip, sticky traps | Any insects, webbing, white patches, distorted tips | If heavy pest load, treat aggressively or cull |
| 2 | Scout with loupe, replace traps if needed | Crawlers on traps, PM dots | If increasing pests, add biologicals or second wash |
| 5 | Light preventive spray/leaf wash | Fresh damage, stippling, larvae | If worse, escalate; if stable, continue |
| 7 | Full plant check + underside scan | Mites, thrips, aphids, PM hints | If clean, maintain routine |
| 10 | Media check with stick test (for gnats) | Larvae near surface | Dryback + beneficials if present |
| 14 | Growth vigor + new-growth exam | Deformed tips (broad mites), PM | If still clear, prep for final week |
| 21 | Final inspection & trap review | Zero pests, clean leaves | Graduate or extend quarantine 7 days if uncertain |
(Yes, you can shorten to 14 days if you’re very experienced and the source is rock-solid, but 21 is safer.)
Setting Up Your Quarantine Zone (Specifications)
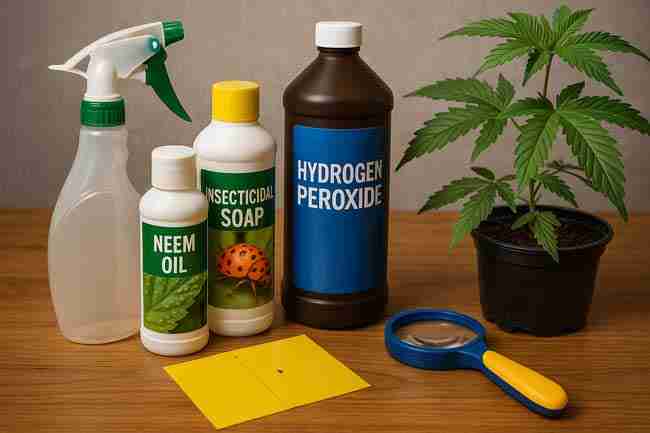
You don’t need a second tent. A plastic shelving unit with a clip light and a cheap fan can work. The key is separation and routine.
Location & airflow
- Separate from the main tent/room; an adjacent closet or spare corner works.
- Intake air: clean room air (not from main tent exhaust).
- Outflow: a small fan to move air; no need for huge exhaust—just avoid stale, still pockets.
Light, temperature, humidity (simple ranges)
- Light: 100–300 PPFD for fresh cuts/seedlings, 300–500 PPFD once settled.
- Temperature: 72–78°F (22–26°C).
- Humidity: 55–65% for rooted clones and seedlings; 65–75% for very fresh cuts under a dome.
- VPD: Soft zone ~0.8–1.1 kPa for easy breathing.
Tools & supplies (starter pack)
- Hand lens (30–60×), yellow & blue sticky traps, gentle leaf wash (citric acid or mild soap), 3% hydrogen peroxide, isopropyl alcohol (70%), clean pruning scissors, paper towels, labeled bags for trash, spare shirt, disposable gloves, small oscillating fan, low-intensity LED.
Cannabis Quarantine Clones: The Step-by-Step Intake Protocol

This is your bread-and-butter. Run it the same way every time so nothing slips through.
1) Arrival triage (5–10 minutes per plant)
- Check the box outside your grow. Bag and toss packing instantly.
- Visual scan: tops, bottoms, stems, nodes.
- Media scan: look for fungus gnat adults or algae.
- Smell test: sour roots or mildew smell? Red flag.
If you spot heavy pests: snap photos for your notes, then decide—treat aggressively in quarantine or cull now. It’s cheaper to lose one clone than a whole harvest.
2) Rinse & dip (gentle first, thorough always)
Start with least-toxic, plant-safe methods. Keep it simple, but effective.
Leaf rinse (baseline)
- Plain lukewarm water: spray leaves top and bottom, let drip dry.
- Optional: Mild soap (a few drops per quart) to loosen honeydew and debris; rinse with water after.
Citric acid leaf wash (generalist)
- Mix ~1 tsp citric acid per quart (4 cups) of water.
- Lightly mist both sides of leaves.
- Wait 2–3 minutes, then rinse with water.
- Great for PM spores, soft-bodied pests, and general cleanup.
Hydrogen peroxide root dip (media hygiene)
- Mix 3% H₂O₂ at 1:4 with water (that’s 1 part peroxide to 4 parts water).
- Submerge only the cube/plug, not the leaves, for 60–90 seconds.
- Rinse the plug with plain water.
- Helps reduce gnat larvae and surface pathogens.
Pro tip: Avoid dunking delicate young leaves in strong solutions. Leaves get the gentle stuff; roots/media get the brief peroxide dip if needed.
3) Pot-up & label
- Transplant into a clean, lightly moistened media (coco, soil, or mix) with good drainage.
- Label with date + source + strain. Consistency here saves headaches later.
4) Place in quarantine zone & set traps
- One yellow and one blue sticky card per tray or per 2–3 plants.
- Keep cards at canopy height and near the media surface.
- Add a small fan for light airflow—leaves should just wiggle.
5) Preventive, low-stress rotation (21 days)
- Day 0–1: Rinse + citric wash, set traps.
- Day 5–7: Inspect. If clean, repeat gentle leaf wash or introduce beneficials (e.g., soil predators like Stratiolaelaps scimitus for gnat larvae; rove beetles Dalotia coriaria if available).
- Day 10–14: Spot clean, prune any dead tissue, keep airflow.
- Day 21: Final check and graduation if all clear.
(If your local laws allow certain registered pesticides, use them only if you confirm a specific pest and you follow the label to the letter. Many growers stick to washes + beneficials during quarantine.)
6) Scout like a detective (quick but focused)
- Underleaf first: mites and thrips love undersides.
- New growth tips: broad/cyclamen mites deform them.
- Media surface: moving “threads” (larvae) = gnats.
- Sticky cards: count catches; a spike means action.
A real-life example (because stories stick)
You bring in a “friend-of-a-friend” clone. Looks fine. On Day 5, your blue card shows 6 thrips. Yikes. You wash with citric, increase airflow, and repeat on Day 7. By Day 10, cards are clean. You hold to Day 21 just to be sure—still clean. That clone now enters your main tent with zero drama. That is the win.
Seed Intake: Clean Germination, Clean Starts

Seeds are usually safer than clones, but you can still bring in issues during germination or early care. Keep it tidy and you’ll cruise.
Clean germination (simple and safe)
- Wash hands, wipe tray and dome with diluted isopropyl or peroxide.
- Use fresh, high-quality media; pre-moisten so it’s damp, not soggy.
- Plant seeds ¼–½ inch deep; don’t bury them alive.
- Keep temps 74–78°F (23–26°C), humidity 65–75% under a dome.
- Vent domes once daily to refresh air.
Seedling hygiene
- No standing water in trays.
- Fan for gentle movement (stems love it).
- Blue/yellow traps nearby to catch early gnats or thrips.
- Scout at Day 5, 7, 10 like you do for clones.
When to quarantine seed lots
- Old or gifted seeds with unknown storage history.
- Swapped or freebie packs from events.
- Any seeds that sprout in reused or outdoor-exposed media.
The IPM Intake Protocol (Simple Framework)
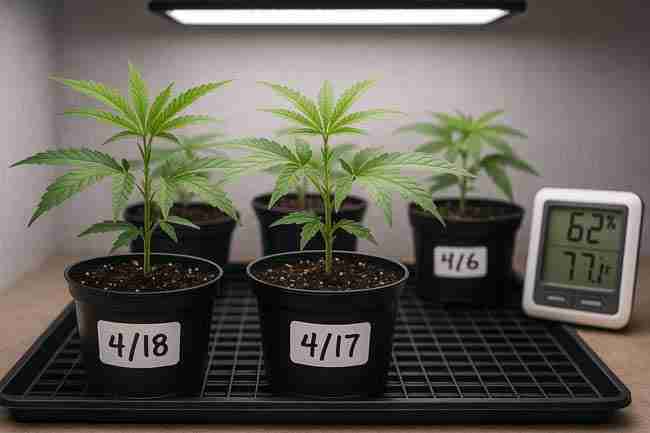
Here’s the core of your IPM intake protocol—four pillars you’ll reuse forever.
1) Exclusion
- Separate zone, dedicated tools, clean clothing.
- Open deliveries away from the main grow.
- No plant visits between homes without a clothing change.
2) Sanitation
- Rinse leaves, clean trays, remove dead tissue.
- Dryback between waterings to discourage gnats.
- Bag trash and take it out of the grow area.
3) Detection
- Sticky cards placed day one.
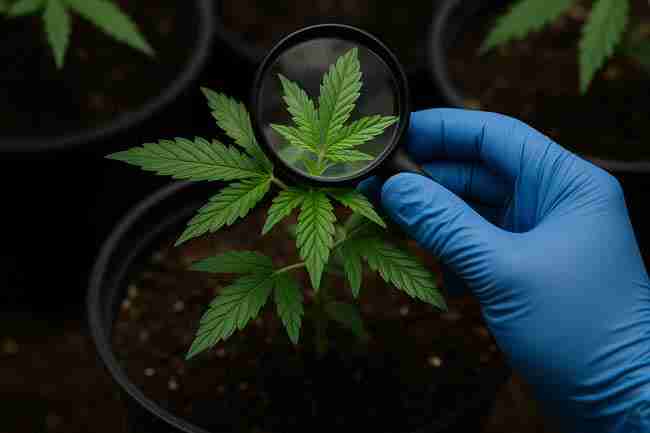
- Hand lens inspections on a fixed schedule.
- Log notes—because memory is a goldfish.
4) Suppression
- Start with gentle washes and beneficials.
- Escalate only if needed and only for a confirmed pest.
- Rotate methods to avoid resistance.
Quarantine Room Specs (Reference Table)
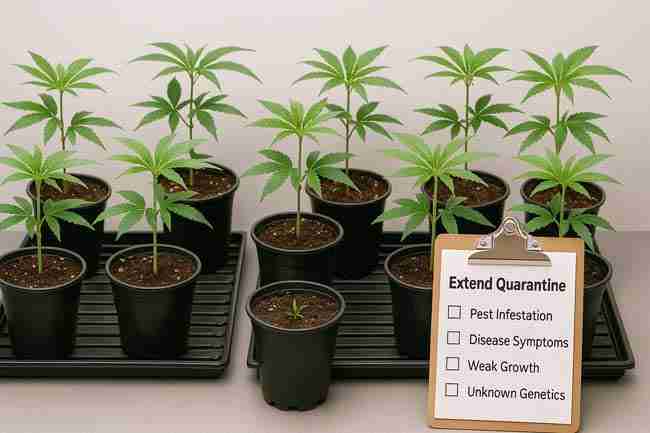
| Component | Spec | Why It Matters |
|---|---|---|
| Light | 100–300 PPFD to start, 300–500 PPFD once stable | Reduces stress, keeps growth compact |
| Temp | 72–78°F (22–26°C) | Happy stomata, fast rooting |
| RH | 55–65% (seedlings/cuts up to 75% under dome) | Prevents wilt without feeding PM |
| Airflow | Gentle oscillation, leaves barely wiggle | Dries leaf surfaces, deters PM/gnats |
| Tools | Separate scissors, tray, sprayer | Stops cross-contamination |
| Traps | Yellow + blue from day one | Early warning system |
| Cleaning | Peroxide or isopropyl wipe-downs | Lowers pathogen pressure |
Prevent Pest Introduction: 12 Habits That Make You Pest-Proof
- Change shirts before you touch plants (yes, really).
- Keep pets out—fur taxis pests.
- Shoes off at the door; grow slippers on.
- Open plant mail outside your main space.
- Bag plant trash right away; remove from building daily.
- Store clean tools in a sealed bin.
- Wipe tent zippers and handles weekly.
- Dryback between irrigations; gnats hate it.
- Quarantine any plant that leaves the house and comes back.
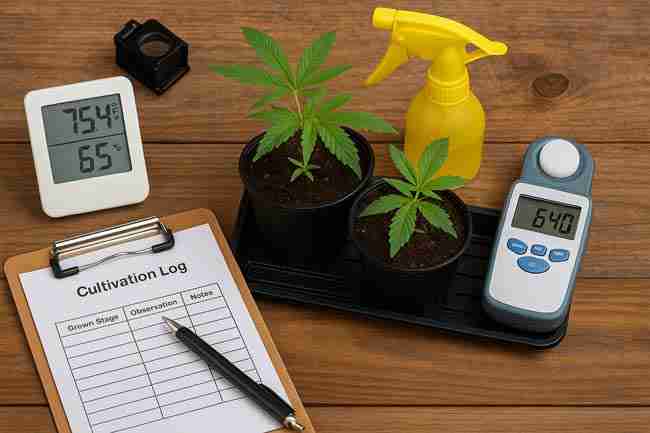
- Log a quick “plant journal”—dates, washes, findings.
- Replace sticky traps weekly so you can compare catches.
- When in doubt, don’t move it into the main room… yet.
(This is the heart of how you prevent pest introduction without stressing about it 24/7.)
Pros, Cons, and the Real-World ROI of Quarantine
Pros
- Stops infestations before they start.
- Saves time, money, and headaches later.
- Builds discipline; your whole garden gets healthier.
- Increases success with rare or expensive genetics.
Cons
- Takes space and a little gear.
- Adds 14–21 days to your timeline.
- Requires a routine (but hey, routines win harvests).
The ROI, plain as day: One ruined crop costs way more than a shelf, a fan, and some sticky cards. Quarantine is a tiny insurance policy with huge payout potential.
Troubleshooting During Quarantine
If you see mites or thrips early
- Wash with citric solution, rinse after.
- Increase airflow to disrupt settling.
- Introduce beneficials suited for your medium if available.
- Recheck traps in 48 hours; repeat as needed.
If you see powdery mildew (PM)
- Remove infected leaves (don’t compost indoors).
- Citric wash followed by rinse; improve airflow and lower RH slightly.
- Keep leaves dry at night.
If seedlings damp off or wilt
- Back off watering; increase airflow.
- Double-check that trays drain.
- Consider a thinner layer of media on the surface to dry faster.
When to cull (it’s okay to say goodbye)
- Persistent pests despite two rounds of action.
- Severe deformation of new growth (broad mites suspicion).
- PM explosion that won’t respond in quarantine.
- Unknown sprays used by the source that you can’t identify or trust.
Letting one plant go beats losing your whole room. Every. Single. Time.
Special Cases & Edge Notes
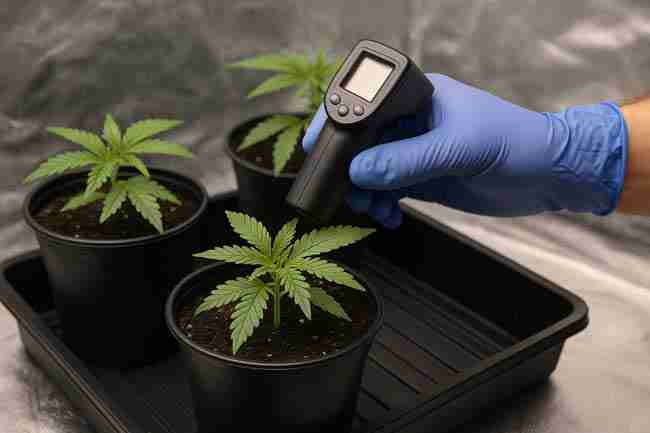
Autoflowers and quarantine
- Autoflower clones aren’t typical and timing is tight, but the same cannabis quarantine clones steps apply—just avoid heavy stress. Use the gentlest washes and keep the quarantine zone comfy and consistent.
Tiny spaces (studio apartment tactics)
- Use a clear storage bin as a mini-dome and a clip light for soft PPFD.
- A USB fan keeps air moving.
- Stick traps can be cut into halves to fit small bins.
- Keep the bin on a separate shelf from your main tent.
Legal note (Canada & U.S.)
Follow your local rules about plant counts and pest control products. Use only permitted inputs and always follow label directions where applicable.
Practical Shopping & Setup Specs (No Brands Needed)

| Item | Minimum Spec | Nice-to-Have |
|---|---|---|
| Shelving/Zone | Sturdy shelf or closet space | Small 2×2’ pop-up tent |
| Light | Dimmable LED, 20–60 W for a few clones | PPFD meter (phone app is fine) |
| Airflow | Small oscillating fan | Carbon prefilter for room air |
| Hygiene | 70% IPA, 3% H₂O₂, paper towels | Color-coded tools for quarantine |
| Scouting | 30–60× loupe, sticky traps | USB microscope for photos |
| Prevention | Citric acid powder, mild soap | Beneficial insects/mites if available |
Your Repeatable “Cannabis Quarantine Clones” Routine (Short List)
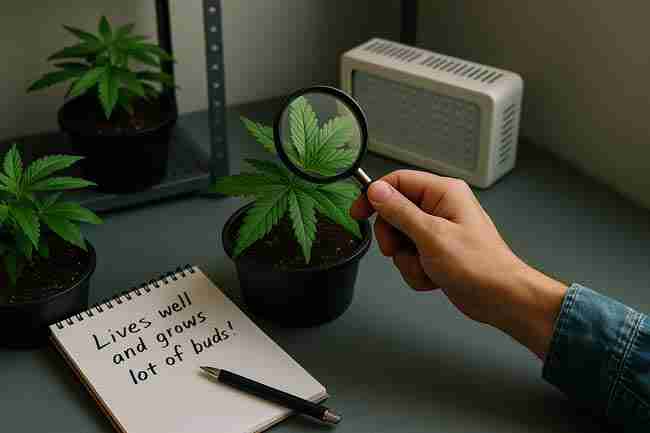
- Separate space.
- Clean hands, clean shirt.
- Intake rinse, labeled pots.
- Sticky traps day one.
- Scout on schedule.
- Gentle wash/biological rotation.
- Graduate at day 21 (only if clean).
Run that loop every time, and your garden stays the happy place it should be.
FAQ: IPM Intake Protocol & How to Prevent Pest Introduction

How long should I quarantine new clones?
21 days is the gold standard. You can sometimes get away with 14 days if the source is trusted and your inspections are spotless, but 21 catches slow-burn issues.
What’s included in a proper IPM intake protocol?
Separate zone, dedicated tools, intake rinse/dip, sticky traps from day one, scheduled scouting with a loupe, gentle preventive washes, and a final inspection before graduation.
How do I prevent pest introduction from the start?
Change shirts, wash hands, open deliveries away from the grow, use sticky traps immediately, and never share un-sanitized tools between quarantine and your main room.
Are seeds safe, or should I quarantine them too?
Seeds are lower risk than clones, but you should still germinate clean, scout seedlings, and keep them separate for 10–14 days before they meet your main room.
What should I spray during quarantine?
Start gentle: water rinse, mild soap, citric acid washes, and good airflow. Only escalate to stronger registered products if the pest is confirmed and the label allows it in your area.
Can I use beneficial insects in quarantine?
Yes. Soil predators for gnat larvae and certain predatory mites for foliage pests are helpful. Release in the quarantine zone so you don’t spread problems to the main room.
My sticky traps keep catching gnats—what now?
Let pots dry back more between waterings, bottom-water less, improve airflow, use a brief peroxide media dip if needed, and consider soil predators if available.
Do “cannabis quarantine clones” steps stress plants?
When done gently—nope. Soft light, comfy temps, and mild washes actually help clones perk up by removing gunk and improving gas exchange.
What if I find powdery mildew after a week?
Remove infected leaves, citric wash, lower evening humidity a touch, and increase airflow. If it keeps returning, extend quarantine or cull.
Can I shorten quarantine if I’m behind schedule?
You can, but it’s a gamble. If you must, at least complete two thorough inspections 48 hours apart with clean traps showing minimal to no catches.
The Bottom Line

You can run cannabis quarantine clones like a pro with a simple setup, a steady 21-day flow, and gentle, smart prevention. Quarantine isn’t a punishment—it’s a welcome party with rules. Do it the same way every time, and you’ll keep your main room clean, your harvests predictable, and your stress nice and low.
If you ever wonder, “Should this plant meet my main garden yet?”—take a breath, check your notes, peek at your traps, and trust the process. Slow is smooth, and smooth is fast.