Pollen Hygiene for Hobby Breeders: Preventing Unwanted Crosses

You’re here because you want seeds on purpose, not by accident. Great—let’s talk cannabis pollen control like you’re setting up a clean kitchen: clear zones, clean tools, smart habits, and a few simple “don’t-do-that” rules that save your whole grow. We’ll keep it punchy, super practical, and beginner-friendly—no fluff, just the exact steps and specs you can use today.
Fast wins (steal this for your notes)
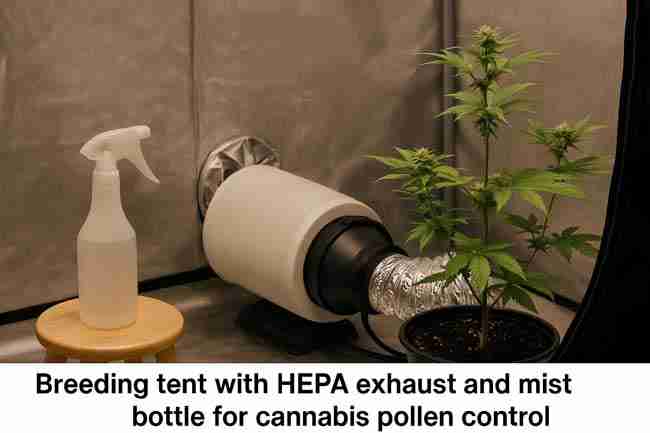
- Water kills pollen on contact. Mist, wipe, mop.
- Negative pressure in your breeding tent keeps pollen from drifting out.
- HEPA + prefilter on exhaust, and turn intake off during pollen work.
- Dress code: nitrile gloves, cap or hood, N95/KN95, and a “pollen shirt” you only wear inside the breeding zone.
- Workflow is one-way: clean grow → breeding tent → decon → shower → back to clean.
- Label everything (male ID, date, cross plan). Unlabeled pollen = mystery seeds later.
Why pollen hygiene matters (and how cannabis pollen behaves)
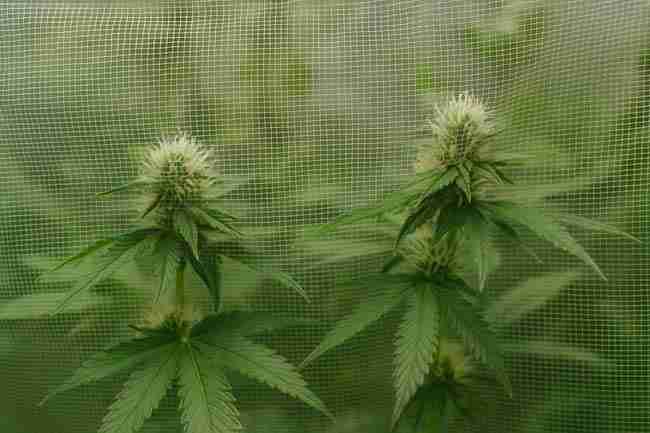
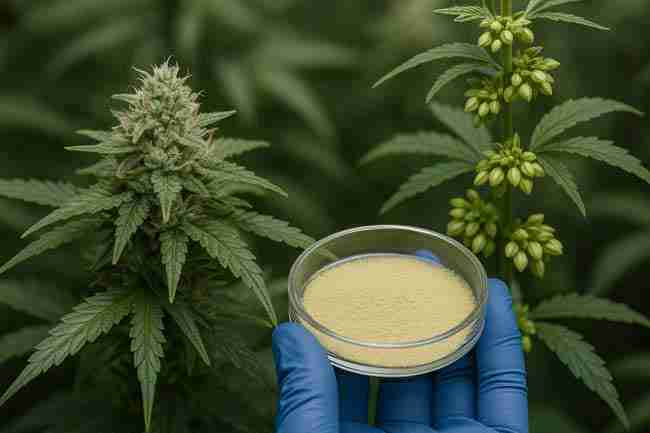
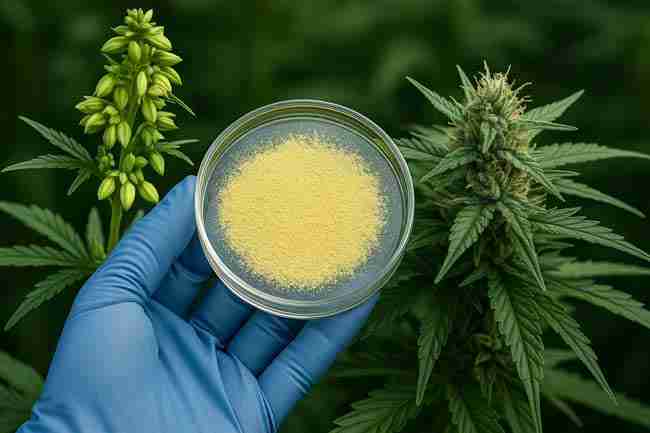
You can’t see it, but cannabis pollen is tiny (~25 μm) and floats like dust. One cracked male pod can pepper your room, stick to your shirt, ride the air, and show up as seeds weeks later. Pollen stays viable for days at room temp, longer if kept dry and cool, and months in a freezer when dried with desiccant. Moral of the story: treat it like glitter—assume it gets everywhere unless you control it.
How far can pollen travel?
Outdoors, wind can escort pollen far beyond your fence. Indoors, every fan, vent, and door gap is a highway. You won’t “see it” until you’re picking seeds. That’s why we isolate males and run negative pressure where pollen is present.
What kills pollen fast?
- Water (plain tap water mist)
- 70% isopropyl alcohol (surfaces, tools)
- Dilute bleach (about 0.1–0.5% sodium hypochlorite)—great for floors/tools
- Heat and UV (less handy than water and wipes for daily routines)
Your two-zone layout (so simple it’s hard to mess up)
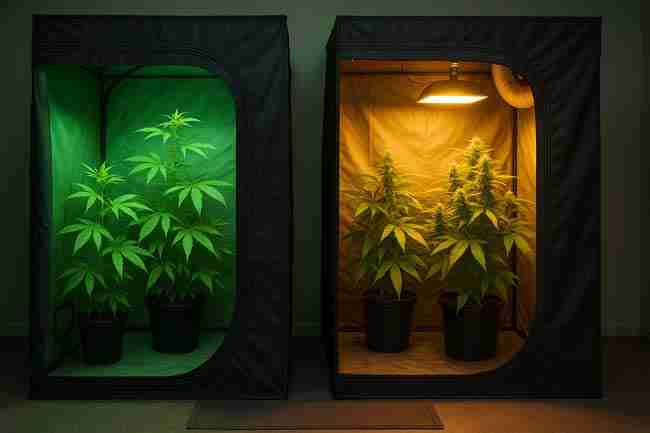
Think: “clean kitchen” and “messy kitchen.” You never carry a greasy pan into the drying rack, right? Same idea.
Zone A — Clean Grow (no pollen allowed)
- Flowering females you don’t want seeded
- Intake filters on your tent/room
- Sticky traps and calm airflow
- Rule: never enter this zone after handling males or pollen without decon
Zone B — Breeding Tent (pollen lives here)
- Your males, reversed females, or target branches
- Negative pressure exhaust through HEPA
- No intake fans during pollen work; seal passive intakes with prefilter fabric
- One-way door: enter last in your day, exit to decon, then shower
Airflow, filtration, and pressure (the specs you actually need)
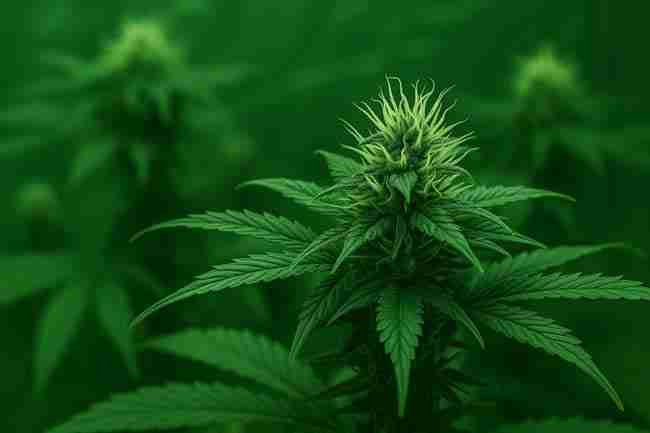
Negative pressure (the “vacuum room” trick)
You want the breeding tent to suck inward a bit when zipped—proof the exhaust is stronger than any intake. That way, air (and pollen) doesn’t leak out; air leaks in.
Ballpark math:
- Tent volume (ft³) = length × width × height
- Target 30–60 air changes per hour (ACH)
- CFM needed ≈ (Tent volume × ACH) / 60
Example: 3×3×6 ft = 54 ft³
- Low end (30 ACH): 54×30/60 ≈ 27 CFM
- Upper end (60 ACH): ≈ 54 CFM
Pick a fan that can push that through a HEPA (filters add resistance), so a 100–200 CFM inline is common for 3×3/4×4 tents.
Filters that matter
- HEPA on exhaust: catches the fine stuff
- Prefilter sock: traps bigger dust and extends HEPA life
- Carbon filters help smells, but pollen hygiene relies on HEPA + negative pressure.
PPE and tools (your “pollen kit”)
- N95/KN95 mask
- Nitrile gloves (a box—change often)
- Cap/hood or disposable hair cover
- Long-sleeve ‘pollen shirt’ (only worn in breeding zone)
- Mister bottle (water; fine spray)
- Micro snips, soft brushes, small glass jars, parchment or coffee filters
- Label set: painter’s tape + fine marker + zip bags
- Cleaning caddy: 70% iso, dilute bleach, microfiber cloths, sticky lint roller
Cannabis Pollen Control SOP (follow this every time)
1) Before you start (5–10 min)
- Power down or turn off intake; keep exhaust + HEPA on.
- Lay parchment or a clean tray under the target branch.
- Put on mask, gloves, and your pollen shirt/cap.
2) Collect pollen (low breeze, zero intake)
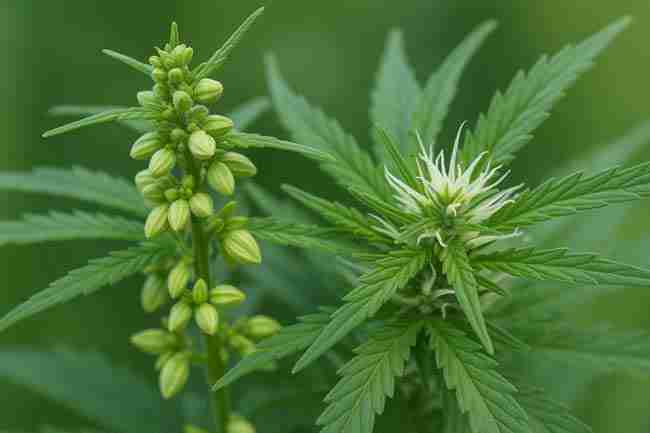
- For males: place a paper or parchment “pollen skirt” under the branch; gently tap open flowers over the sheet.
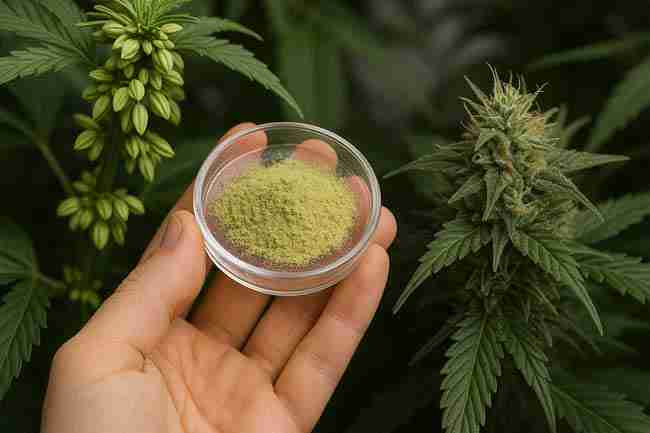
- For reversed female (S1 work): snip mature clusters into a jar; dry 12–24 h with a desiccant pack nearby (not touching), then sift through a coffee filter if you like.
- Label now: plant ID, date, target cross code (e.g., “WWxCW-2025-09-12”).
3) Apply pollen purposely
- Turn fans to the gentlest setting or off briefly.
- Target a single branch or bagged cola (see “Branch bagging” below).
- Use a micro brush or cotton swab; dab lightly—less is more.
- Wait 10–15 minutes, then mist the air around the plant (not the pollinated pistils) to drop stray grains.
4) Lock it down
- Keep the branch bagged (paper or breathable fabric) 12–24 hours after pollination.
- Restore normal exhaust; keep intake off for an hour, then run low.
5) Clean and decon (don’t skip)
- Mist floor + surfaces with water, then wipe with 70% iso or dilute bleach.
- Roll your sleeves with a sticky lint roller before you undress.
- Clothes go straight into a sealed bag to wash.
- Shower before re-entering your clean grow.
Isolation tactics that work
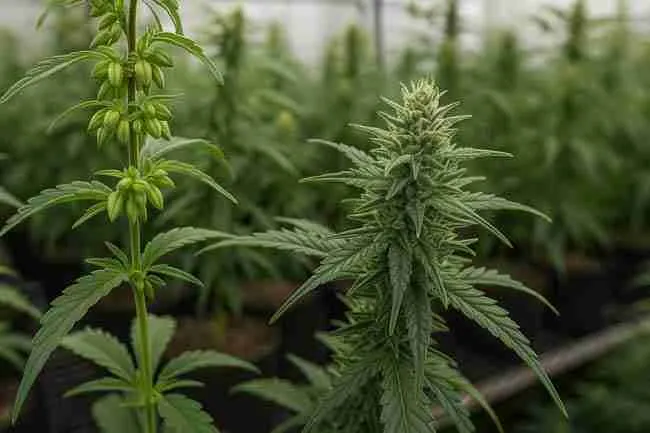
Whole-plant isolation (easy mode)
Place males (or reversed females) in a dedicated breeding tent with HEPA exhaust. Zip up, do the deed, decon, done. Great control, minimal chaos.
Branch bagging (surgical mode)
Want seeds on just one branch?
- Slide a paper bag (or breathable fabric sleeve) over the branch.
- Insert a tiny pinch of pollen on a brush, dab inside bag, gently shake.
- Tie off the bag at the branch base with a soft tie. Leave for 12–24 hours.
- Remove bag carefully and mist the air immediately.
Outdoor considerations
- Choose calm mornings to pollinate.
- Use wind breaks, bag branches, and avoid hot, dry, windy days.
- Space matters; more distance is better, but branch bagging + water spray is your best friend outdoors.
Labeling, drying, and storing pollen
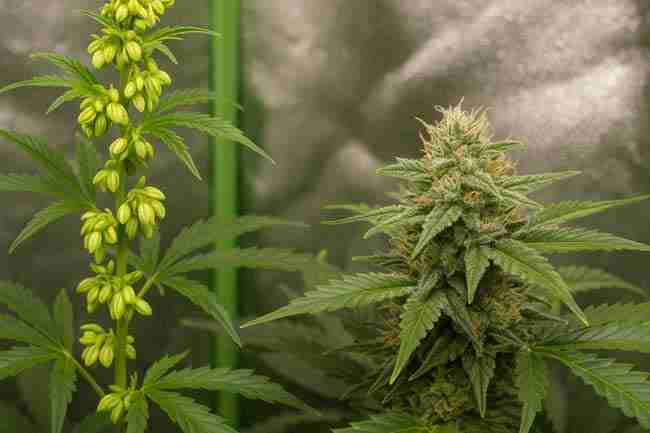
Dry it right
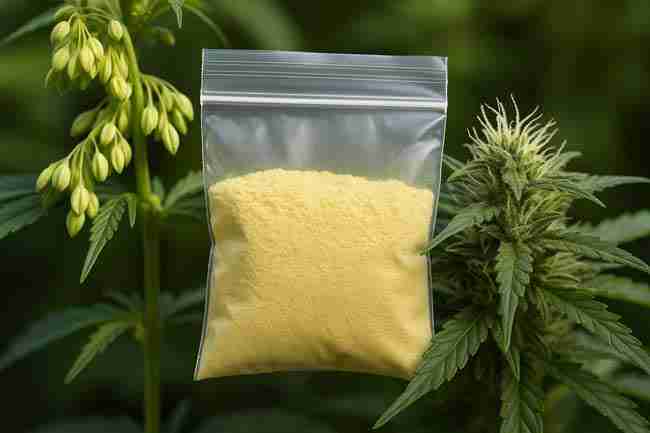
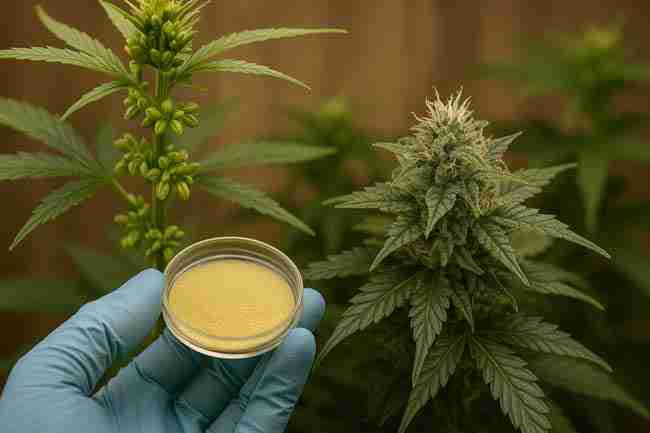
- Spread pollen thinly on parchment in a dark, dry spot several hours to 24 h.
- Mix with baked flour or sterile corn starch (optional, 1:10) to stretch it and reduce clumping.
- Desiccant pack (silica gel) goes in the jar, not touching pollen.
Store smart
- Short term: fridge, sealed jar with desiccant, 1–2 weeks.
- Long term: freezer, double sealed (vial inside a zip bag with desiccant), months.
- Thaw sealed to avoid condensation; only open when at room temp.
Test viability
- Try a tiny test dab on a sacrificial pistil or microscope slide; look for browning pistils in 24–48 h or germ tubes under a scope if you’re fancy.
Your “oops” plan (accidental pollination rescue)
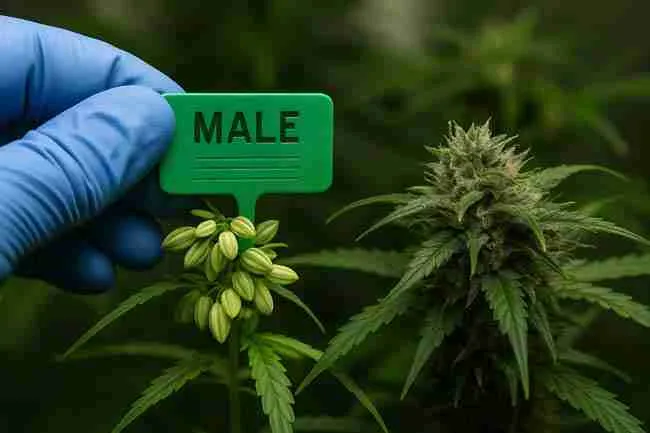
- Stop fans, mist the air (pollen drops).
- Bag the culprit branch or remove the male.
- Shower + change before touching clean plants.
- Rinse leaves of at-risk females with a gentle water spray (not the just-pollinated target).
- Consider harvesting early if heavy seeding already started, then reset with better zoning.
Strategy showdown (pros & cons table)
| Strategy | What it is | Pros | Cons | Best for |
|---|---|---|---|---|
| Whole breeding tent | All pollen work in a dedicated tent with HEPA and negative pressure | Maximum containment; repeatable SOP; easy cleanup | Extra gear and space | Ongoing breeding |
| Branch bagging | Paper/fabric bag over a single cola | Seeds only where you want; cheap | Fussy; easy to knock pistils; must time carefully | One-off crosses |
| Room isolation | Separate sealed room with HEPA | Lots of space for selection | High cost; more to clean | Larger male hunts |
| Outdoor timed pollination | Use calm mornings + branch bags | Natural light; no tent heat | Wind risk; neighbors’ grows; spores everywhere | Seasonal growers |
| “No-touch” targeted dabbing | Micro brush on cut cola in bagged micro-chamber | Pinpoint precision | Very slow; small seed count | Rare crosses |
Gear specs & checklist (the nerdy bits)
Filtration & fans
- HEPA on exhaust (add a prefilter sock)
- Target 30–60 ACH in tent; size fan to meet CFM after filter losses
- Backdraft damper on ducting to stop backflow
PPE
- N95/KN95, nitrile gloves, cap/hood, long sleeves
Surfaces
- Non-porous trays, parchment, microfiber cloths
- Cleaners: 70% iso, dilute bleach, plain water spray
Tools
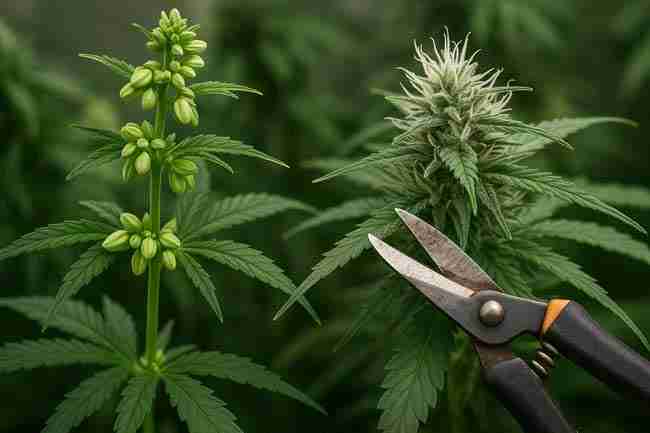
- Micro snips, soft art brush, small glass jars, coffee filters
- Labels, painter’s tape, fine marker, desiccant packs
- Optional: jeweler’s loupe, microscope
Common mistakes (and what to do instead)
- Working with intake on → Kill intake; exhaust only during pollen work.
- No negative pressure → Upsize fan or shorten duct runs; check for tent suck-in.
- No labels → Label vials and bags first; then collect.
- Re-entering clean grow after pollen → Shower/change first.
- Drying pollen while humid → Add desiccant; keep it dark and dry.
- Opening frozen pollen while cold → Always thaw sealed to room temp.
- Fans blasting during pollination → Low or off for 10–15 minutes.
- Handling males then touching females → Gloves off, hands washed, fresh shirt.
- Skipping water mist → Mist air and floor every session.
- Over-pollination → Light touch; targeted branches; bagging helps.
Real-life mini story (so you remember it)
You plan to make Willie Wonka × Chocolate Wedding (mmm, chocolate terps). You set the breeding tent with HEPA exhaust, turn off intake, suit up, and mix the pollen with a little baked flour. You bag one branch on your best female, dab inside the bag, tie, wait 12 hours, remove bag, mist the air, and clean. You shower before touching your clean tent.
Four weeks later, that single branch is heavy with seeds, and the rest of the plant is pure, seedless flower. That’s cannabis pollen control done right.
FAQ (focused on “cannabis pollen control”)
Q1: What’s the quickest way to do cannabis pollen control in a small apartment?
Use a dedicated breeding tent with HEPA exhaust and negative pressure. Keep intake off during pollen work, bag branches, mist the air, and shower before visiting your clean tent.
Q2: Can I control pollen without buying a HEPA filter?
Yes, but it’s riskier. You can use branch bagging, strict water misting, and one-way workflow, but HEPA + negative pressure is the gold standard for reliable cannabis pollen control.
Q3: Will carbon filters stop pollen?
Carbon helps with smell, not pollen. For cannabis pollen control, use HEPA on exhaust and prefilters on intakes.
Q4: How long does pollen stay viable?
Around days at room temp (short), weeks in a fridge (if dry), and months in a freezer with desiccant. Always thaw sealed before opening.
Q5: How do I clean after a pollen session?
Mist with water to drop pollen, wipe with 70% iso or dilute bleach, and wash clothing used in the breeding zone. Keep that workflow one-way.
Q6: Can I target just one branch and keep the rest seedless?
Absolutely. Branch bagging plus gentle application and water misting afterward is a classic cannabis pollen control move.
Q7: Is outdoor cannabis pollen control even possible?
It’s harder. Pick calm mornings, bag branches, set wind breaks, and spray surrounding foliage with water when you finish.
Q8: Do I need to reverse females to practice good cannabis pollen control?
No. Whether you’re using males or reversed females, the control methods are the same: isolation, negative pressure, targeted application, and cleanup.
Quick-reference tables
Pollen life & kill chart
| Condition | Likely viability | Control move |
|---|---|---|
| Room temp, dry | A few days | Collect fast; store cool with desiccant |
| High humidity | Hours to a day | Dry with desiccant; avoid humid rooms |
| Fridge, dry | 1–2+ weeks | Double-seal; label; use quickly |
| Freezer, dry | Months | Double-seal; thaw sealed before opening |
| Water exposure | Seconds | Mist air/floor/surfaces to neutralize |
| Alcohol/bleach on surfaces | Immediate | Wipe tools, trays, poles, zippers |
Breeding tent specs (starter guide)
| Component | Spec | Why it matters |
|---|---|---|
| Exhaust fan | Sized for 30–60 ACH after filter | Ensures negative pressure and containment |
| Exhaust filter | HEPA with prefilter | Captures fine pollen reliably |
| Intake | Off during pollen work; passive with prefilter | Prevents pollen blowouts |
| Ducting | Short, straight, with damper | Maintains pressure; avoids backflow |
| PPE | N95/KN95, nitrile gloves, cap/hood | Stops pollen hitchhiking |
| Cleanup | Water mist + 70% iso or dilute bleach | Drops and destroys stray pollen |
| Labeling | Plant ID, date, cross code | Prevents mystery seeds later |
Pros and cons (big-picture)
Pros of strict cannabis pollen control
- Predictable crosses and clean data on your line
- Seed where you want it, flowers seedless elsewhere
- Saves runs, time, and money
Cons
- Extra gear (HEPA, PPE) and a bit more time
- A routine you must follow every single time
- Branch bagging can be fiddly at first
“Specifications” you can copy-paste into your grow notes
- Tent volume: (L×W×H ft) → target 30–60 ACH
- Exhaust: Inline fan that meets CFM after filter losses
- Filter: HEPA on exhaust; prefilter sock
- Intake: Off during pollen work; passive filtered in general
- Workflow: Clean → Breed → Decon → Shower → Clean
- PPE: N95/KN95, nitrile gloves, cap, long sleeves
- Cleanup: Water mist + 70% iso or dilute bleach
- Storage: Dry pollen with desiccant; fridge short term, freezer long term; thaw sealed
- Label format: [Male/Donor] × [Female/Recipient] – [YYYY-MM-DD] – [Batch/Pheno]
Final take
If you treat pollen like glitter—contain it, apply it gently, and clean it like a pro—you’ll hit your target crosses without surprise seeds. The routine is simple: negative pressure, HEPA, water mist, one-way workflow, and labels. Do that, and your breeding gets cleaner, faster, and way more fun.