How to Test Cannabis Seed Viability Without Germinating Them


You’ve got a stash of seeds and a big question: are these little beans still alive? You want answers without actually sprouting them. Perfect. In this guide, you’ll Test Cannabis Seed Viability step-by-step using simple, low-risk checks you can do at home—plus some pro-level methods if you want extra certainty. You’ll get clear instructions, real-world tips, and a no-fluff checklist you can run today.
The Quick-Answer Box
If you only have 60 seconds, do this to Test Cannabis Seed Viability fast (no germination):
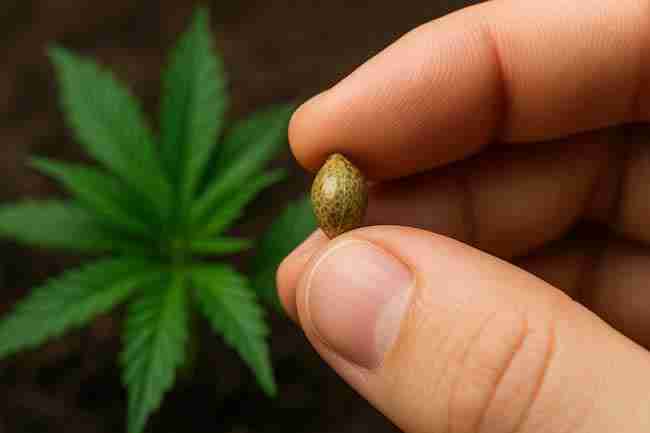
- Visual Check: Look for firm shells, intact seams, and a slight sheen. Avoid cracked, overly green, or chalky seeds.
- Pinch Test: Lightly press the seed between fingers. It should not collapse.
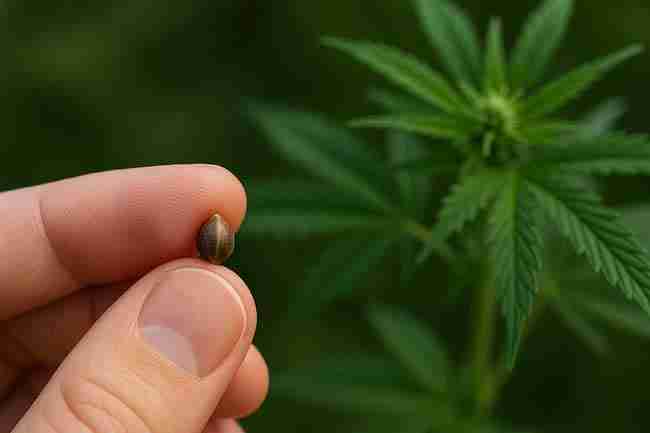
- Flashlight Candling: Backlight the seed. You’ll often see a denser core/embryo silhouette in viable seeds. (Just be careful not to heat the seed)
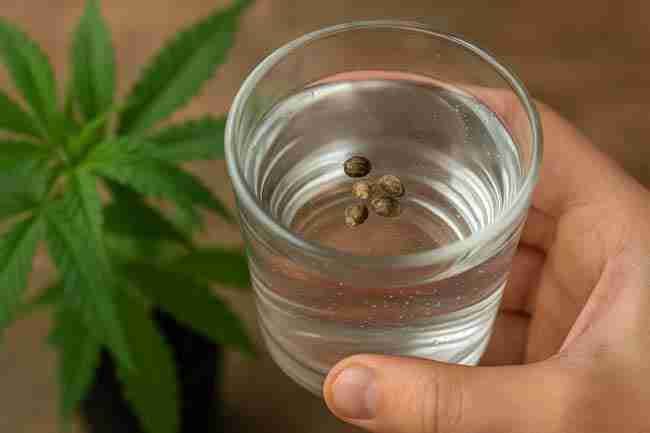
- Micro-Float (30–120 seconds max): Drop seeds in room-temp water; sinkers tend to be denser (more likely viable). Dry immediately after.
- Batch Score & Decide: Keep seeds that pass 3–4 checks; store properly (cool, dark, dry). Retire or test further (cut/TZ) if they fail.
What “Viable” Actually Means (and why it’s not the same as “fresh”)
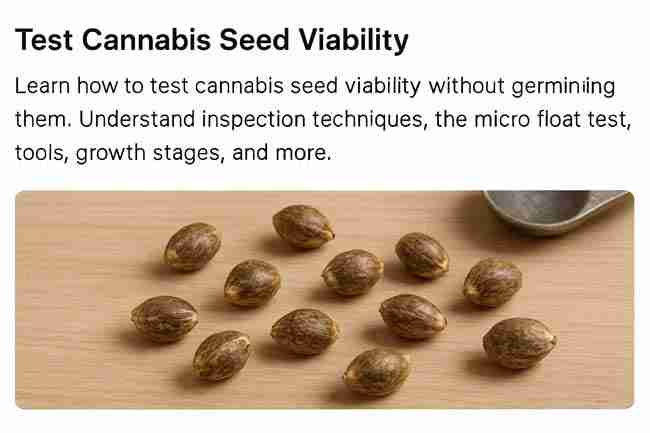
Viable means a seed can germinate under proper conditions. It’s like a sleeping baby plant, not dead, not awake—just waiting. Freshness helps, but even older seeds can be viable if they were stored well. You’ll Test Cannabis Seed Viability without waking the seed, so you don’t waste your planting schedule or risk accidental sprouting.
Key idea: You’re estimating life from outside clues (structure, density, moisture history). You won’t get 100% certainty without destructive or lab tests, but you can get very close.
Tools You’ll Use (simple to pro)
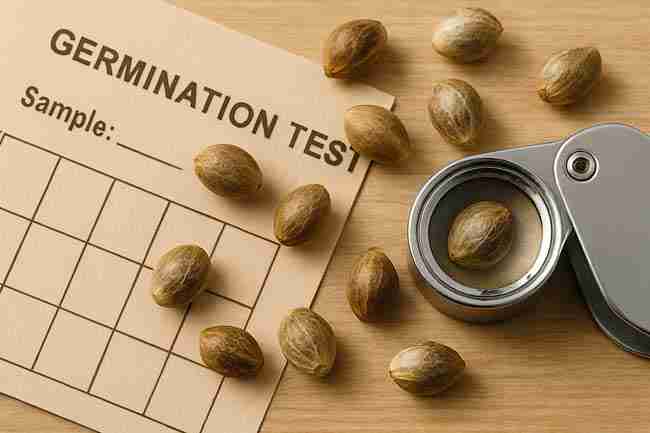
- Good lighting and a phone camera macro (or loupe 30–60×)
- Flashlight (for candling)
- Clean tweezers (gentle handling)
- Digital pocket scale (0.01 g resolution; optional but helpful)
- Room-temp water and paper towel (for micro-float & drying)
- Mini-hygrometer + airtight jar (to audit storage conditions)
- Silica gel desiccant (for drying storage, not for testing)
- Optional (Advanced): Tetrazolium (TZ) reagent, EC/TDS meter, X-Acto blade for cut tests (destructive)
Non-Destructive Tests You Can Do Right Now
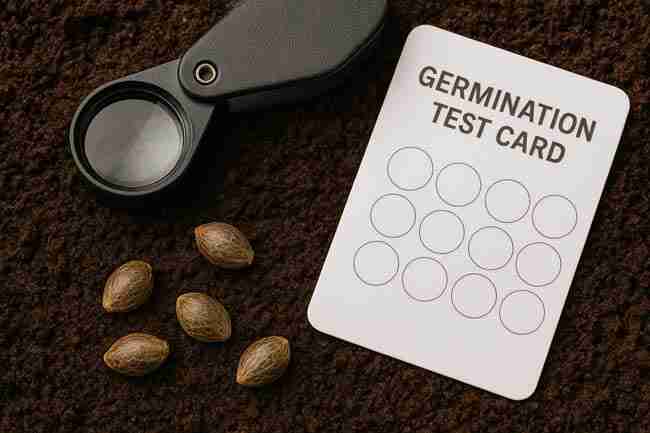
These checks won’t germinate the seed and won’t damage it when done gently. Start here.
Visual Inspection (structure, color, seam, sheen)
What to look for:
- Shell integrity: No cracks, splits, or crushed spots.
- Seam (raphe) intact: A clean seam line = properly formed shell.
- Color: Mature cannabis seeds range from tan to mottled brown; some are very dark; others lighter. Myth alert: tiger stripes do not guarantee viability.
- Sheen: A slight, waxy luster usually signals a healthy outer layer. Fully chalky or very dull can indicate age or desiccation damage.
- Size & shape: Plump, ovoid seeds (3.0–5.5 mm long) are common, though size varies by cultivar. Extremely tiny or flat seeds often under-developed.
- Navel (micropyle) end: Should look neat, not cratered or broken.
Red flags: Soft spots, mold speckling, heavy scuffing, or bright green (immature).
The Pinch Test (gentle firmness)
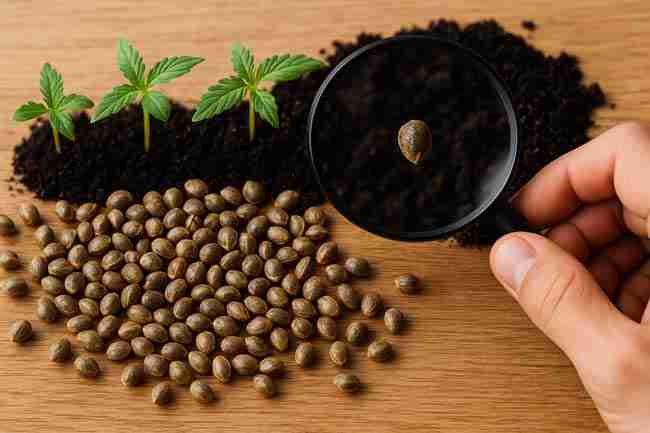
Hold a seed between thumb and forefinger and very gently squeeze.
- Pass: It resists pressure and springs back.
- Fail: It collapses or cracks—likely empty or dried-out embryo.
Tip: Practice on a known good seed to calibrate your touch.
Candling with a Flashlight
Darken the room. Place a seed on your fingertip, shine a small flashlight from behind (or beneath) and look for an internal silhouette.
- Likely viable: You often see a denser core shadow and overall opacity.
- Likely not viable: Very translucent with no defined inner mass; looks hollow.
Note: Shell thickness varies by cultivar; combine candling results with the pinch and visual checks to be confident.
Micro-Weighing (relative density proxy)
Use a 0.01 g scale. Weigh 10 seeds and divide by 10 for an average. Heavier, denser seeds in the same batch tend to have better fill and viability. You’re not comparing across different strains—only within the batch.
Heuristic: If you’ve got a wide spread, separate the heaviest 50% and test those first in your grow. It’s a simple way to prioritize likely winners.
Low-Contact Tests (careful—do not trigger germination)
These methods touch moisture briefly or stress the shell. You’ll keep them quick to avoid “waking” the seed.
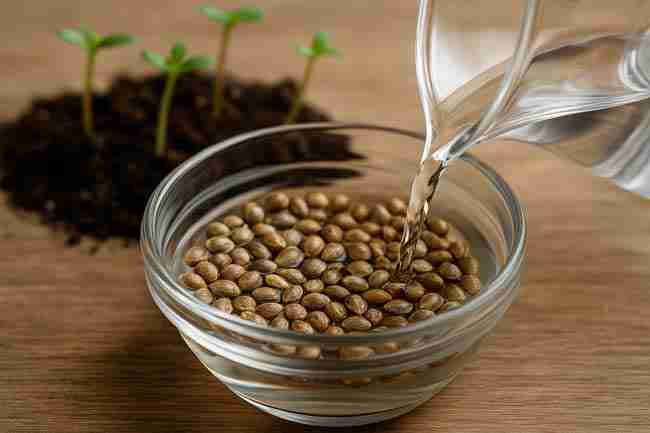
The 1–2 Minute Micro-Float Test
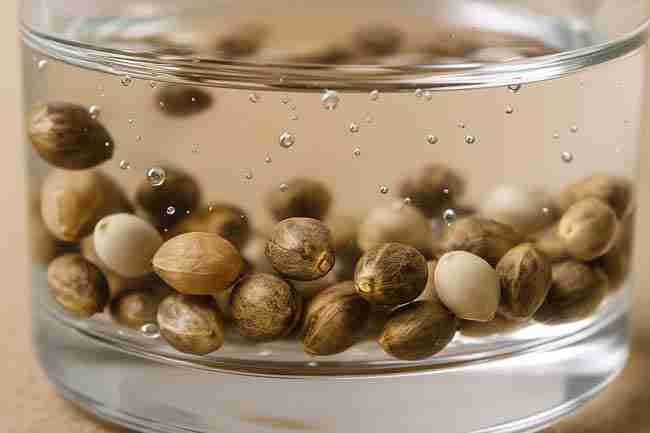
Goal: Use water density to estimate internal fill without starting germination.
How to do it:
- Fill a glass with room-temperature water.
- Drop seeds in for 30–120 seconds.
- Observe: Sinkers are typically denser (often more viable). Floaters could be empty or under-filled.
- Important: Scoop seeds out immediately. Pat dry on paper towel. Air dry 30–60 minutes in a cool, dry spot before returning to storage.
Caveats:
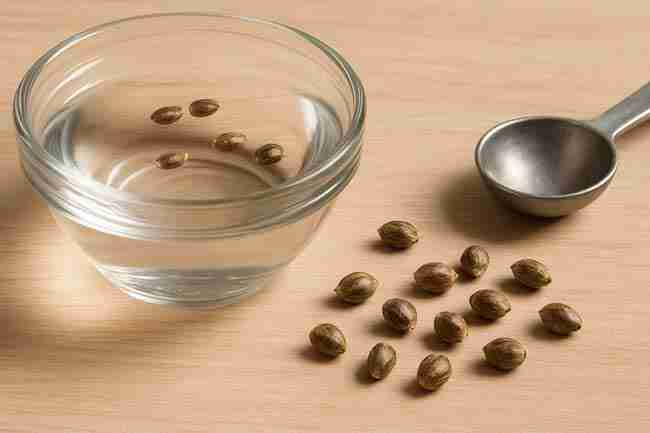
- Some viable seeds float at first (surface tension). Tap them to break tension.
- Extended soaking can begin imbibition; keep it short.
- Not a perfect test, but useful combined with others.
EC “Leakage” Snapshot (advanced)
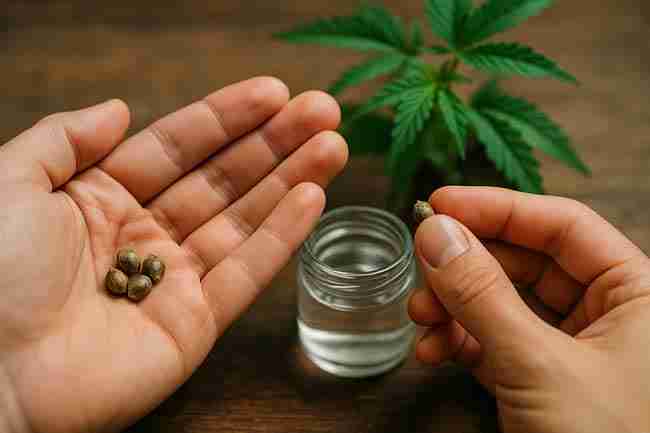
In seed science, higher electrolyte leakage suggests membrane damage. A gentle version:
- Place 10–20 seeds in very small volume of distilled water for 10–15 minutes.
- Measure water with an EC/TDS meter right before and right after.
- Large jump = more leakage (often poorer vigor).
- Dry seeds right after (paper towel + cool air).
Note: This is a comparative, batch-to-batch indicator. It doesn’t give a pass/fail number; use it to rank lots.
Destructive Tests (only if you can spare a few)
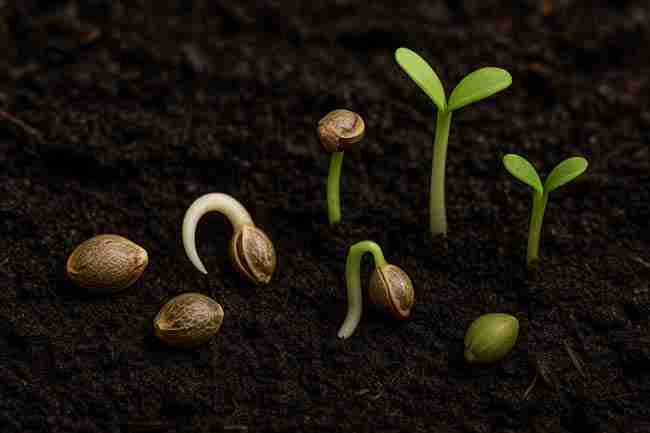
If you’ve got plenty of seeds or truly need certainty, these are powerful. They do not germinate the seed—they end it.
The Cut Test
Carefully slice a seed longwise with a sharp blade.

- Healthy embryo/endosperm: White to creamy interior, firm texture.
- Non-viable: Dusty, brown/black mush, shriveled or empty cavity.
Use when: A batch fails non-destructive checks and you want a fast, clear picture before planting a large run.
Tetrazolium (TZ) Staining (lab-style)
TZ turns living tissues red/pink (respiring enzymes reduce the dye).
- Nick the seed coat (or pre-soak briefly) so TZ can enter.
- Soak in 1% TZ solution (warm, dark) for a short period.
- Interpret: Pink/red = living tissue; pale/no stain = dead.
Why it’s great: TZ reveals viability without germination and is widely used in seed testing labs.
Why it’s tricky: Requires care, correct timing, and interpretation experience. And the seed is no longer usable.
Storage Health Audit (prevents future viability loss)
Testing is great, but protecting viability is even better. A tiny storage audit now can save entire collections.
Rule of 100 (temperature + humidity)
Add storage temperature (°F) to relative humidity (%). Keep the sum at or below 100. Lower is better.
- Example: 50°F fridge + 30% RH = 80 (great).
Ideal Storage Specs (practical targets)
- Temperature: 4–8°C (39–46°F) is ideal for long-term.
- Relative Humidity inside container: ~25–35% RH is a safe zone for cannabis seeds.
- Seed Moisture: Aim for ~6–9% moisture content (you’ll approximate using RH control and desiccants).
- Light: Zero. Keep seeds in opaque containers.
- Oxygen: Reduced is helpful; vacuum-seal or inert gas flush if you’re fancy.
Hygrometer Jar Test (cheap and effective)
Place a mini hygrometer in a sealed jar with your seed containers (not touching water). After 24–48 hours, note RH. If it reads >35–40% RH, re-dry with fresh silica gel. Repeat until stable.
Desiccant Care
Use indicating silica gel packs. When the color shifts (saturated), recharge in a warm oven per manufacturer directions. Don’t bake your seeds—only the silica.
Your Decision Flow (what to do with results)
Pass many checks?
- Keep and plant with confidence. Store the rest properly.
Mixed results?
- Separate into “A” (best) and “B” (questionable) groups.
- Use “A” seeds first for important grows. “B” seeds can be trialed or used for practice.
Mostly fails?
- Consider a destructive check (cut/TZ) on 3–5 seeds for a definitive picture.
- If dead, retire the lot, fix storage, and restock from a reputable breeder.
Comparison Table: Ways to Test Cannabis Seed Viability (No Germination)
| Method | What You Need | Time | What “Good” Looks Like | Pros | Cons | Risk of Starting Germination |
|---|---|---|---|---|---|---|
| Visual + Pinch | Light, loupe, fingers | 1–5 min | Firm shell, intact seam, slight sheen | Free, instant | Some false positives/negatives | 0% |
| Candling | Flashlight | 5–10 min | Dense inner silhouette | Non-destructive, fast | Thick shells can obscure view | 0% |
| Micro-Weight (batch) | 0.01g scale | 5–10 min | Heavier fraction in batch | Ranks batches smartly | Only comparative | 0% |
| Micro-Float (≤2 min) | Cup of water | 2–5 min | Seeds sink/lose float | Easy density clue | Some viable seeds float; timing crucial | Low |
| EC Snapshot | EC/TDS meter | 10–20 min | Small EC rise = better membranes | Vigor hint | Needs gear; comparative only | Low |
| Cut Test | Blade | 2–3 min/seed | White, firm embryo | Clear visual confirmation | Destroys seed | 0% |
| TZ Stain | 1% TZ, warm/dark | 30–90 min | Pink/red living tissue | Lab-grade viability call | Chemicals; interpretation skill; destructive | 0% |
Real-Life Scenarios (so you know what to do)
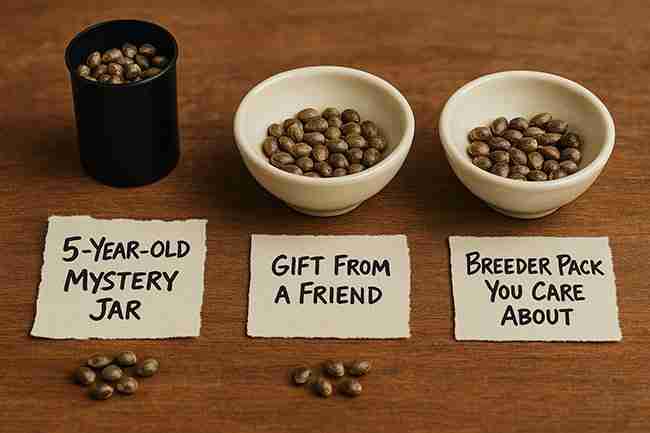
The “5-Year-Old Mystery Jar”
You find a film canister of seeds from 2020. They look dull and a bit scuffed.
- Do: Visual + pinch; candling; micro-float 60–90 seconds; re-dry; store with fresh silica.
- Likely outcome: A handful pass. Plant the “A” group first. Consider cut test on 2–3 if you’re betting space.
The “Gift From a Friend”
You got “amazing genetics,” but storage is unknown.
- Do: Run non-destructive checks; if mixed, do a small destructive cut test on 1–2 seeds.
- Why: Saves you from dedicating a whole tent to dead beans.
The “Breeder Pack You Care About”
You’ve got limited seeds of a special cross (say, Willie Wonka from Green Avenger Seeds—short flower, chocolate terps, easy to grow).
- Do: Non-destructive only; no float. Store perfectly. Plant with dialed-in environment to maximize each seed’s chance.
Common Mistakes to Avoid (seriously, don’t do these)
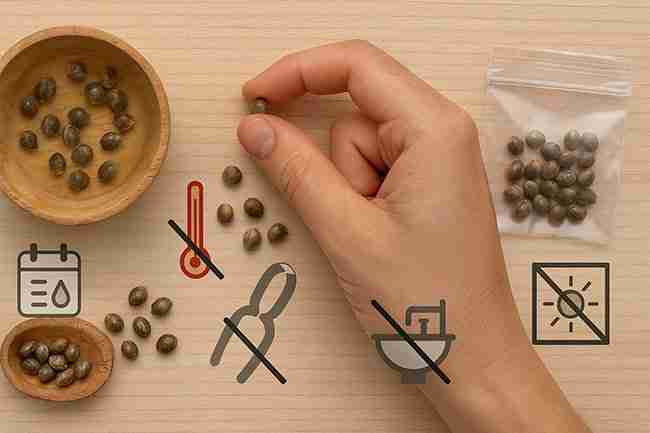
- Soaking too long during float/EC tests. Keep it short or you’ll kickstart germination.
- Using hot water: Heat damages cells quickly.
- Crushing during pinch: It’s a gentle press, not a nutcracker.
- Leaving seeds in humid rooms: Kitchens/bathrooms are seed killers.
- Storing in clear bags on a sunny shelf: Light + heat = viability loss.
Specifications Checklist (copy/paste and tape to your seed fridge)
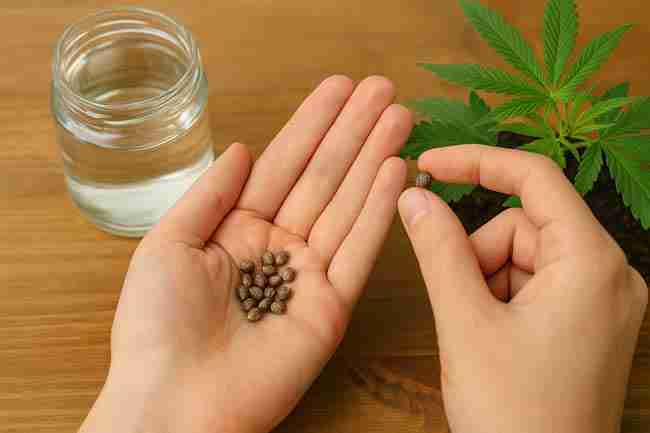
Goal: Maintain viability and test wisely.
- Storage temp: 4–8°C (39–46°F)
- Storage RH in container: 25–35%
- Rule of 100: Temp (°F) + RH ≤ 100
- Light: Zero (opaque containers)
- Desiccant: Indicating silica, refreshed as needed
- Non-destructive tests first: Visual → Pinch → Candle → (optional) Micro-weight
- If needed: Micro-float ≤2 minutes, dry seeds immediately
- For certainty with spares: Cut test or TZ stain
- Batch triage: A group = plant first; B group = trial or retire
Step-by-Step: Your At-Home Protocol to Test Cannabis Seed Viability
- Sort & Label: Keep batches separate (by date/source).
- Visual Sweep: Remove obviously cracked, green, or moldy seeds.
- Pinch Check: Light squeeze; set aside any that collapse (discard).
- Candle: Backlight and note which show dense cores.
- Weigh (optional): Rank within batch; prioritize heavier seeds.
- Micro-Float (optional): 30–120 seconds max. Note the sinkers.
- Dry Immediately: Blot and air-dry before storage.
- Decide:
- Mostly passes? Store and plant with confidence.
- Mixed? A/B split.
- Mostly fails? Consider cut/TZ on 3–5 seeds for a definitive call.
- Audit Storage: Check hygrometer in the jar; refresh silica.
- Log Results: Keep simple notes; it’ll save you time next season.
Pros & Cons of Popular Methods
Visual + Pinch
- Pros: Free, instant, non-destructive
- Cons: Not foolproof; relies on your eye/touch
Candling
- Pros: Adds useful inner-structure clue
- Cons: Thick shells can hide details
Micro-Float
- Pros: Fast density signal
- Cons: Timing matters; tiny risk of starting imbibition; not perfect
Cut Test
- Pros: Clear interior verdict
- Cons: Destroys seed; sample a few only
TZ Staining
- Pros: Lab-style viability confirmation
- Cons: Requires reagent, skill, time; destructive
EC Snapshot
- Pros: Hints at vigor (membrane integrity)
- Cons: Gear needed; comparative—not a pass/fail number
Helpful List: Red-Flag Signs Your Seeds Probably Won’t Make It

- Paper-thin shells that cave under pinch
- Bright green, immature coloring
- Heavy external scarring or pitting
- Musty smell (possible mold history)
- Whitish, chalky surface with flaking
- Float + translucent on candling + collapses on pinch (triple fail)
FAQs (related to Test Cannabis Seed Viability)
Can I Test Cannabis Seed Viability without any tools?
Yes. Do Visual → Pinch → Candle with a household flashlight. If unsure, do a ≤2-minute micro-float, then dry and store.
Do dark, striped seeds mean higher viability?
Not necessarily. Color and striping vary by genetics. Shell integrity and firmness matter much more.
Are floaters always bad?
No. Surface tension and shell oils can keep viable seeds floating briefly. Break the surface and time the test; combine with candling/pinch.
Will a quick float start germination?
Not if you keep it short (30–120 seconds), then dry seeds right away. Longer soaks can start imbibition.
What’s the most accurate non-germination test?
TZ staining is very accurate but destructive and requires practice. For home growers, layered non-destructive checks give strong confidence.
How long do cannabis seeds stay viable?
Well-stored seeds (cool, dark, dry) can remain viable for many years. Poor storage (heat, humidity, light) kills them fast.
Does bigger always mean better?
Within the same batch, heavier/denser seeds are often better filled, but size alone across different strains isn’t a reliable indicator.
Should I sand/scarify the shell to test?
No. That’s for tough seed coats before germination, not viability testing. You could damage the embryo.
How do I store seeds after testing?
Dry thoroughly (if you used water), then seal in an opaque, airtight container with fresh silica, 4–8°C, 25–35% RH.
Action Plan (do this today)
- Run Visual + Pinch + Candle on each batch.
- If mixed, perform a ≤2-minute micro-float on a subset; dry thoroughly.
- Separate “A” and “B” groups; log notes.
- Audit storage with a hygrometer jar test.
- Refresh desiccant, label dates, and keep everything cool, dark, and dry.
- When you’re ready to plant, start with “A” seeds for best results.
Bonus: Why This Helps You Win Harvests
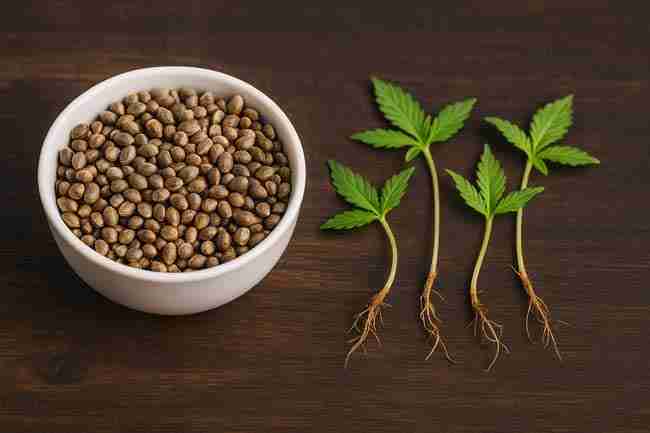
When you Test Cannabis Seed Viability before planting, you avoid empty pots, wasted nutrients, and calendar chaos. You’ll fill your tent with seeds that actually want to live—so your time, light, and love go where they count.
If you want a reliable starting point, try proven, easy growers like Willie Wonka (fast 7–8 weeks, chocolate-leaning terps). Strong genetics + smart testing = happy harvests.