How to Store Cannabis Seeds for 10+ Years Without Losing Viability

Picture This: A Time-Capsule Full of Potential
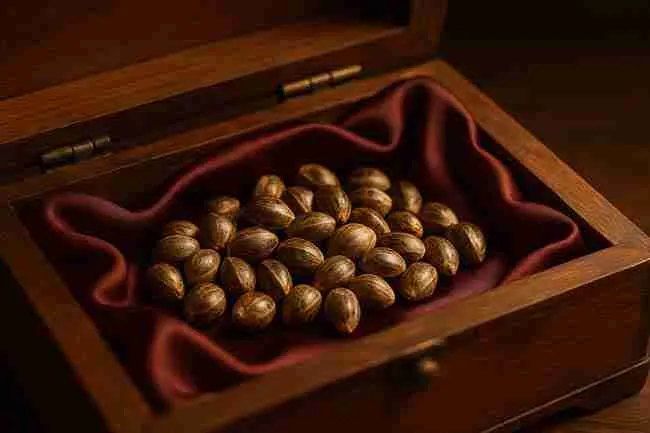
You crack open an old shoebox and—bam!—there’s a tiny treasure trove of cannabis seeds you totally forgot about. Ten years have flown by. Will those little pebble-looking things still sprout into green glory, or did time do them dirty? Lucky for you, learning to Store Cannabis Seeds long-term isn’t rocket science. You just need the right prep work, clever packaging, and a dash of routine check-ups. Let’s dive into the nitty-gritty so your genetics stay fresh longer than a decade-old fruitcake (and taste way better).
Why Long-Term Seed Storage Matters

- Protect Rare Genetics: Got limited-edition Willie Wonka seeds from Green Avenger Seeds? Keep ’em safe for future breeding projects.
- Save Money: Buying the same strain twice because the first batch died is like paying rent on a house you already own.
- Future-Proof Breeding: Climate laws and market demand change. Stable seeds are your insurance policy.
- Emergency Backup: Power outage fries your mother plants? Those frozen seeds are your reboot button.
Internal link idea: For keeping living plants alive, check our article “Cannabis Plant Surgery: How to Save a Plant in Crisis.”
The Seed Survival Triangle: Cool, Dark, Dry
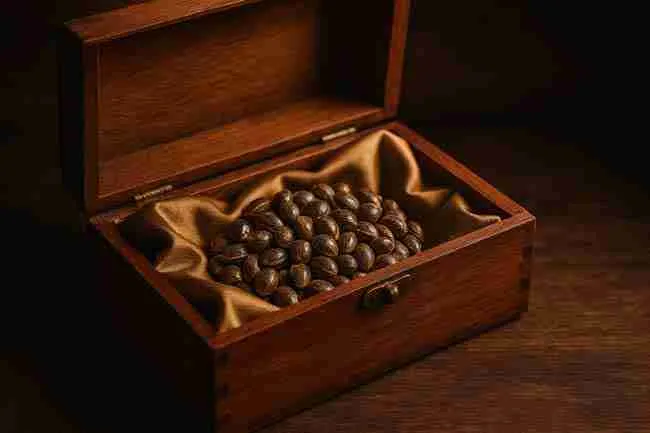
Think of this trio as your holy trinity. Mess up one point, and viability drops faster than a mic at the end of a rap battle.
Temperature: Chill Out Without Freezing Up
Seeds age slower in the cold, but they don’t like freezer burn.
Refrigerator vs. Freezer Debate
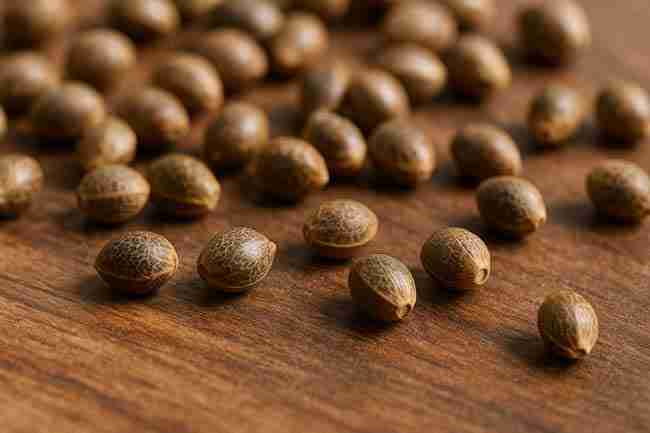
| Storage Spot | Avg. Temp | Pros | Cons |
|---|---|---|---|
| Fridge crisper drawer | 3 °C–5 °C (37 °F–41 °F) | Easy access, minimal cost | Frequent door opens cause temp swings |
| Frost-free Freezer (inside vacuum pouch) | –18 °C (0 °F) | Longest lifespan; pests can’t survive | Needs airtight, moisture-proof packaging |
| Chest Freezer (manual-defrost) | –20 °C (–4 °F) | Ultra-stable temp; power-outage buffer | Takes up space; defrost cycle hassle |
Pro-tip: If you choose a freezer, double-package in vacuum-sealed Mylar with silica gel to dodge ice crystals.
Darkness: The Silent Shield
Even tiny bursts of light jump-start enzymes that lead to early germination or plain old seed fatigue. Use opaque containers or tuck transparent ones inside a brown paper bag.
Humidity: The Invisible Assassin
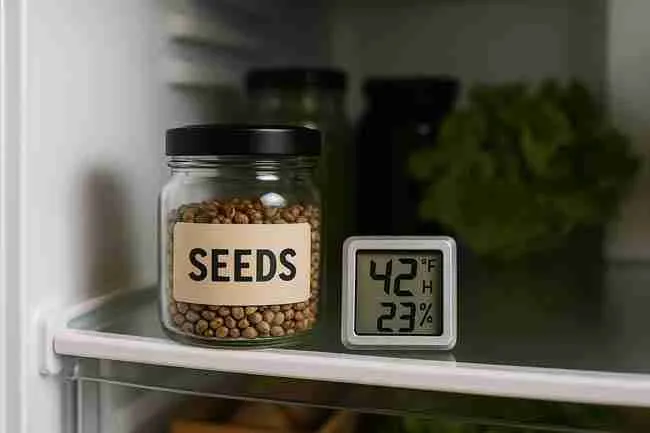
Water is life—except when you’re on decade-long standby. Aim for 5-9 % relative humidity (RH) inside the container. Toss in color-changing silica packs so you’ll know the moment moisture sneaks in.
Pre-Storage Prep – Setting Your Seeds Up for a Decade Nap
Selecting Seeds: Only the Fittest
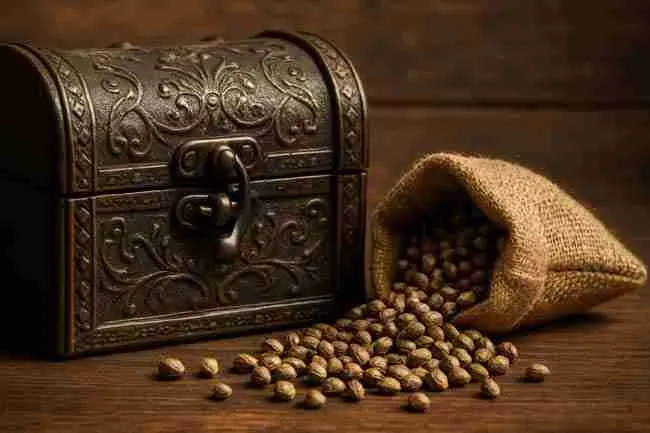
- Inspect for tiger stripes or marbling; pale green seeds rarely last.
- Gently pinch; firm shells win, mushy shells bin.
- Label by strain, harvest date, and breeder—future-you will thank present-you.
Cleaning & Drying Steps
- Brush off plant matter so mold doesn’t hitch a ride.
- Air-dry seeds in a paper envelope for seven days at 21 °C (70 °F) and 40 % RH.
- Use a hygrometer jar to confirm they’ve hit that sweet 8 % internal moisture.
Packaging Options: From Cheap to Lab-Grade
| Package Type | Cost | Moisture Barrier | Ease of Use | Lifespan in Freezer |
|---|---|---|---|---|
| Zip-lock with rice | $ | Low | Super easy | < 1 year |
| Mason jar + silica | $$ | Medium | Household staple | 3–5 years |
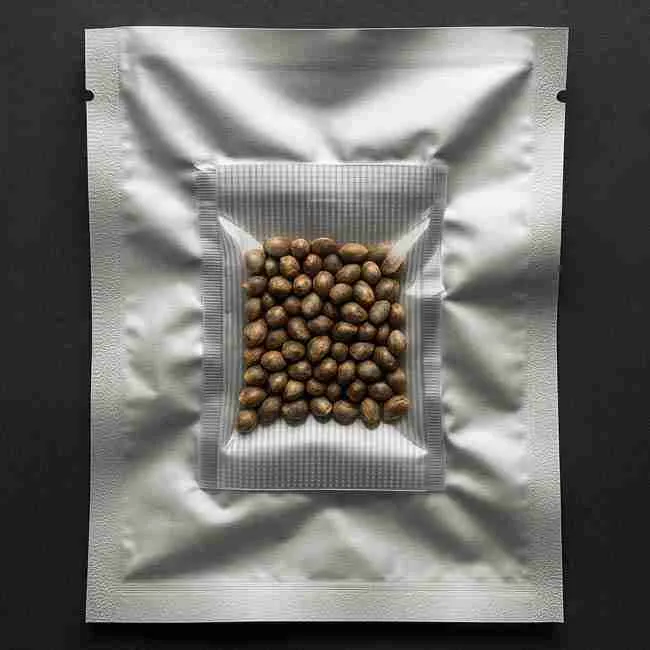
| Mylar pouch + silica + vacuum seal | $$$ | High | Needs sealer | 5–10 years |
| Cryovial + inert gas + vacuum bag | $$$$ | Top tier | Lab finesse | 10+ years |
Specifications:
- Silica desiccant weight: 1 g per 30 mL jar volume
- Vacuum pressure for Mylar: –20 inHg
- Cryovial material: Medical-grade polypropylene
Home Storage Setups That Actually Work
The Mason Jar & Rice Method (Budget Friendly)
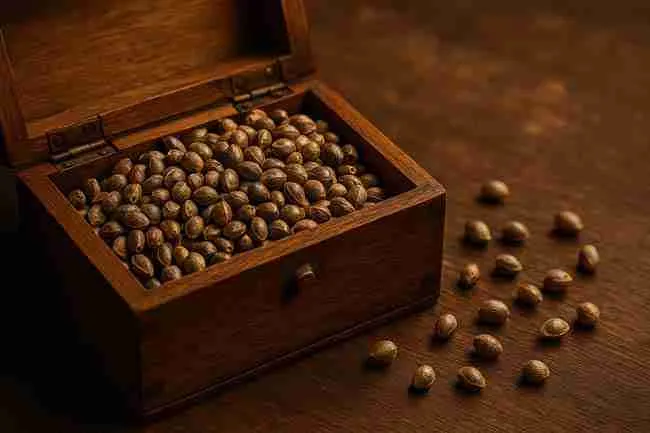
You’ll need a small Mason jar, a cotton sock filled with uncooked rice, and your seed envelopes. Drop the rice sock in first—it’s your ghetto desiccant—then seed envelopes, then screw the lid tight. Pop the jar in the dark corner of your fridge. Easy peasy.
Pros: Cheap, quick.
Cons: Rice saturates after 60 days; swap monthly.
The Mylar & Silica Gel Combo (Intermediate)
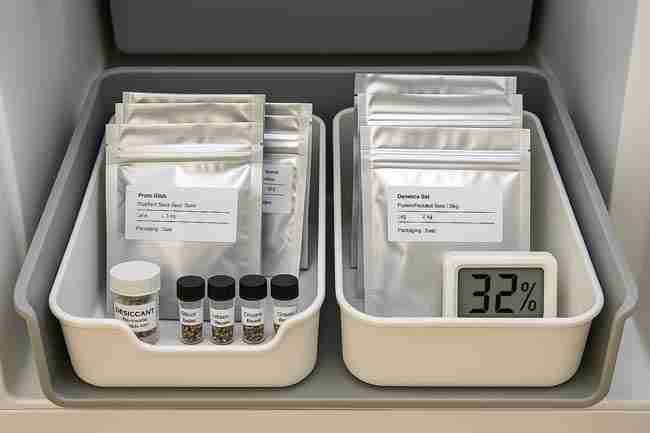
Vacuum-seal seeds inside a Mylar pouch with two silica packs and an RH indicator card. Seal, label, and move to your frost-free freezer. For extra insurance, place the pouch in a second vacuum bag.
Cryogenic Lite: Freezer With Moisture Barrier (Advanced)
Place dried seeds in cryovials pre-flushed with nitrogen or CO₂, then slip vials into a vacuum-sealed Mylar pouch. Store in a chest freezer. This is how professional seed banks roll—just cheaper.
Outbound link idea: For deep dives on professional seed vaults, see Crop Trust resources.
Monitoring & Maintenance – Don’t Just Forget Them
Desiccant Refresh Schedules
- Fridge jars: Check RH card every 30 days. Replace silica when card turns pink.
- Freezer pouches: Do a six-month check. Silica usually lasts a year here.
Temperature & Humidity Log
Keep a spreadsheet (or simple notebook) with columns for date, RH, temp, and notes. You’re basically giving your seeds a periodic health check without opening them.
Testing Viability Without Wasting Your Genetics
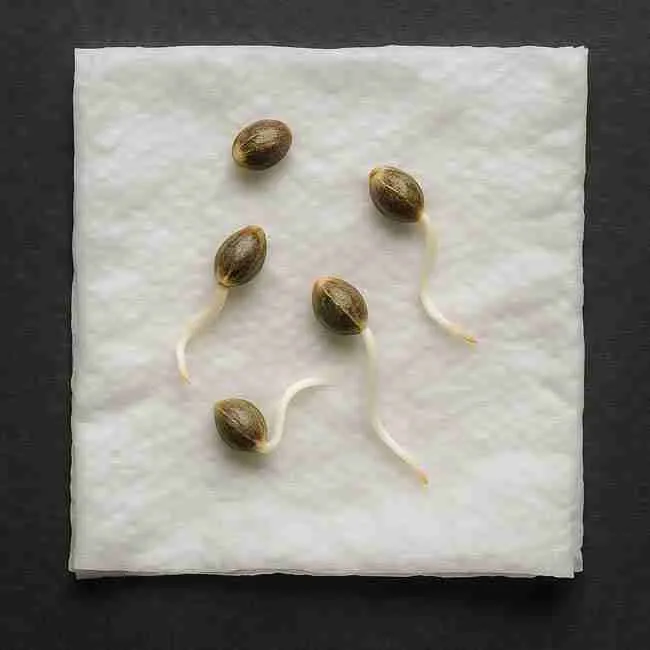
The 10-Seed Germination Test Protocol
- Pull ten seeds from storage.
- Place between damp (not wet) paper towels in a zip-lock.
- Keep at 24 °C (75 °F) for seven days.
- Count sprouted taproots.
- Multiply by ten to get viability percentage.
Interpreting Results and Adjusting Strategy
- 90–100 %: Gold star—keep doing what you’re doing.
- 70–89 %: Good but monitor silica intervals.
- 50–69 %: Re-dry batch; beef up desiccant.
- < 50 %: Time to plant them or let ’em go.
Resurrecting Old Seeds – Germination Tricks for 10-Year Stock
Scarification: Scuff and Soak
Lightly rub seed edges with emery cloth. Soak in distilled water for 12 hours. The tiny scratches let moisture in without cracking the shell.
Hydrogen Peroxide Soak
Mix 15 mL 3 % H₂O₂ in 250 mL warm water. Soak seeds 6 hours. Peroxide disinfects and softens the seed coat.
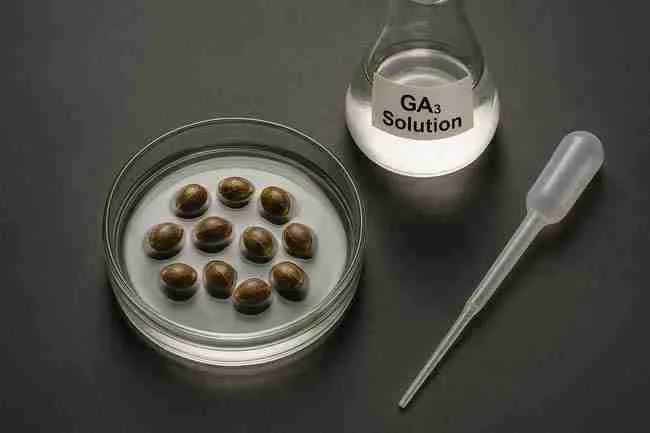
GA₃ (Gibberellic Acid) Solution
Dissolve 250 mg GA₃ in 500 mL water. Soak stubborn seeds 24 hours. Rinse, then germinate as usual. GA₃ wakes up ancient embryos like a double espresso.
Pros and Cons of Long-Term Home Storage
Pros
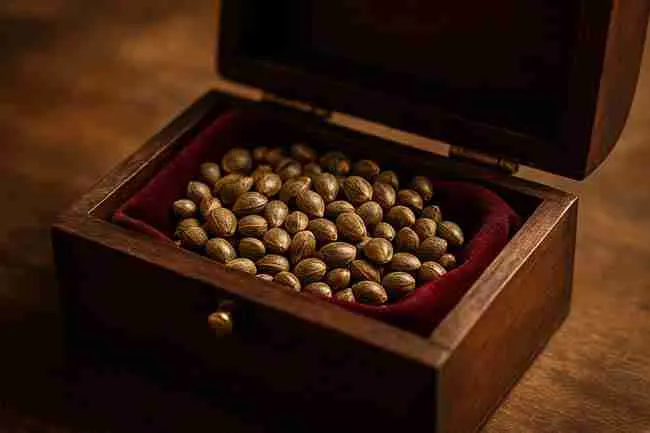
- Control: You’re the captain; no third-party mishaps.
- Cost: Household items > pricey lab rentals.
- Convenience: Grab a pack any time inspiration strikes.
Cons
- Power Outages: Freezers fail during blackouts—have a backup generator.
- Space Hog: Jars compete with pizza in the fridge.
- Maintenance: Silica swaps and log entries eat time.
Frequently Asked Questions About How to Store Cannabis Seeds
Q1. How often should I open the container to check my seeds?
Don’t. Opening invites moisture. Instead, use RH indicator cards.
Q2. Can I Store Cannabis Seeds in the fridge door?
Nope. The door swings, causing temp spikes. Stick to the back shelf or crisper.
Q3. What’s the shelf life if I skip desiccant packs?
Maybe two years—if you’re lucky. Why gamble with genetics?
Q4. Do plastic film canisters work?
Only with a silica pack inside and sealed in a second barrier bag.
Q5. Will vacuum-sealing crush my seeds?
Not if they’re inside a rigid inner vial first.
Q6. Is freezing always better than refrigeration?
For 10+-year goals, yes—but only when moisture is below 8 %.
Q7. How can I tell if seeds are too dry?
Drop one on a hard surface; if it shatters, you over-dried. Aim for firm, not brittle.
Q8. Can I add coffee grounds as a desiccant?
Coffee absorbs smells, not moisture. Stick with silica.
Final Thoughts – Seal, Chill, Forget (Almost)
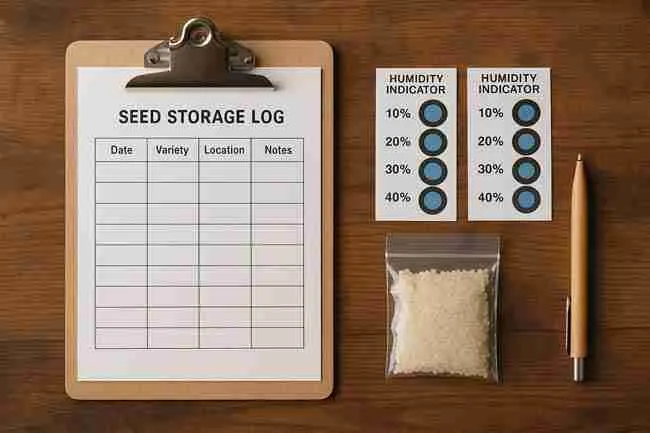
You now hold the keys to a decade-long seed vault. Grab those prime genetics, dry ’em right, lock out moisture, keep ’em cool, and log your checks. Do that, and you’ll pop vigorous seedlings long after trends shift from photoperiods to quantum-grown alien hybrids—who knows! And when your buddies cry over dead seeds, you’ll smile, crack a fresh pack, and say, “Should’ve learned how to Store Cannabis Seeds the right way.”