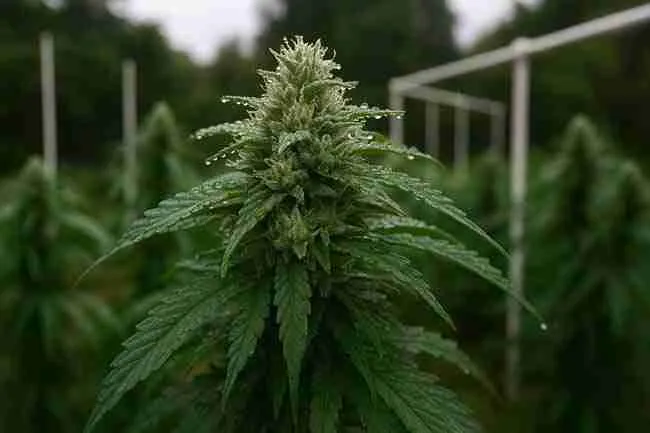
How to Clone Cannabis in a Cup of Water (Easy Method!)


Cloning weed plants is a fantastic way to reproduce your favorite strains. It’s like making a carbon copy of a top-notch performer in your cannabis garden. In this guide, we’ll walk you through a simple yet effective method of cloning weed in a cup of water. Yes, it’s as straightforward as it sounds, but there are a few tricks to ensure success.
Understanding the Basics of Cloning

Before we dive into the cloning process, let’s quickly understand what cloning means in the context of cannabis cultivation. Cloning involves taking a cutting from a mature cannabis plant and allowing it to root and grow as a separate plant. This method ensures that the new plant will have the exact genetic makeup as the parent.
Why Clone in Water?
Cloning in water is one of the easiest methods available. It requires minimal equipment, and it’s a great way to observe root development. Plus, it’s cost-effective and ideal for beginners or small-scale growers.
Step-by-Step Guide to Cloning Weed in a Cup of Water

Materials Needed
- A healthy mother plant
- Sharp scissors or a razor blade
- A cup of water (preferably distilled or filtered)
- A small amount of rooting hormone (optional)
- A warm, well-lit area for the clones
Step 1: Selecting the Mother Plant
The key to successful cloning starts with choosing the right mother plant. Look for a healthy, robust plant that’s free from pests and diseases. A plant in its vegetative stage is ideal.
Step 2: Taking the Cutting
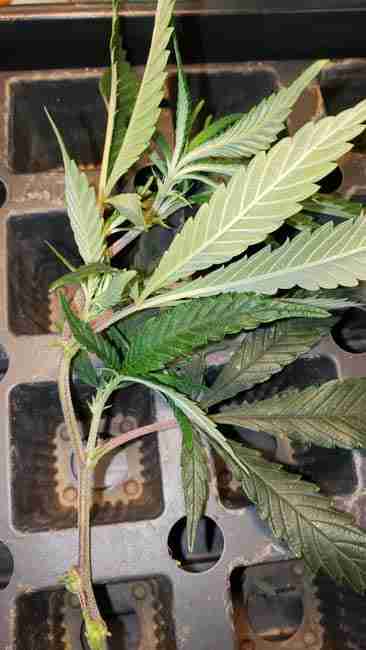
- Identify a Healthy Branch: Choose a branch that is healthy and has a few nodes (points where leaves emerge).
- Make a Clean Cut: Using your sharp scissors or razor blade, make a clean, angled cut just below a node. The cutting should be about 4-6 inches long.
- Prepare the Cutting: Remove the lower leaves to expose the nodes, as this is where the roots will develop.
Step 3: Rooting the Cutting

- Dip in Rooting Hormone: Although optional, dipping the cut end in rooting hormone can encourage faster root growth.
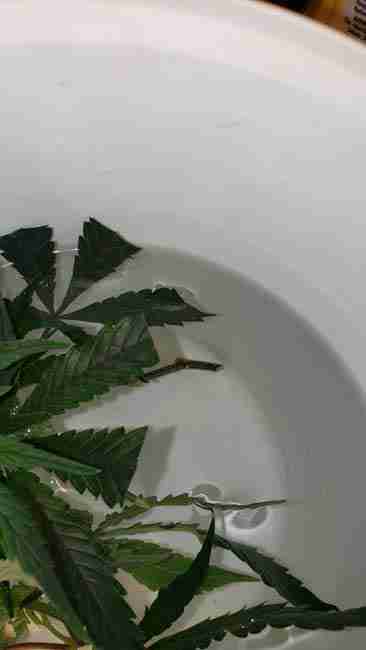
- Place in Water: Immediately place the cutting in a cup of water, ensuring the nodes are submerged.
- Change Water Regularly: Replace the water every few days to keep it fresh and oxygenated.
Step 4: Monitor and Wait
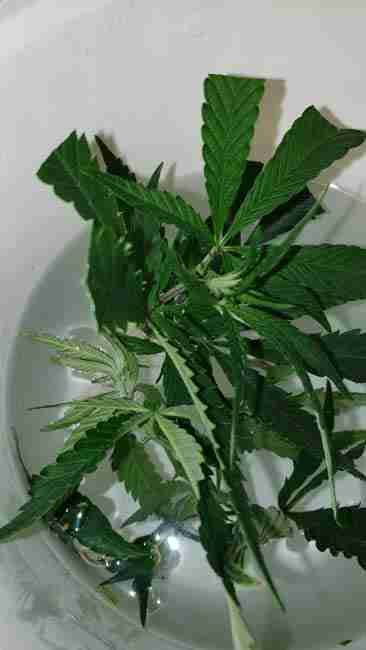
Place the cup in a warm, well-lit area, but avoid direct sunlight. Roots should start appearing within a week or two.
Table: Pros and Cons of Cloning Weed in Water
| Pros | Cons |
|---|---|
| Simple and low-cost | Slower root development |
| Easy to monitor root growth | Risk of water-borne diseases |
| No need for specialized equipment | Requires regular water changes |
| Good for small-scale or beginner growers | May have lower success rate compared to other methods |
List of Tips for Successful Cloning
- Use Clean Equipment: Always use sterilized scissors or blades to prevent infection.
- Avoid Stress: Don’t stress the mother plant before taking cuttings.
- Optimal Conditions: Ensure your clones are in a humid and warm environment.
- Patience is Key: Give your clones time to develop roots; don’t rush the process.
- Transplant Carefully: Once roots develop, transplant gently into soil or a hydroponic system.
Conclusion
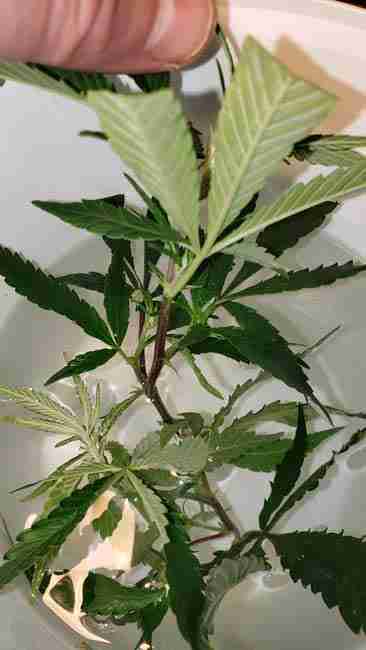
Cloning cannabis in a cup of water is a simple, cost-effective method suitable for many growers, especially beginners. By following these steps and tips, you can successfully clone your cannabis plants with minimal effort and equipment. Remember, patience and care are your best tools in this process.
Happy cloning! 🌱💧