High-CO₂ Home Grows: Safe Levels, Yields, and Diminishing Per-Gram Returns

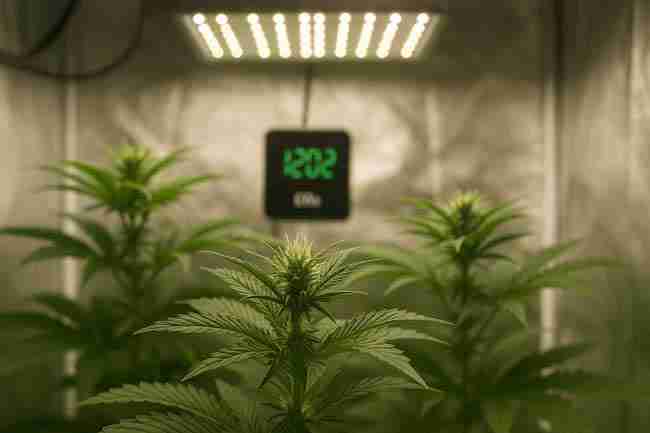
You’re curious about cannabis CO2 ppm because you’ve heard it can turn okay plants into chunky show-stoppers. You’re right—up to a point. CO₂ is like hot sauce: a little makes things awesome; too much makes you sweat and cry. In this guide, you’ll learn exact safe levels, how to set up your room, where the real yield gains happen, and exactly when the curve flattens so you don’t waste money.
Quick answer (so you can get growing fast)
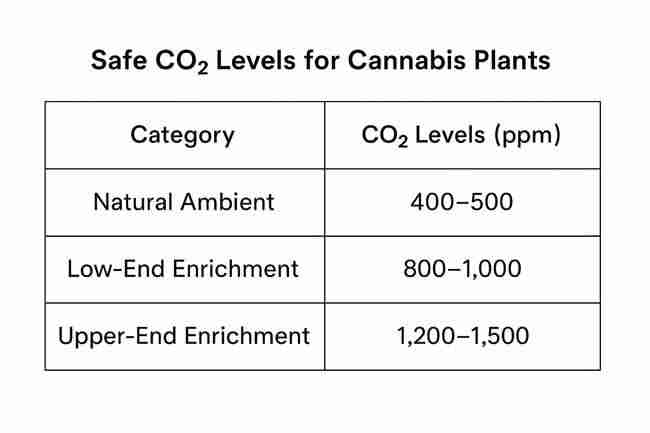
- Target (lights-on): 1,100–1,300 cannabis CO2 ppm for most home grows using strong LED lighting.
- Upper practical ceiling: 1,500 ppm. Past that, the diminishing returns kick in hard.
- Human safety guidance: keep routine work under ~5,000 ppm for extended periods; always use alarms and a fresh-air purge plan.
- Lights-off: CO₂ off. Plants don’t photosynthesize in the dark.
CO₂ 101: What “cannabis CO2 ppm” actually means
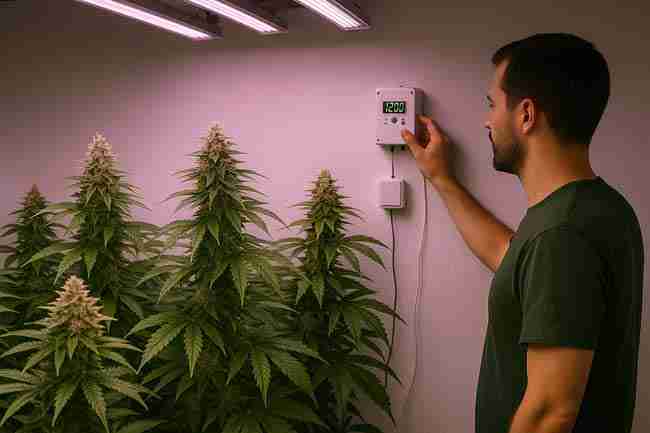
“PPM” means parts per million. If your meter reads 1,200 cannabis CO2 ppm, that means 1,200 parts of CO₂ per 1,000,000 parts of air. Ambient outdoor air sits around the 400s. You enrich beyond that to push photosynthesis harder, but only if light, temperature, humidity, water, and nutrients are ready to party too. If one of those is slacking, CO₂ won’t save the day—kinda like adding nitrous to a bike with flat tires.
Why it helps: Photosynthesis turns light + CO₂ + water into sugars. Add more CO₂ (within reason) and—under strong light—plants usually grow faster, stack heavier, and finish a bit quicker. Many dialed-in grows see a noticeable CO₂ yield increase, often in the 10–40% range when everything else is tuned.
CO₂ safety in a grow room (CO2 safety grow room)
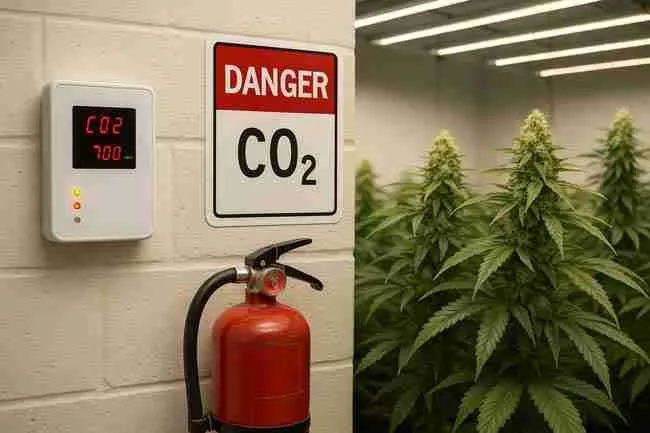
CO₂ is colorless and odorless. It can displace oxygen, especially near the floor, and high levels can make people feel dizzy, sleepy, or worse. You’re the grower, but you’re also the safety officer.
Must-do safety habits
- Use NDIR CO₂ monitors (non-dispersive infrared) with visible and audible alarms.
- Mount one at canopy height and another low (CO₂ sinks).
- Set an interlock: when doors open or exhaust turns on, CO₂ injection stops.
- Put a fresh-air purge button by the door; practice using it.
- Label the door: “CO₂-enriched space.”
- Keep cylinders upright and chained; check lines with soapy water.
- Never, ever “blast” a tiny grow with people inside. If in doubt, purge it out.
What people typically experience by ppm (rough guide; individual responses vary):
- 400–1,000 ppm: normal indoor range.
- 1,000–2,000 ppm: stuffy, sleepy; ventilate.
- ~5,000 ppm for many hours: not a safe long-term workspace—treat as your red line.
- 10,000–30,000 ppm: short exposures only and only with alarms plus purge ready.
- 40,000+ ppm: dangerous—get out and ventilate immediately.
People first. Always.
How CO₂ builds bigger buds (and where it stalls)
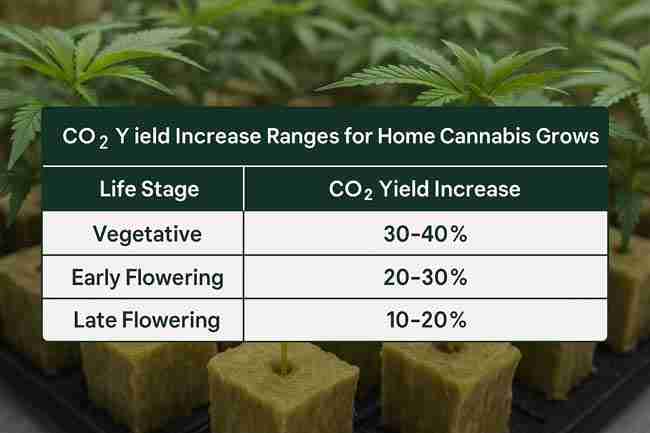
CO₂ feeds the photosynthesis machine, but it’s not the only gear in the gearbox.
The light link (it’s huge)
- Under weak light, pouring in CO₂ is like bolting a jet engine to a skateboard—no go.
- Under high PPFD (think ~900–1,200 µmol·m⁻²·s⁻¹ at the canopy), 1,100–1,400 cannabis CO2 ppm can push faster growth, tighter internodes, and sturdier tops.
The temperature shift with CO₂
With enriched CO₂, the ideal leaf temperature creeps up a touch. You can typically run 2–4°C (4–7°F) warmer than you would at ambient CO₂ and still be in the sweet spot. That’s handy when your lights are pumping.
The “diminishing returns” bend
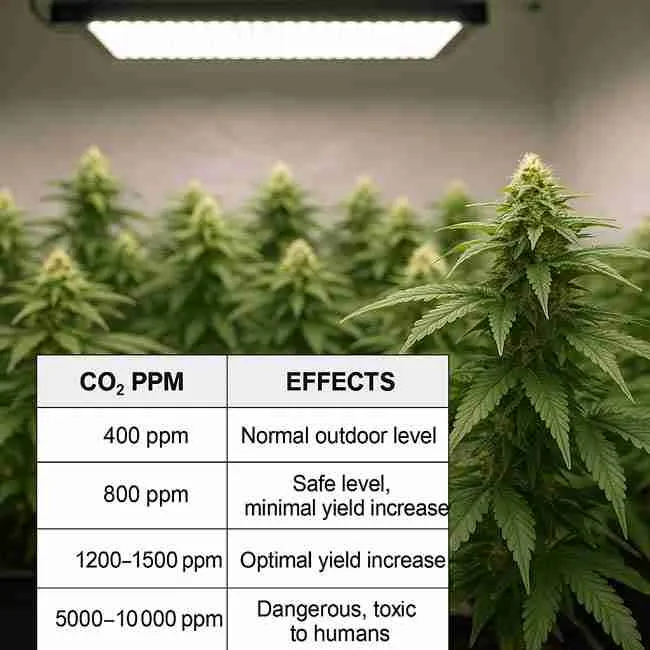
Yes, more CO₂ helps—until ~1,500 ppm. After that, gains flatten. Around 2,000 ppm, you’re often wasting CO₂, risking plant stress, and wandering closer to human safety lines. Push light and climate first; push ppm last.
Sealed room basics (sealed room basics)
Want steady cannabis CO2 ppm without blowing money out a vent? Seal your space and control the climate.
What “sealed” really means
- Close passive vents and plug the pinholes. Weatherstrip doors; cap unused ducts.
- Closed-loop climate: mini-split or heat pump for cooling/heating, a dehumidifier, and oscillating fans for air movement.
- No constant exhaust during enrichment—only during planned purges or emergencies.
- CO₂ system: either tanks (compressed CO₂) or a CO₂ burner (propane/natural gas).
Heads-up: Burners add heat and humidity (combustion makes water). Tanks don’t. In small tents, tanks are usually simpler and safer. In bigger rooms, burners are cheaper per unit CO₂—but you’ll need more A/C and dehumidification.
Choosing a CO₂ source: tanks vs. burners
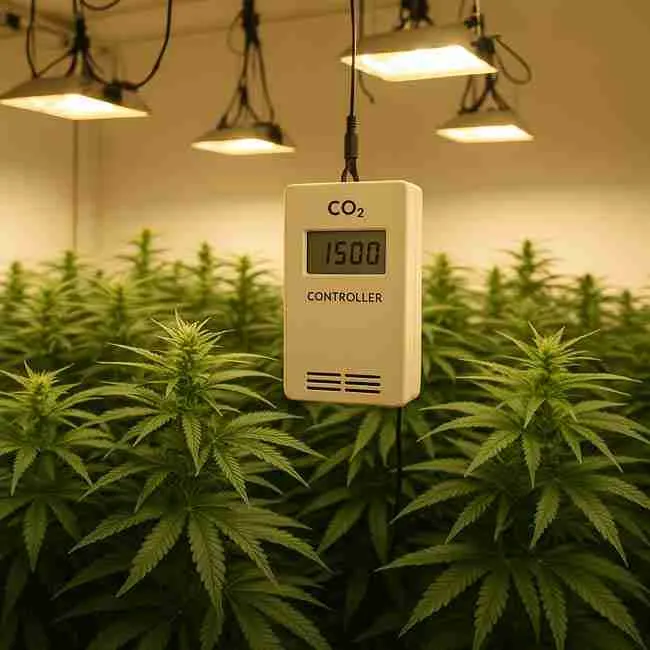
Compressed CO₂ tanks
Pros
- Clean, precise, no added humidity
- Easy to interlock with your controller
- Great for tents and small rooms
Cons
- Cylinders run out—plan swaps or refills
- Upfront cost for a regulator + solenoid + controller
CO₂ gas burners
Pros
- High output for large spaces
- Lower ongoing fuel cost in big rooms
Cons
- Adds heat and water vapor to the space
- Open flame; must follow clearances and building codes
- Often overkill for small tents
Sensor and emitter placement (don’t skip this)
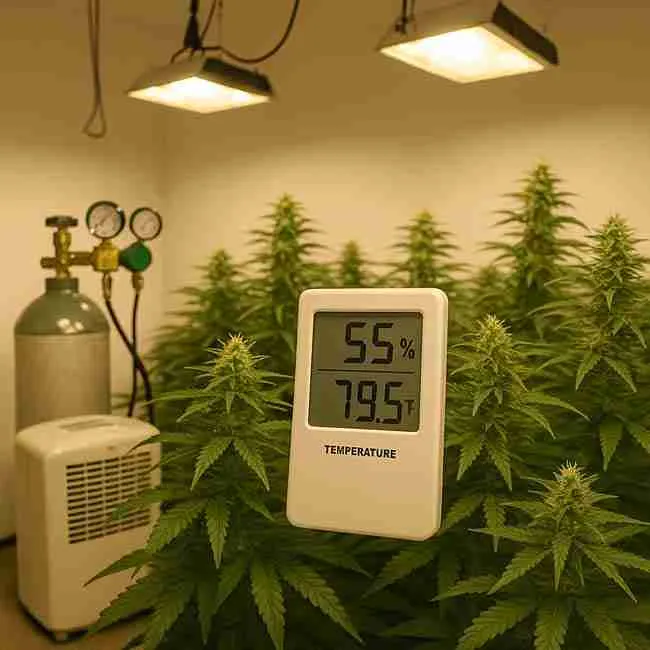
- Sensor: place at canopy height, away from the direct CO₂ blast and away from the door.
- Emitter: above the canopy, blowing across the room, not straight into leaves.
- Air movement: keep a gentle, even breeze so CO₂ doesn’t pool near the floor.
Pro tip: If your controller lets you set a deadband (a tolerance), try ±50–75 ppm around your setpoint to avoid rapid on/off cycling.
Target ranges by growth stage (spec sheet)
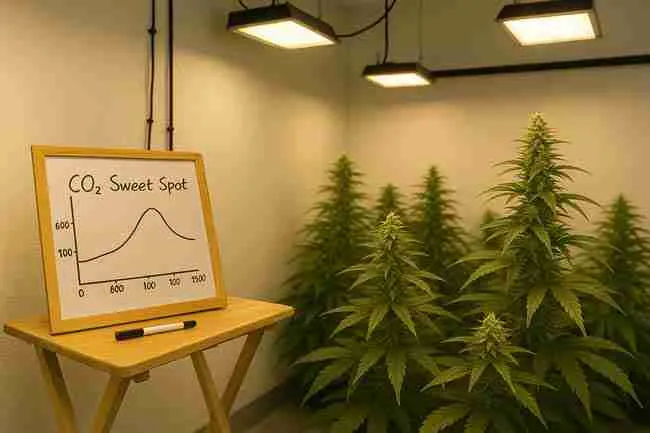
Use this as a starting point for cannabis CO2 ppm. Adjust for your light intensity, cultivar, and HVAC capacity.
| Stage | Suggested cannabis CO2 ppm | Typical Leaf Temp (lights-on) | Notes |
|---|---|---|---|
| Seedling / Early Veg | 600–800 | 24–26°C (75–79°F) | Be gentle. Young plants don’t need big ppm. |
| Mid Veg | 800–1,000 | 25–27°C (77–81°F) | CO₂ starts to pay off with decent PPFD. |
| Pre-flower (stretch) | 900–1,100 | 26–28°C (79–82°F) | Watch humidity; stretch drinks tons. |
| Bulk Flower | 1,100–1,300 | 26–29°C (79–84°F) | Sweet spot for CO₂ yield increase under strong light. |
| Late Flower (ripen) | 800–1,000 | 24–26°C (75–79°F) | Many taper here; returns slow down. |
If your lights can’t push at least ~900 PPFD, sit closer to 800–1,000 ppm so you’re not paying for CO₂ you can’t use.
Human safety cheat sheet (post this by the door)
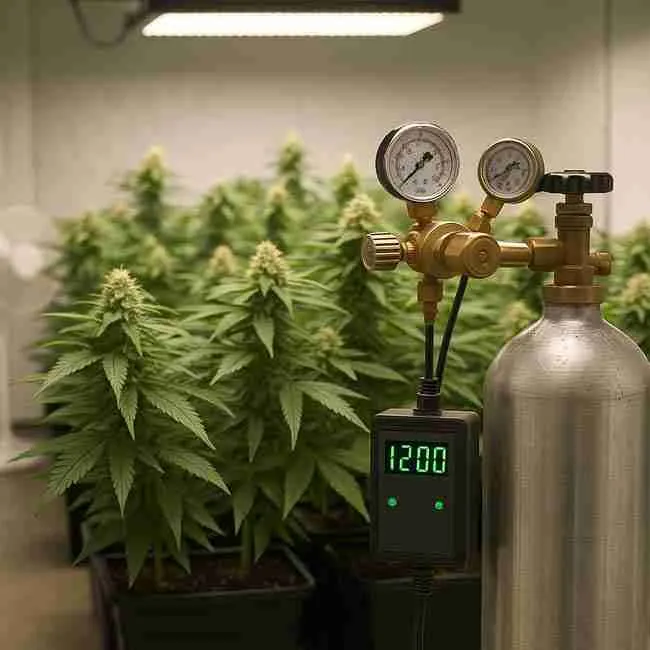
| CO₂ (ppm) | What people typically feel |
|---|---|
| 400–1,000 | Normal indoor range; comfy. |
| 1,000–2,000 | Stuffy, foggy thinking; ventilate. |
| ~5,000 for many hours | Treat as a strict workplace red line for long exposure. |
| 10,000–30,000 | Short exposure only with alarms and immediate purge available. |
| 40,000+ | Danger zone. Evacuate and ventilate. |
Alarms, a purge plan, and good habits matter more than any fancy gadget.
How much CO₂ do you actually need? (the easy math)
First, find your room volume.
Volume = length × width × height
Example: 8 ft × 4 ft × 7 ft = 224 ft³
Next, calculate your dose to jump from the current ppm to your target.
Dose (cubic feet of pure CO₂)
= Room volume × (Target ppm − Current ppm) ÷ 1,000,000
Going from 420 ppm to 1,200 ppm in that 224 ft³ tent:
224 × (1,200 − 420) ÷ 1,000,000 = 0.174 ft³ CO₂
Tank math tip: 1 lb of liquid CO₂ gives about 8.7 ft³ of gas.
So one pound provides roughly 8.7 ÷ 0.174 ≈ 50 initial doses for that tent (before the little top-ups you’ll need to maintain the band).
Top-ups: Use a modest deadband (say, 1,150–1,250 ppm). If levels fall fast, tighten your seals and check for sneaky exhaust or intake paths you forgot about.
Climate control with CO₂ onboard
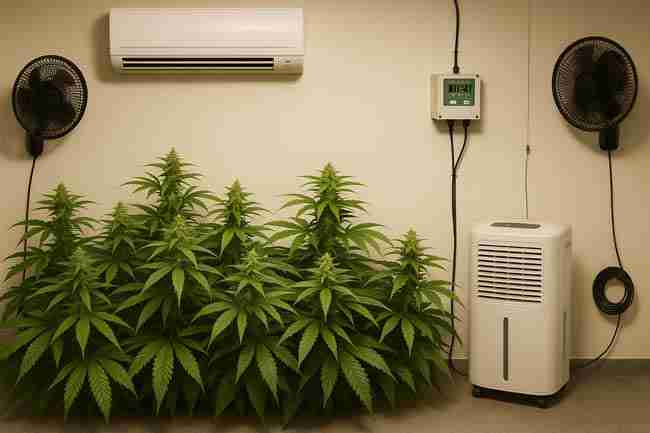
CO₂ doesn’t do the lifting alone. To truly cash in on the CO₂ yield increase, your room needs to hold the line on climate.
- Light: If PPFD isn’t high, CO₂ returns shrink fast.
- A/C: Burners add heat; tanks allow a bit warmer operation anyway.
- Dehumidifier: More photosynthesis → more transpiration → more humidity.
- VPD (vapor pressure deficit): Keep leaf surfaces from staying wet; use a VPD chart and lean a touch warmer with CO₂.
- Irrigation and nutrients: CO₂-fed canopies often want more water and slightly higher nitrogen in veg—don’t go wild, just avoid starvation.
Controller setup: step-by-step
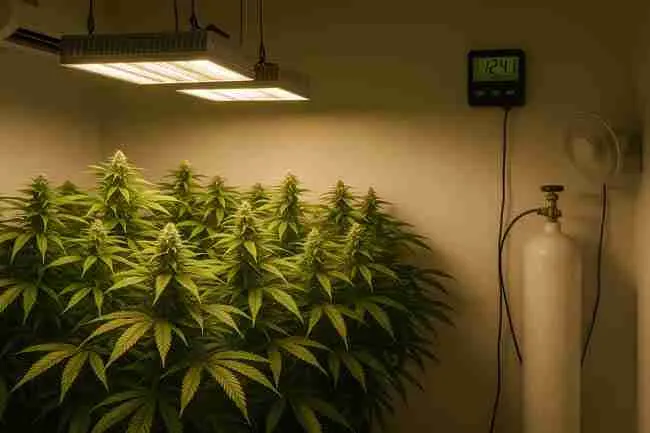
- Seal first: fix leaks, weatherstrip, block unused holes.
- Mount hardware: tank + regulator (or burner), controller, canopy-height sensor.
- Set the band: try 1,200 ppm with ±50–75 ppm.
- Lights-on only: controller disables CO₂ at lights-off.
- Plan purges: if humidity spikes, schedule short exhausts; controller pauses injection until levels drop.
- Data log: review 24-hour ppm charts—flatten those saw-teeth.
- Tweak air movement: even breeze through and above the canopy.
- Observe your plants: they’ll tell you if climate or feeding lags behind.
Common problems and fast fixes
- “My ppm drops fast.”
Air leaks or stealth exhaust. Re-seal, reduce unintended outflow, and increase recirculation. - “Leaves droop at high ppm.”
Usually heat/VPD or low oxygen in stagnant leaf zones. Improve airflow, check temps, and nudge humidity. - “No yield bump.”
Light is limiting, nutrition is off, or canopy is too sparse. CO₂ multiplies a solid setup; it’s not a magic wand. - “Controller short-cycles constantly.”
Widen the deadband to ±75–100 ppm and move the sensor away from the emitter stream.
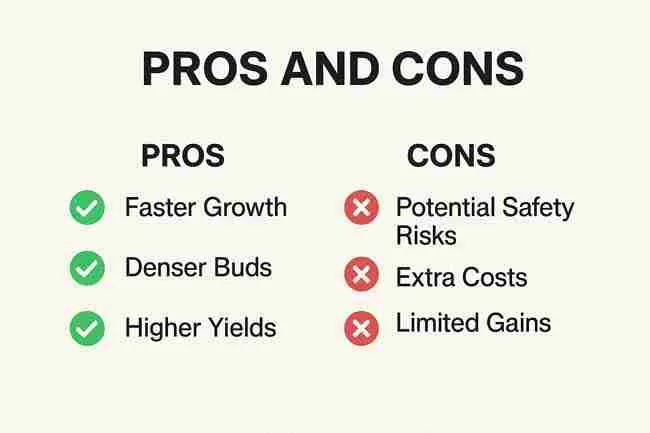
Pros and cons of running high CO₂
Pros
- Faster growth and denser flowers with strong light
- Slightly higher optimal temperature range, which can be handy
- Shorter veg possible
- Often a 10–40% yield improvement in well-tuned rooms
Cons
- Safety gear and monitoring (non-negotiable)
- Bigger A/C and dehumidification needs (higher operating cost)
- Diminishing returns past ~1,500 ppm
- Burners add heat and humidity; tanks need refills
Equipment specifications (simple shopping list)
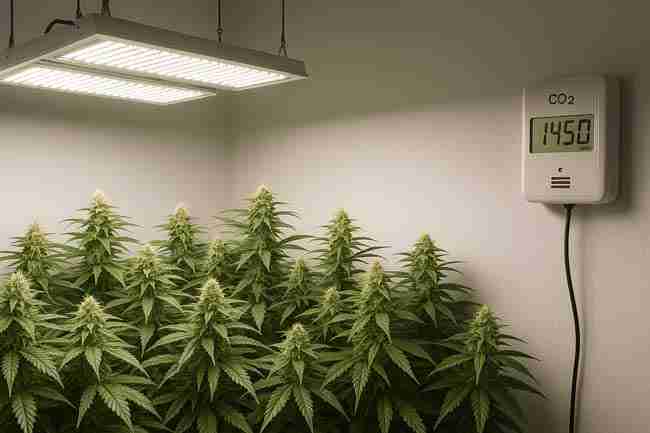
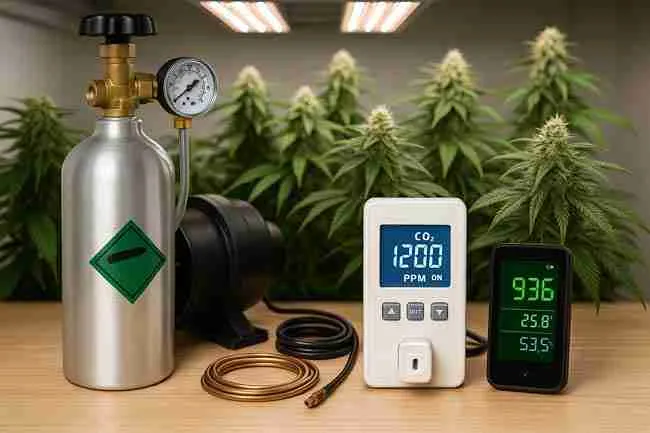
- NDIR CO₂ controller/monitor with high/low alarms and data logging
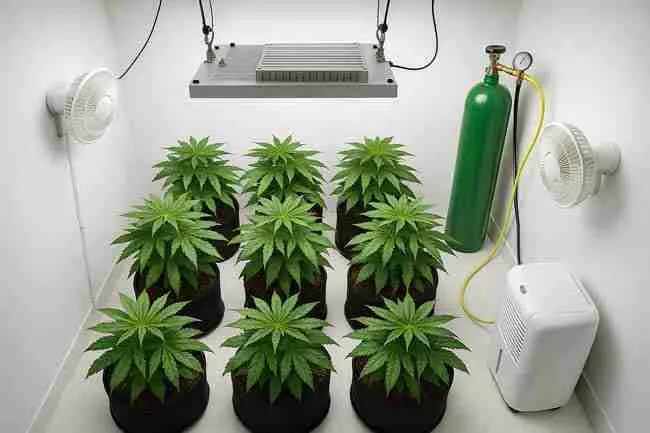
- Regulator + solenoid (for tanks) or a certified CO₂ burner (for big rooms)
- Mini-split A/C or heat pump sized for lights plus burner heat if used
- Dehumidifier sized for canopy transpiration (err on the larger side)
- Inline purge fan interlocked to kill CO₂ on exhaust
- Oscillating fans to keep air moving through the canopy
The dollars: when CO₂ pays, and when it doesn’t
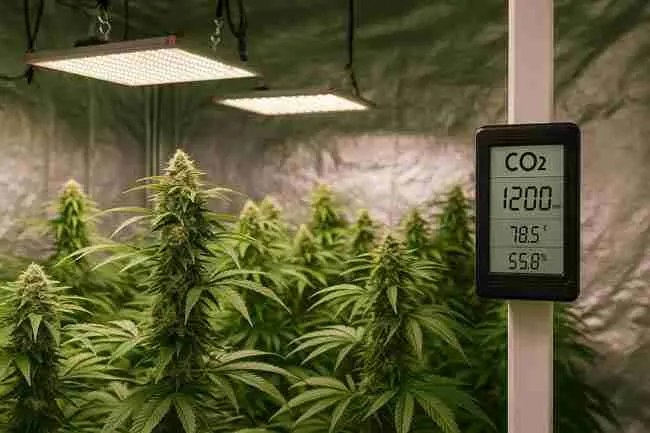
It pays when:
- You’ve got high PPFD and a healthy, full canopy.
- Your room is tight and can hold a steady cannabis CO2 ppm.
- Your HVAC can maintain temp and humidity under the extra growth load.
It doesn’t when:
- Light is weak, VPD is wild, and the tent leaks like a screen door.
- You chase 2,000+ ppm hoping for miracles. The curve flattens, the gas bill doesn’t.
Table: quick planning cheatsheet
| Item | Rule of Thumb | Why it matters |
|---|---|---|
| Setpoint | Start 1,100–1,300 cannabis CO2 ppm | Best trade-off of gains vs. waste for home grows. |
| Lights-off | CO₂ off | No photosynthesis in the dark. Save your gas. |
| Purge | Short exhaust if RH spikes | Keeps mold at bay; controller pauses injection. |
| Source | Tents: tank; big rooms: burner | Tanks don’t add humidity; burners do. |
| Sensor | Canopy height, out of CO₂ jet | Accurate readings; less cycling. |
| Safety | Alarms + purge button + door interlock | People first; bad air sneaks up fast. |
| Deadband | ±50–100 ppm | Reduces rapid cycling and CO₂ waste. |
The science bit (without the lab coat)
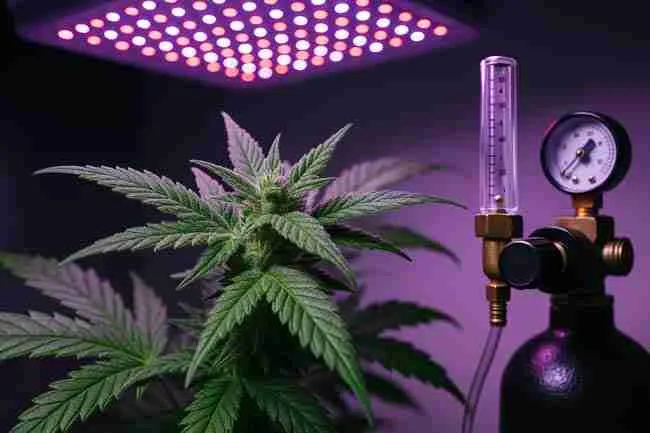
Inside the leaf, the enzyme Rubisco fixes CO₂ into sugars. At higher cannabis CO2 ppm, Rubisco finds CO₂ more easily, so less photorespiration, more carbon fixed, and more biomass—as long as light can keep up. But the system has bottlenecks: light harvesting capacity, enzyme speeds, and transport limits. Once those bottlenecks show, more ppm doesn’t move the needle. That’s the diminishing returns part of our title.
Step-by-step: your first CO₂ run
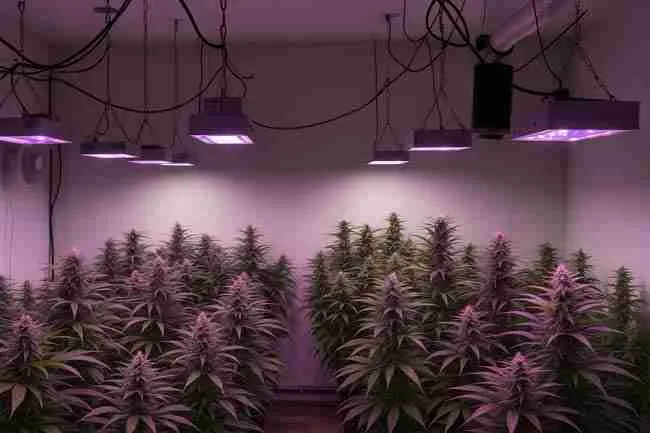
- Get plants happy first: no pests, balanced feed, bright, even canopy.
- Seal the space: weatherstrip doors, cover passive vents, tape tiny gaps.
- Install the system: tank + regulator or burner, controller, sensors.
- Set the band: 1,200 ppm with ±50–75 ppm deadband.
- Lights-on only for CO₂ injection.
- Watch the charts for 48 hours: look for saw-teeth; widen the band if it cycles.
- Dial climate: a touch warmer leaf temps; VPD in range; add dehu capacity if RH climbs.
- Feed and water: expect a bit more drinking; avoid starving nitrogen in veg.
- Harvest review: if density didn’t jump, raise PPFD next run before raising ppm.
Handy checklist (print this)
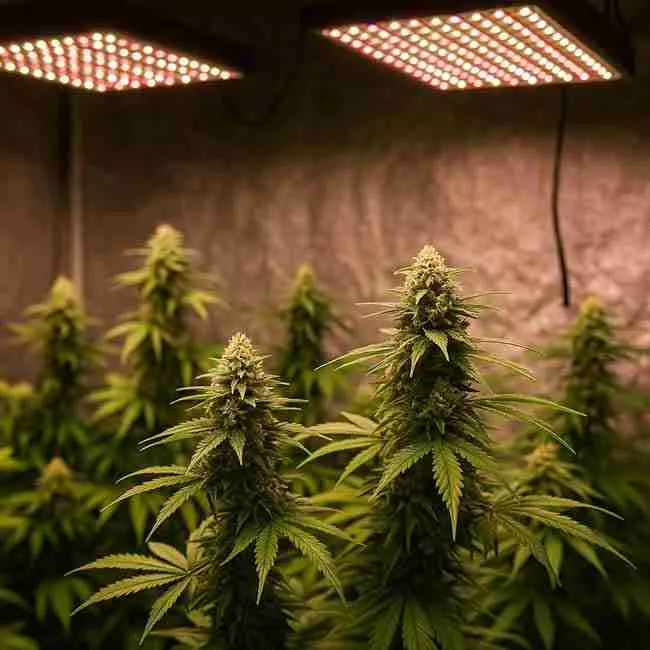
- Room sealed; no whistling leaks
- Sensor at canopy; emitter not pointed at leaves
- Controller set 1,100–1,300 cannabis CO2 ppm
- CO₂ off at lights-off
- Alarms working; purge button at the door
- A/C + dehu sized for CO₂-powered growth
- VPD in range; data logged daily
- Review cost vs. yield; don’t chase beyond ~1,500 ppm
FAQ: CO₂ for home growers

Q1: What’s the best cannabis CO2 ppm for a small tent?
Aim 900–1,100 ppm unless your light is truly high-intensity. It’s efficient and safe with less waste.
Q2: Can I run CO₂ at night?
Nope. Plants don’t photosynthesize in the dark. Save your CO₂ for lights-on.
Q3: Do autoflowers benefit from CO₂?
Yes. Same biology, same rules. Gains track with light intensity and climate control.
Q4: Is 2,000 ppm better than 1,300 ppm?
Not for most home grows. Gains flatten past ~1,500 ppm, and stress and safety concerns rise.
Q5: How do I know my room is safe for people?
Use NDIR monitors with alarms, keep routine work below about 5,000 ppm long-term, and have a fresh-air purge plan.
Q6: Tanks or burner for a garage grow?
If heat/humidity budget is tight, go tanks. With big HVAC and a large space, a burner can be cheaper to run.
Q7: Will CO₂ change my ideal temperature?
A little. With CO₂, the optimum creeps warmer by a few degrees, so running slightly hotter often works better.
Q8: How long does a 20-lb CO₂ tank last?
Roughly 175 cubic feet of gas total. Use the dose math to estimate based on your room volume and target setpoint.
Bottom line: be smart, not fancy

A tight room, steady 1,100–1,300 cannabis CO2 ppm, strong light, and balanced climate will beat a leaky, overheated room at 1,800 ppm every day of the week. Use CO₂ as a multiplier—after you’ve nailed the basics.