Healthy Cannabis Seedling’s First Week: Light, Water, & Distance to Your Light

You’ve just watched your cannabis seed crack open and send up that tiny green sprout. What a rush, right? That moment when you see the first signs of life is pure magic. Now you’re stepping into the cannabis seedling’s first week — the most delicate and exciting part of getting cannabis off to a good start. Nail this healthy first week of cannabis growth and you’ll set your plants up for strong roots, sturdy stems, and those big, resin-packed buds later on. Mess it up, and you might end up with stretchy, weak plants that never quite catch up.
Don’t worry though — I’ve got your back. We’re going to walk through everything you need to know about light, water, and exactly how far to hang that LED lamp. You’ll learn real-world tips, day-by-day expectations, common oops moments, and pro tricks that experienced growers swear by. By the end of this guide, you’ll feel confident and ready to give your babies the best possible start. Let’s dive in!
Getting Your Cannabis Seedling Off to a Healthy Start in Week One
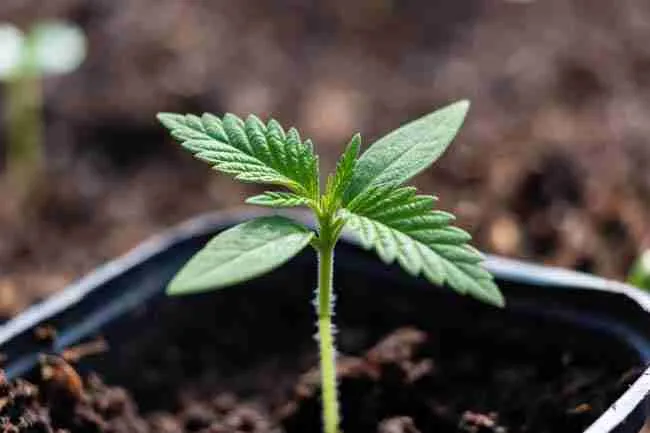
The cannabis seedling’s first week is all about building a rock-solid foundation. Think of your little plant like a newborn baby — it needs gentle care, the right amount of everything, and zero stress. During these first seven days after sprouting, your seedling develops its first real roots and the very first set of true leaves. Cotyledons (those smooth, round seed leaves) pop up first, then the jagged cannabis leaves start showing up around day 4–7.
This stage is make-or-break for healthy first week of cannabis growth. Get it right and your plant will hit the ground running into the vegetative stage with thick stems and hungry roots. Get the light too far away or water too much, and you’ll see stretching, yellowing, or even damping off — that sad collapse where the stem rots at the soil line.
At Green Avenger Seeds we always say: start strong and the rest of the grow feels like smooth sailing. Your goal right now? Keep things stable, bright but not blazing, moist but never soggy, and warm like a cozy spring day.
What to Expect Day by Day in Your Cannabis Seedling’s First Week
Let’s paint the picture so you know exactly what “normal” looks like.
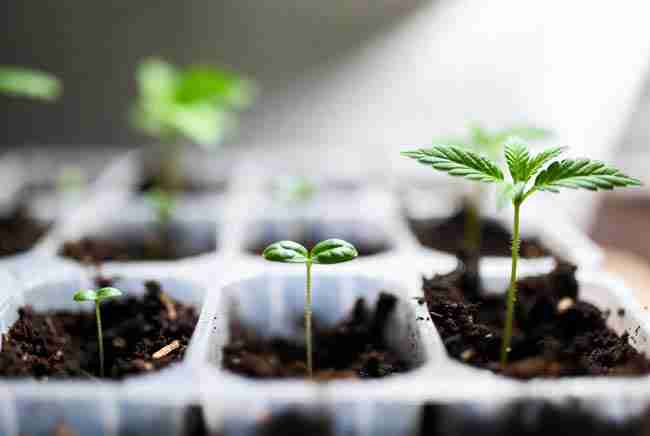
Day 1–2: The seed shell might still be stuck on the sprout like a little hat. The stem is super thin and the two cotyledons open up. Your seedling is maybe 1–2 inches tall. It doesn’t need much yet — just the moisture from when you planted it.
Day 3–4: True leaves start peeking out between the cotyledons. The plant is stretching a tiny bit toward the light. This is when you really start watching that LED distance.
Day 5–7: First set of serrated leaves fully open. Stem thickens up. Roots are exploring the soil. By the end of the week your baby should look perky, deep green, and standing tall — not leaning over like it’s tired.
If your seedling looks leggy and pale by day 5, the light is probably too far or too weak. If the leaves curl up or turn crispy at the edges, your LED might be too close or too hot. Easy fixes — we’ll cover them!
Lighting Up Your Seedling’s World – The LED Lamp Lowdown
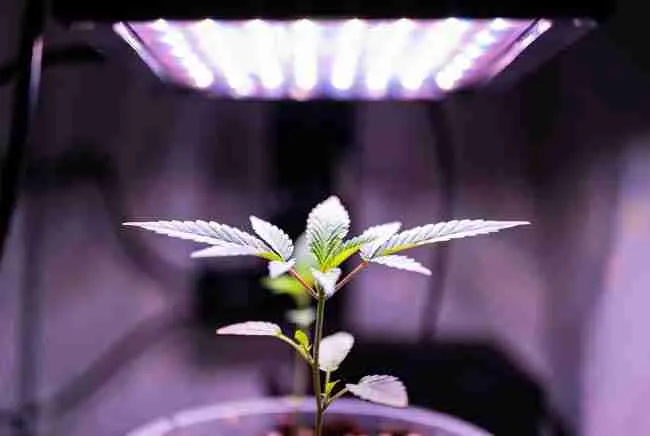
Light is the number one thing that makes or breaks your cannabis seedling’s first week. Your little plant needs bright, full-spectrum light to grow strong instead of stretching toward the ceiling like it’s reaching for the sun in a dark room.
How Much Light Does Your Cannabis Seedling Need?
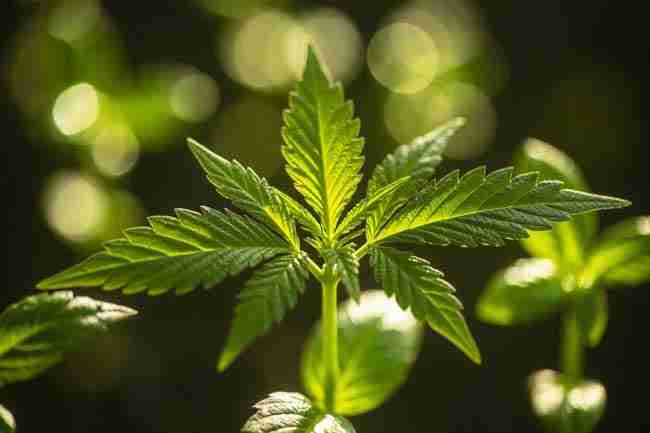
Seedlings thrive on 18 hours of light and 6 hours of dark (18/6 schedule) or even 24/0 if you want maximum speed. Use a full-spectrum LED — it gives that nice blue-heavy light that encourages compact, bushy growth right from the start.
Target a gentle PPFD of 200–400 μmol/m²/s. That’s bright enough to make the plant happy but not so intense it stresses those tender leaves. Most modern LEDs have dimmers — use them! Start at 30–50% power and crank it up slowly as your seedling grows.
Finding the Sweet Spot: Distance to Your LED Lamp
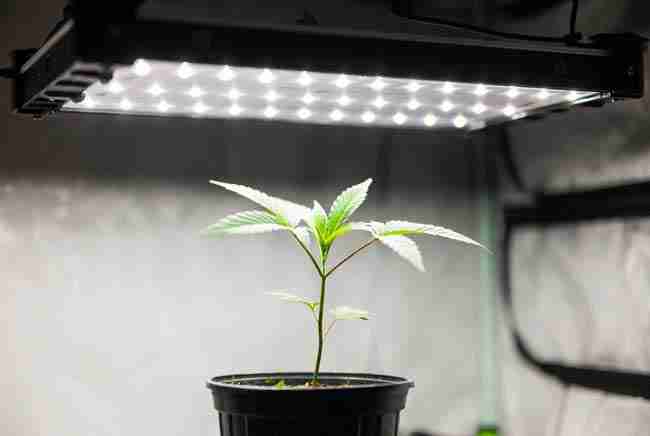
Here’s the million-dollar question: how far should your LED lamp hang above your cannabis seedlings in that first week?
General rule of thumb: Start at 24–36 inches (60–90 cm) above the soil for most 300W+ LEDs. For smaller or dimmable lights you can hang closer — sometimes 12–18 inches works great once you dial in the intensity.
Pro move: Use the “back of your hand” test. Hold your hand at canopy level for 30–60 seconds. If it feels comfortably warm (not hot), you’re golden. Too hot? Raise the light or dim it. Too cool with pale, stretching plants? Lower it a few inches.
Day-by-day distance tweaks:
- Days 1–3 (just sprouted): 24–30 inches, 30–40% dim
- Days 4–7 (true leaves showing): 18–24 inches, bump dimmer to 50–60% if the plant looks happy
Too far away and your seedling stretches like crazy — long, weak stems that flop over later. Too close and you get light burn: bleached spots, crispy edges, or the plant just stops growing. Watch your babies like a hawk those first few days and adjust. They’ll tell you exactly what they need!
LED Grow Light Distance Guide by Common Wattage (Seedling Stage)
| LED Wattage | Starting Distance (Day 1-3) | Adjusted Distance (Day 4-7) | Dimmer Setting | Target PPFD |
|---|---|---|---|---|
| 150-220W | 18-24 inches | 12-18 inches | 40-60% | 200-300 |
| 300-420W | 24-30 inches | 18-24 inches | 30-50% | 250-350 |
| 480W+ | 30-36 inches | 24-30 inches | 25-40% | 200-300 |
This table keeps things simple. Always check your specific light’s manual too — every model has its own sweet spot.
Pros of using a quality dimmable LED for seedlings: You control intensity perfectly, run cooler than old-school lights, save electricity, and your plants develop nice tight nodes from day one. Cons: Cheap non-dimmable LEDs can be too harsh — you might need to hang them higher and accept a bit more stretch. Always buy from a reputable brand so you don’t fight heat issues all week.
Watering Wisely – Don’t Drown Your Baby Plants!
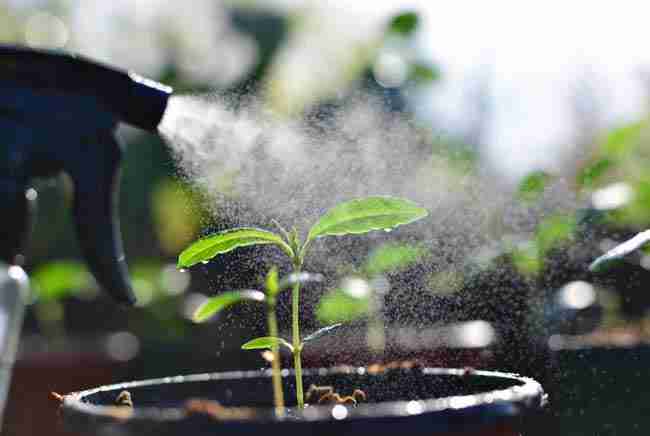
Watering is where most new growers trip up during the cannabis seedling’s first week. Those tiny roots are still tiny — they don’t need a swimming pool!
How Often and How Much to Water
For the first 3–4 days after sprouting, you often don’t need to water at all if the soil was already moist when you planted. After that, give just enough to keep the top inch of soil lightly damp — think “wrung-out sponge,” not “soggy towel.”
Best method: Use a spray bottle and mist the soil around the stem gently. Or water from the bottom if you’re using a tray. Always use room-temperature, pH-balanced water (6.5–7.0). Skip nutrients entirely this week — plain water is perfect.
Day-by-day watering rhythm (soil grow):
- Day 1–2: Usually nothing extra
- Day 3–4: Light mist if top looks dry
- Day 5–7: 50–100 ml per small cup every 2–3 days, only when the soil feels dry an inch down
Signs You’re Watering Wrong (and How to Fix It Fast)
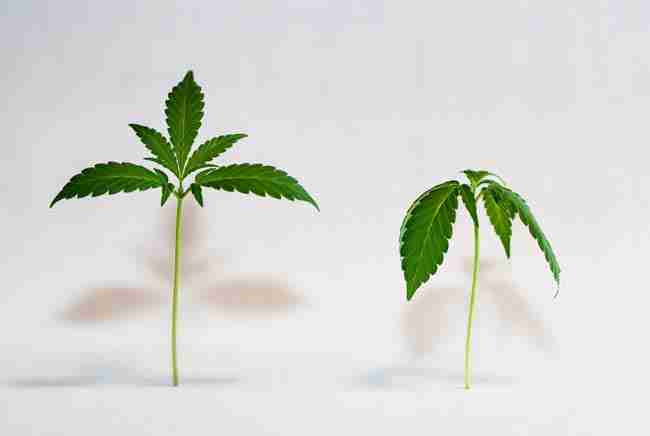
Overwatering signs: Droopy leaves that stay firm (not crispy), yellowing lower leaves, stunted growth, soil stays wet for days, possible damping off (stem pinches and plant falls over). Fix: Let the soil dry out completely. Skip the next watering and improve drainage next time.
Underwatering signs: Leaves curl up and get crispy, stem wilts dramatically, plant perks right back up within an hour after watering. Fix: Water a little more often but still let it dry slightly between drinks.
Pro tip: Pick up your pot. Light = dry. Heavy = still wet. Your hands will learn the feel faster than any app.
Overwatering in week one is the fastest way to kill a promising seedling. Roots need oxygen too — soggy soil starves them. Get this right and your plants will develop thick, white, healthy root systems that support monster yields later.
Creating the Perfect Environment for Your Seedlings
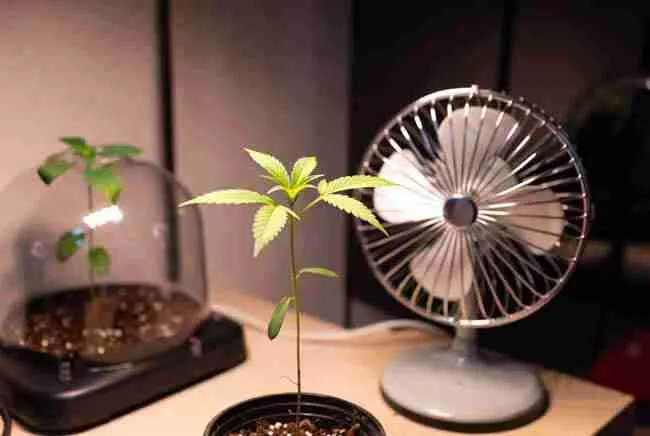
Light and water are the big two, but temperature, humidity, and airflow make everything click during that healthy first week of cannabis growth.
Temperature: Keep it cozy — 70–77°F (21–25°C) during lights-on, a few degrees cooler at night. Too cold and growth slows to a crawl. Too hot and your seedling stresses out.
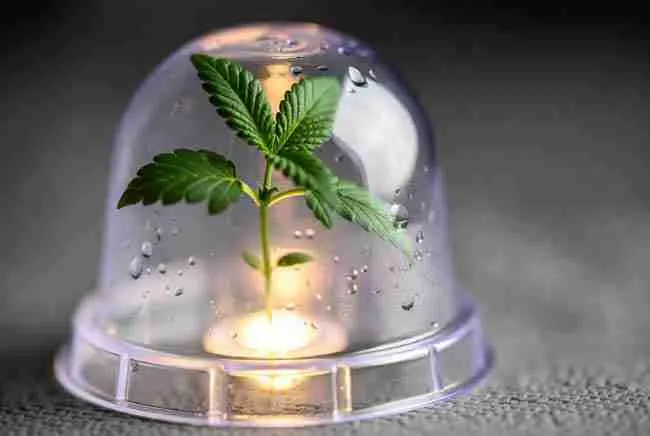
Humidity: 65–80% is ideal. A cheap humidity dome or even a clear plastic cup over the pot works wonders for the first few days. Just crack it open a bit after day 3 so air can move.
Airflow: A small oscillating fan on low, pointed near (not directly at) the plants, strengthens those stems like magic. Leaves should flutter gently — no hurricane needed!
Growing medium: Light, fluffy seed-starting mix or coco/perlite blend with great drainage. pH around 6.0–7.0. Small 4-inch pots or solo cups with drainage holes are perfect — don’t start in huge pots or the soil stays wet too long.
Common Pitfalls and Pro Tips for a Bumper Start

You’re human — mistakes happen! Here are the ones we see all the time and how to dodge them:
- Hanging the LED too high → leggy, weak stems. Lower it!
- Watering every day “just in case” → root rot city. Let it dry!
- Using super hot, intense lights without dimming → burned leaves. Dial it back!
- Skipping airflow → tall, spindly plants that fall over later.
- Moving seedlings around too much → transplant shock. Let them chill.
10 Must-Do Steps for Your Cannabis Seedling’s First Week
- Choose top-quality feminized or autoflower seeds from a trusted source
- Use a light, well-draining medium in small pots
- Plant sprouted seeds taproot down, ¼–½ inch deep
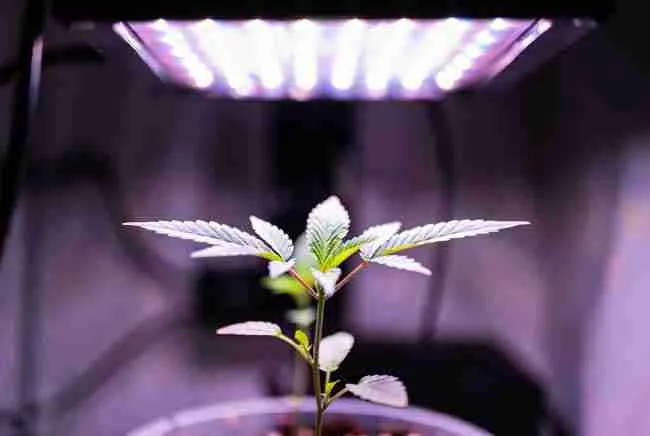
- Set LED at proper starting distance and dim it
- Run 18/6 or 24/0 light schedule
- Mist or water lightly only when needed
- Keep temps 70–77°F and humidity 65–80%
- Add gentle airflow with a small fan
- No nutrients until week 2–3 (organic nutrients are ok)
- Check your babies every single day and adjust
Follow these and you’ll look back in a month wondering why everyone says growing is hard!
Pros and Cons of Different Lighting Setups for the First Week
Dimmable Full-Spectrum LED (Recommended) Pros: Precise control, cool running, energy efficient, perfect spectrum, adjustable distance works great. Cons: Higher upfront cost than cheap shop lights.
T5 Fluorescent or CFL Pros: Very gentle, cheap, run cool, great for tiny spaces. Cons: Less efficient, need to be very close (2–6 inches), can’t dim easily.
High-Power Non-Dimmable LED Pros: Bright and powerful for later stages. Cons: Too intense for seedlings unless hung very high — often causes stretch or burn. Not ideal for week one.
Frequently Asked Questions About Cannabis Seedling’s First Week
How far should my LED be from cannabis seedlings in the first week?
Start 24–30 inches away for most LEDs and lower gradually to 18–24 inches as true leaves appear. Always use the hand test and watch for stretching or burn.
How often do I water cannabis seedlings the first week?
Usually every 2–3 days with a light mist or small amount of pH-balanced water. Let the top inch of soil dry slightly between waterings. Overwatering is the #1 killer!
What light schedule is best for the cannabis seedling’s first week?
18 hours on, 6 hours off works perfectly. Some growers run 24/0 for faster growth — both are fine as long as the intensity stays gentle.
Why is my cannabis seedling stretching tall and skinny?
Your LED is too far away or not bright enough. Lower the light 4–6 inches or increase intensity slightly. Problem solved!
Can I use nutrients in the first week?
Nope — skip them. Plain pH-balanced water is all your seedling needs while its roots are still tiny. Feed lightly starting week 2–3.
What temperature and humidity should I keep for healthy first week of cannabis growth?
70–77°F (21–25°C) and 65–80% humidity. A humidity dome helps early on, then remove it gradually.
How do I know if my seedling is healthy?
Perky, deep green color, strong upright stem, new leaves forming every couple days. No yellowing, no wilting, no stretching.
What if my seedling’s seed shell is stuck on the leaves?
Leave it alone! It will fall off naturally in a day or two. Pulling it can damage the tender leaves. If you have to read this article.
You’ve Got This — Your Cannabis Seedling’s First Week Sets the Stage for Everything
Congratulations! You now know exactly how to nail light distance, watering, and the perfect environment during that critical cannabis seedling’s first week. When you get these basics right, your plants reward you with vigorous vegetative growth, massive root systems, and eventually those sticky, terpy buds you’ve been dreaming about.
Remember: watch your plants every day, make small adjustments, and trust what you see. They’ll tell you if something’s off. A healthy first week of cannabis growth really does set the tone for the entire grow — stronger plants, fewer problems, bigger harvests.
You’re not just growing plants — you’re building skills that will serve you for years. At Green Avenger Seeds we love seeing new growers succeed, and this guide gives you every tool you need to get your cannabis off to a good start.
Now go check on those little green miracles under your LED lamp. You’ve got this!