No-Till Living Soil Cannabis Growing

No-Till Living Soil Cannabis Growing
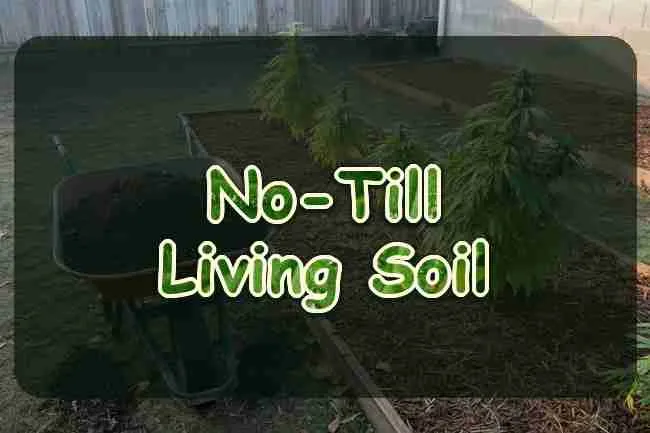
No-till living soil cannabis growing is one bed you mix on purpose, then leave alone. You stop flipping it, dumping it on a tarp, and stirring fresh amendments down to the bottom every run. The plant feeds from a mulched surface. At harvest the fine roots stay in the soil. The next plant goes in beside the old stump, not into a new bag of peat. That is the method. It will not raise the THC in your marijuana, and it will not rescue a seed that was never going to finish.
People hang the words living soil on almost anything dark. A bag of peat with a scoop of compost is organic potting mix. A pot you empty into a trash bag every autumn is still a pot. No-till starts the day you decide this container, or this framed bed, is staying. In Canada the federal baseline is four cannabis plants per household, not four per adult. Quebec still prohibits recreational home growing. Manitoba, since 1 May 2025, allows adults 19 and older up to four plants, and only indoors.
The reason to stop digging is mechanical. Fungal threads and the hair roots from the last plant are already doing the mixing. A fork cuts both. You can rebuild that web every run by buying more compost and starting over, and plenty of growers do. Reuse is the point of this style. You paid for the volume once. After that you feed the top and keep the bed moist enough that the life in it does not dry out between plants.
What no-till actually means
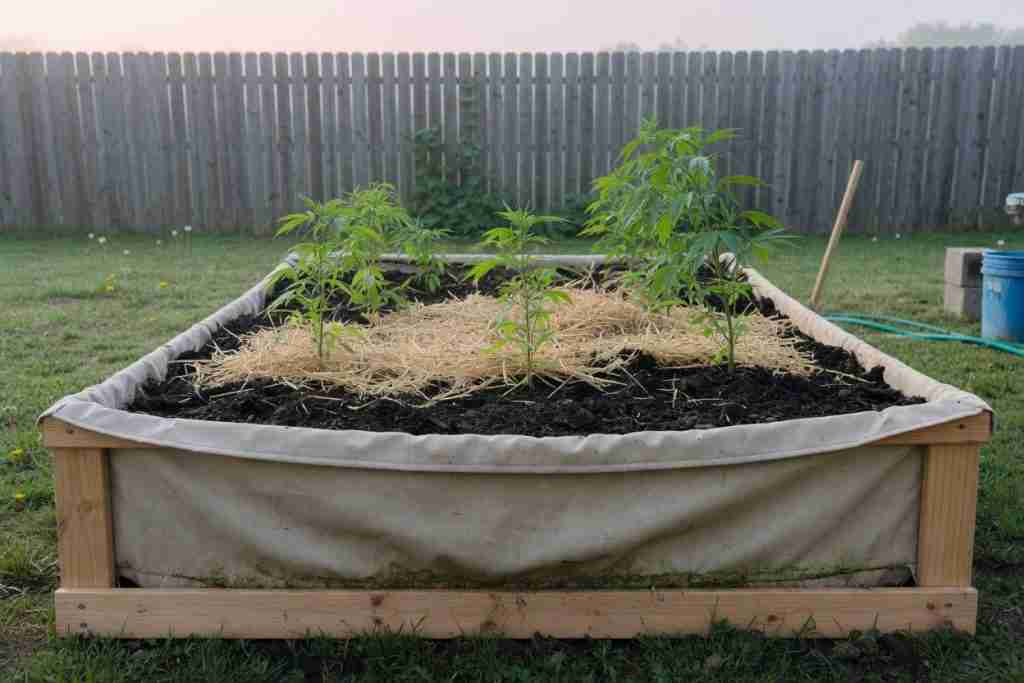
You still touch the bed. You pull mulch back to plant, you set a seed or a young plant, you lay the mulch down again, and you water. What you skip is turning the soil between runs, screening it back into a tub, or fluffing it with a shovel because it looks settled. Settled is normal. A living bed firms up as roots and fungi stitch it. If water still moves through and the plant is not sitting in a swamp, that firmness is the structure you wanted.
At harvest you cut the stalk at the soil line. The fine roots stay. If the woody crown sits exactly where the next plant has to go, lift that crown and the thick roots that come with it, and leave the hair roots still threaded through the bed. Then plant offset, a short move to one side, so you are not jamming a new stem into a stump. The old roots rot where they are. That rot is the recharge. Forking them “so they mix in” is you undoing the run you just finished.
The living part is ordinary soil life. Bacteria, fungi, and the worms or springtails that moisture will support chew the top-dress under the mulch. Keep the bed evenly moist and add finished food at the surface. That community hangs on because you stopped resetting it.
A normal pot you plan to dump is a different system. For that pot, finished compost stays in the 10 to 20 percent band on the guide to composting for cannabis nutrients. Do not drag this page’s one-time bed recipe down into a small pot and call the result no-till. The organic cannabis soil guide and the best soil guide cover a mix you intend to use once and then empty. Both styles can grow a plant. Only one of them asks you to keep the same soil mass.

A bed big enough to keep
Volume is the gate. Indoor living soil wants about 7 to 15 gallons per plant. Outdoor organic plants want more room, about 15 to 25 gallons, or a fabric bed that holds several plants with space between them. The pot size guide is where that range is spelled out, along with how media and watering change as the container changes. Under that size the roots hit the wall, water and minerals swing hard, and you end up dumping the pot. That dump is reblending. It can still finish weed. It is not this method.
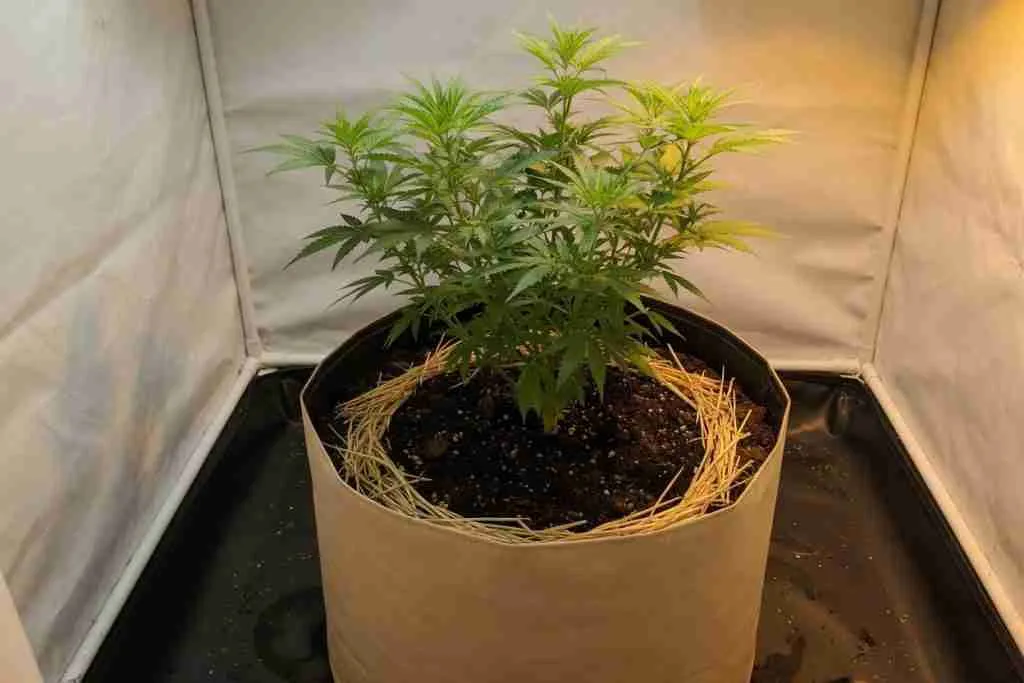
A container under about 7 gallons can carry one plant on a normal organic mix. It cannot host a mulch layer, a compost top-dress, and a second run of undisturbed roots. Mix that pot as a regular organic pot, grow the plant, and empty it. Calling it no-till is how a second run goes sour.
Autos belong in the final bed from the start. Germinate them and move them once, or sow them in place, while they are still in the seedling stage. Do not transplant an auto once it is in flower. A photoperiod plant can start in a small cup and move into the bed once, during vegetative growth. After that move, the bed stays for this run and the next. One plant per hole. In a shared bed, leave enough surface to water the whole area without crushing stems. Fabric pots dry at the wall, and a solid planter holds water longer, so lift the container or feel the bare ring rather than watering on a calendar.
Build the soil once
The first mix is the only time you stir. Aim for about one third aeration, about one third finished compost, and the rest a base you already trust: peat, coco, or a loam. Aeration is perlite, pumice, or rice hulls. That third keeps the bed from collapsing into a brick after you stop tilling. The compost third is food and biology for a volume you will keep. The base third is what holds water between drinks.
Use three equal measures so “one third” is a bucket, not a feeling. One bucket of aeration, one bucket of finished compost, one bucket of base. Mix them damp, closer to a wrung sponge than to soup. Dry peat will not blend, and a slurry will pack when it drains. If you are filling a large fabric bed, repeat the same three buckets until the bed is full. Do not switch recipes halfway down or the bottom becomes a different soil from the top, and you will not be tilling later to even it out.
This bed share is not the 10 to 20 percent compost rate for a pot you will dump. It is also not a second full share of worm castings dumped into the tub on day one. Castings are a thin top-dress later, the way the worm castings page describes them. A mix of equal parts compost, peat, and aeration, plus another equal part of castings, stacks two compost-like fractions before a single root is in the bed. That is too rich for day one. The plant needs air, a stable pH, and compost that is actually finished. It does not need every amendment you own in the first stir.
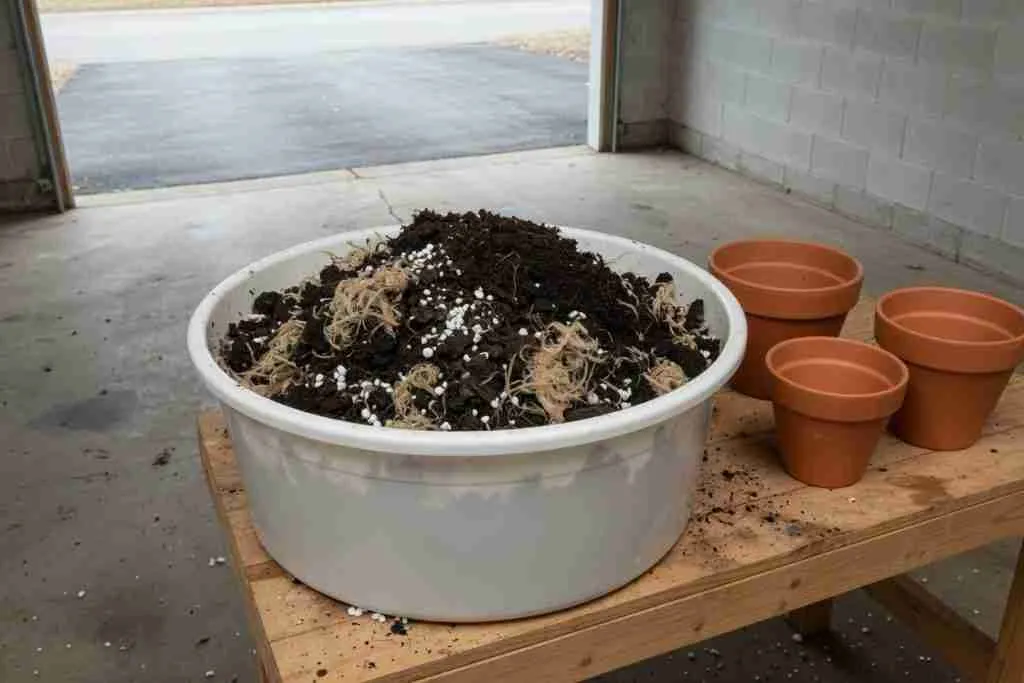

If you can still name the scraps, the compost is not ready. A peel, a grass clipping, or a chunk that still smells sharp does not go in this mix. The pile test, the heat, and the smell live on the compost page. Use that page before you fill the bed. Raw material in a no-till bed is worse than raw material in a pot, because you are not going to dump it next month. The microbes will borrow nitrogen while they finish the job you skipped, and the seedling is the one that goes pale.
After you blend, water the bed until it is moist all the way down, then leave it. A couple of weeks of rest, kept damp under a loose cover or a thin mulch, lets the hot spots calm down. Planting the same afternoon into a fresh mix is a common way to burn the first roots. You do not need to wait two months. You need the middle of the bed to stop feeling warm to your hand, and you need it to smell like soil rather than a new pile. If it still smells sharp, wait. Adding more compost on top of a mix that has not settled yet only makes the wait longer.
Soil pH still wants to sit about 6.2 to 6.8. The pot size guide holds the fuller chart. If the base is coco, read the coco coir guide before you treat the bed like peat. Coco that dries to dust channels water down the wall. Wet the whole surface slowly until the core takes water again, then do not let the dry-down go that far next time.
Skip the bottled salt starter. A synthetic bloom or grow formula poured through a new living bed fights the reason you mixed it. The synthetic fertilizers page is the bottle route, and it belongs in a pot you can flush. Fill the bed to the height you want, expect a little settle, and top up later with the same finished mix on the surface. The container also needs a way out for water. Empty the indoor tray. A saucer left full turns the bottom into a swamp. Outdoors, put the bed where rain can leave.
Mulch, water, and the surface
Mulch is the lid. Straw, shredded leaves, or a thin layer of dried cover-crop residue keeps the surface from crusting and keeps light off the soil. It also keeps a top-dress from drying into a shell nothing will cross. The rule that matters is the bare ring. Mulch stays off the stem. You should be able to see soil all the way around the stalk. Mulch piled on the stem holds water against the bark and rots it. That rot looks like a hunger problem until you pull the straw back and find a brown neck.
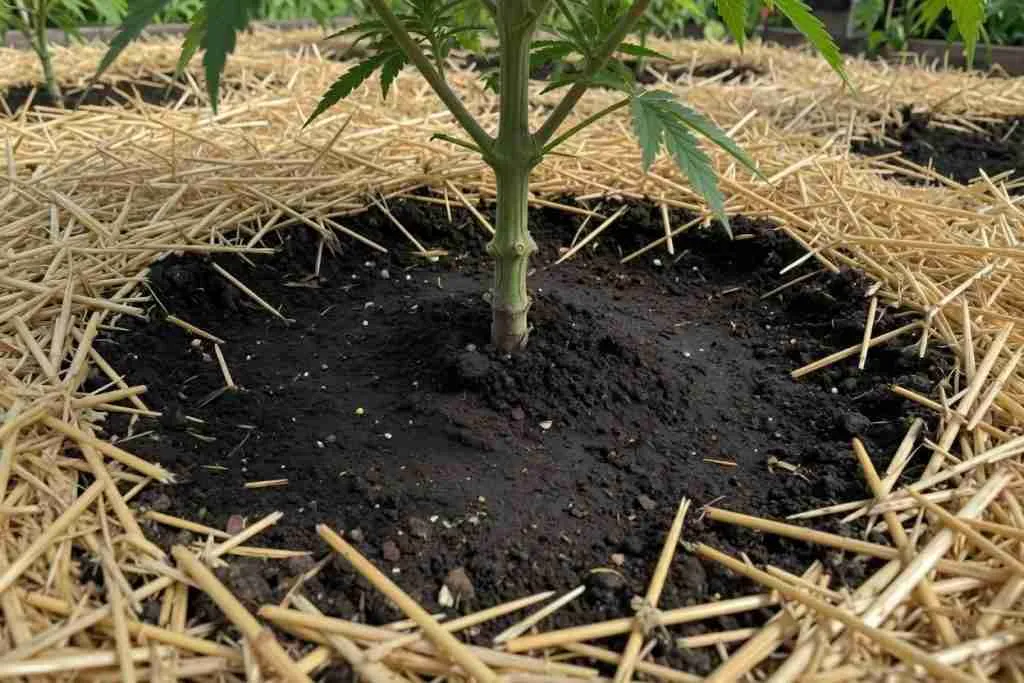

Straw beats hay. Hay is full of seed, and those seeds become a crop you did not plant. Whole leaves mat and shed water to the edge of the pot, so shred them. Rice hulls already belong in the aeration third. Leave them there instead of piling a crust on top.
Indoors, keep the mulch thin. A thick wet mat in a tent is where fungus gnats lay eggs, and a heavy gnat run is how rice root aphids get into a pot that never leaves the room. Keep the indoor layer light, let the top of it dry between waterings, and water the soil rather than soaking the mat. Cardboard under indoor mulch stays wet. Leave it out of the flower room.
Outdoors the layer can be thicker, because sun and wind dry it. Straw or shredded leaves, still off the stem, and only a few centimeters deep. Most cannabis beds do fine with straw alone. Water the whole surface, not a pencil stream at the stalk. The watering guide owns how much and how often. Wet the bed across its face, then let it use that water. The bare ring is the window. Dust at the ring while the mulch looks dark means you watered the straw. A shiny, sour ring the next day means you passed what the volume can hold.
A cover crop is optional. White clover stays low if you sow it after the cannabis has a head start. Chop and drop it before it shades the lower growth. If it is reaching the fan leaves, cut it, leave the residue on the surface, and put the straw back. Do not dig it in.
Feed from the top
The bed already holds its compost third. A seedling set into a rested mix usually needs no extra meal for the first stretch. The food is already under it. Piling more compost against a plant with two sets of leaves is how you get a soft, overfed start and a stem that never hardens. Wait until the plant is clearly in vegetative growth and using the bed. Then feed the surface, ahead of demand, while the leaves are still an even color. Catching up after they have gone pale is a slower job in a bed you cannot flush like a coco pot.
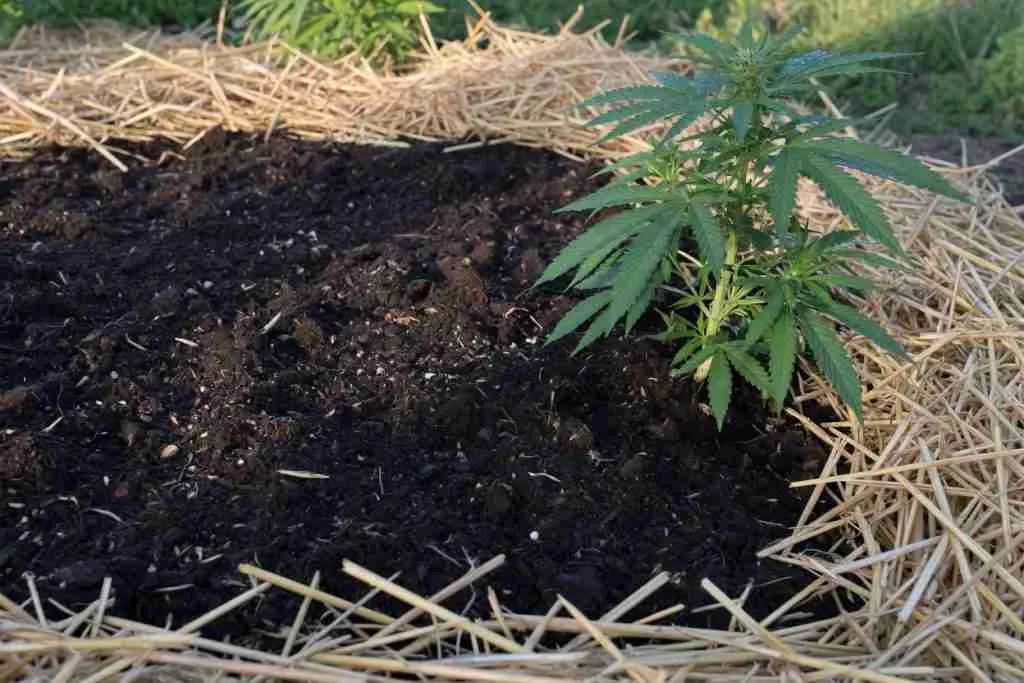
The motion is simple. Pull the mulch back, keeping the stem clear. Spread a dry organic blend, or a thin dusting of finished compost with a light sprinkle of castings. You should still see soil in places. Put the mulch back, then water the whole surface so the meal starts to move. A couple of handfuls across a 15-gallon surface is a meal. A blanket you cannot see the soil through is a second mix, and you already did the mix. The organic marijuana fertilizer page walks through dry meals if you want a blend instead of compost alone.
Early flower gets one more top-dress as the plant stretches and pistils show, still on the surface, still off the stem. Then stop adding rich compost. Late flower is mostly hands off. You are not pouring a salt bloom bottle to “finish” the buds. Compost will not fill a real phosphorus or potassium gap by itself, which is the same limit the compost page already puts on a pile. If the plant is truly short, the balanced dry organic meal goes on in veg and early flower. It does not go on as a wet slurry against the stem deep into flower.
Between runs, after the cut, lay a few centimeters of finished compost on the surface and put the mulch over it. Do not fork that layer in. Those few centimeters are what an outdoor bed, or a large living container, can take. A small pot you plan to dump does not get that blanket. It gets the 10 to 20 percent rule when you mix it. If the compost you are about to spread still looks like scraps, it goes back to the pile, not onto the bed.
Judge the feed by the plant. New growth in veg should be an even green. A harsh dark green after a thick blanket means the surface was too rich. Pale new growth, with water and light already right, means the meal was late or the original compost was not finished. In flower, hold the color you have. Fix the pour before you add another layer. Food on a plant that is drowning does not read as help.
After harvest
Cut at the base. Leave the hair roots. They are the recharge, and they disappear on their own if the bed stays moist. Pull the woody crown when it blocks the next planting hole. The thick roots that lift with that crown can go. What you are protecting is the net of fine roots still in the bed, and the channels they already opened. A shovel through that net puts you back at day one, with a bed full of chopped roots and no structure.
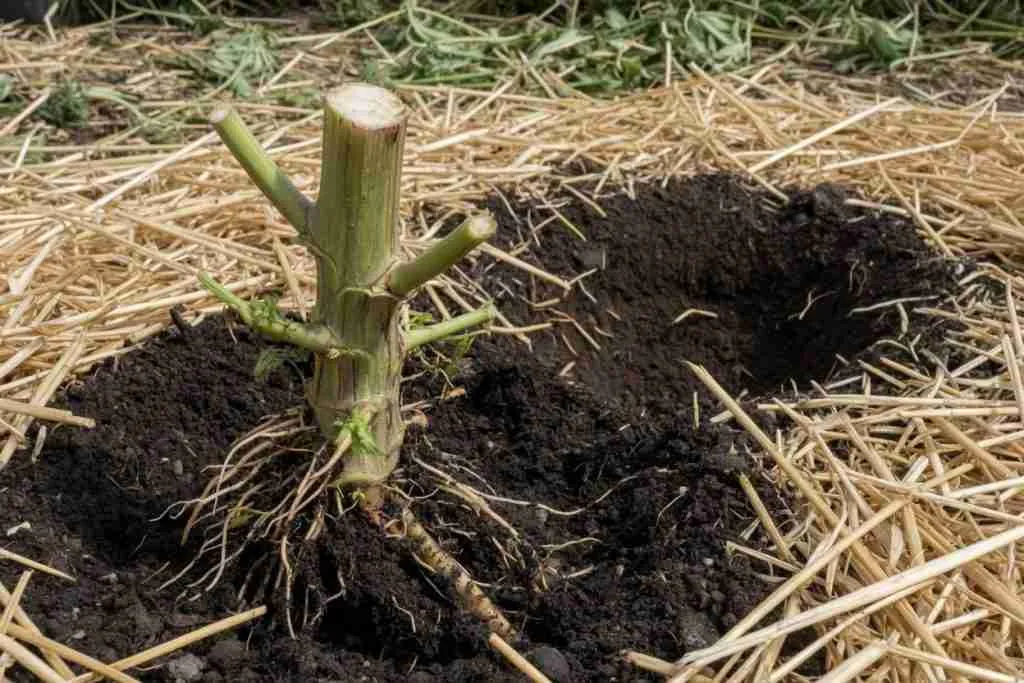
Plant the next one offset from the old stump. If you had to pull the crown, that spot is open, but most beds have room to move a few inches and let the old root zone keep breaking down beside the new plant. You do not need the old roots gone before you replant. Offset planting is how both things happen at once. Water the bed, add the few centimeters of finished compost under the mulch, and rest it. A couple of weeks, kept moist, is enough for a bed that was already alive. You are not rebuilding from dry peat. You are letting the fresh surface stop being new.
Take large woody stems out of an indoor bed. They stay wet and mold, and they are not the next meal. Outdoors, a chopped healthy stalk can sit on the mulch. A plant that died of root rot, or of a fungus you can see in the soil, gets bagged. It does not go back as mulch, and it does not stay in the hole. While the bed rests, keep it moist without parking it in a tray of water. The next run needs the same surface habit, a few centimeters of finished compost and the mulch put back, not a new aeration third.
What wrecks a living bed
Forking the bed, or dumping it on a tarp because the last run was only okay, throws away the reason you built the volume. A rootbound plant needs a bigger container next time. A burned seedling needs the rest before planting. Neither problem is fixed by a new product stirred through the same soil.
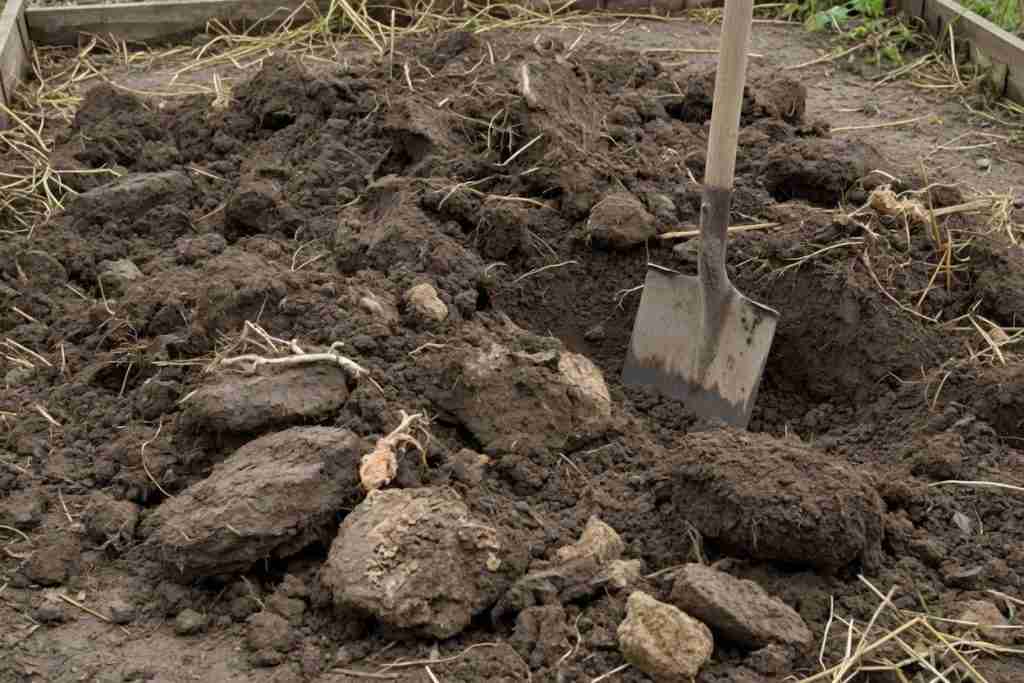
The other wrecks are the ones already easy to spot. Mulch on the stem rots the neck. A bloom bottle in mid flower hits the soil life and leaves you with a bed you cannot flush. A cover crop left alone will shade the plant, so chop it while it is still low. A sick bed comes out. Root rot, a sour smell that stays after the watering is fixed, or a fungus killing plants in that soil means you remove the soil, clean the container, and start again. Replanting a seed into a bed that just killed a plant repeats the loss.
The compost bin stays outside the flower room. A working bin is wet and full of flies, so it does not sit beside a flowering canopy. The indoor growers guide is for the room. The outdoor guide is for a bed in weather. Overwatering is the quieter wreck. A bed that never dries at the surface goes grey and smells swampy. Let the top of the mulch dry, water the whole face, then wait, and empty the saucer. A bed sitting in a puddle has a drainage problem. Another top-dress will not fix a puddle.
No-till living soil cannabis growing is that decision, kept for more than one plant. Mix once, rest the fresh bed until it smells like soil, mulch off the stem, and feed the surface. Cut at the base, leave the fine roots, and plant the next one offset. A pot you are going to dump can still grow a plant. It follows the compost rate for a pot, and then you empty it.