Growers Biggest Mistakes Using Cannabis Growing Lights

Most lighting mistakes on a marijuana crop happen after the box is open. You hung the board. The tent looks bright. Then the tops bleach, the corners stretch, the buds stay airy, and you blame the seed. The original point on this URL still holds: cannabis growing lights are as much a skill as soil and feed. Ranking growers in 2026 argue about hanging height, PPFD, dimmers, and daily light, because those are the knobs that actually change weed. The fixture type matters. How you run it matters more.
This rewrite keeps the backbone from the first version of the page. Cheap house-plant lights still fail in flower. Lights still sit too close or too far. Timers still drift. Coverage still leaves a dark ring around a hot center. What changed is the test. A hand under an LED can feel cool while the canopy is already bleaching. A lux meter on the floor does not tell you what the cola sees. Blue-for-veg and red-for-flower is a leftover slogan. Full-spectrum white boards plus a real photoperiod do the work. Shop packs in the cannabis seeds store if you still need seed. The rest of the grow library is on the cannabis cultivation blog.
Different Types of Grow Lights for Cannabis Cultivation

The original list on this page is still the list you walk into a shop with. High pressure sodium, metal halide, LED, and fluorescent. Pick from actual watts, coverage, heat, and the room you have. A 4×4 tent wants a board built for that footprint. A closet wants a smaller bar and a dimmer. The lighting overview on grow lighting for cannabis is the sibling if you want fixture shopping in more depth. This page is the mistakes that wreck a run after you already bought something.
High pressure sodium still grows dense flower. It also dumps radiant heat into the canopy. You hang it farther away, you exhaust harder, and you water more because the pots dry from the top. Metal halide is the old veg companion to HPS. It is a hot, hungry bulb with a useful blue-heavy look. Both HID lamps need a ballast, a reflector, and a plan for the heat. In a sealed basement they cook the room. In a well-vented space they still work.
LED is the default indoor marijuana light now because the wall watts dropped and the diodes sit closer to the plant. That closeness is the trap. An LED bar can hang 8 to 16 inches over a flower canopy and still be gentle at 50 percent, then bleach the same canopy at 100 percent on the same hook. Fluorescent and T5 remain a budget tool for seedlings and clones. They are weak for flower. If your only lamp is a shop tube, keep it for starts and move the plant under a real board before you flip. Seedling work lives on growing cannabis seedling stage of growth and the day-by-day notes on cannabis seedlings day by day.
Choosing Cheap Lights

The original warning still pays rent. Marketplace “1000 watt equivalent” panels sold for house plants are the most common way a first tent starves in week four of flower. The photo above is that class of light: a few small squares, a plastic housing, almost no heatsink. They look purple. They feel bright at night. They do not hold 700 to 1000 micromoles at the cola across a tent. Veg can limp along. Flower packs out light and fluffy. That end of the story is on cannabis buds light and fluffy.
Shop by actual draw, not the equivalent number on the carton. A board that pulls 240 to 320 real watts can flower a 2×4. A 4×4 wants something in the 400 to 650 watt draw range from a brand that still sells drivers. Look for a dimmer, a metal back, and a coverage chart that names PPFD at a hanging height, not “covers 5×5” in 8-point type. Blurple from 2016 still grows weed. It makes sick leaves hard to read and it is ugly to live with. Full-spectrum white is easier to scout. A used blurple with a real heatsink beats a new no-name panel with none.
Cheap also means undersized for the footprint. One bar over a 4×4 leaves a bright stripe and four dark corners. The corners stretch. The center cooks. You then prune the stretch and keep the cooked tops. Buy coverage, then dim. A small room is a different math. The micro-space notes on tiny greens, big dreams and the tent walk on grow tent for cannabis seeds are the rooms this page assumes.
How to Tell If Your Cannabis Growing Lights Are Sufficient
There is a narrow band between too much light and too little. Too much yellows the tops, bleaches the sugar leaf, and burns the electric bill for no extra weight. Too little stretches internodes in veg and packs air into the bud in flower. The plant tells you before the meter does if you know which yellow you are looking at.
Too Much Light Looks Like a Deficiency
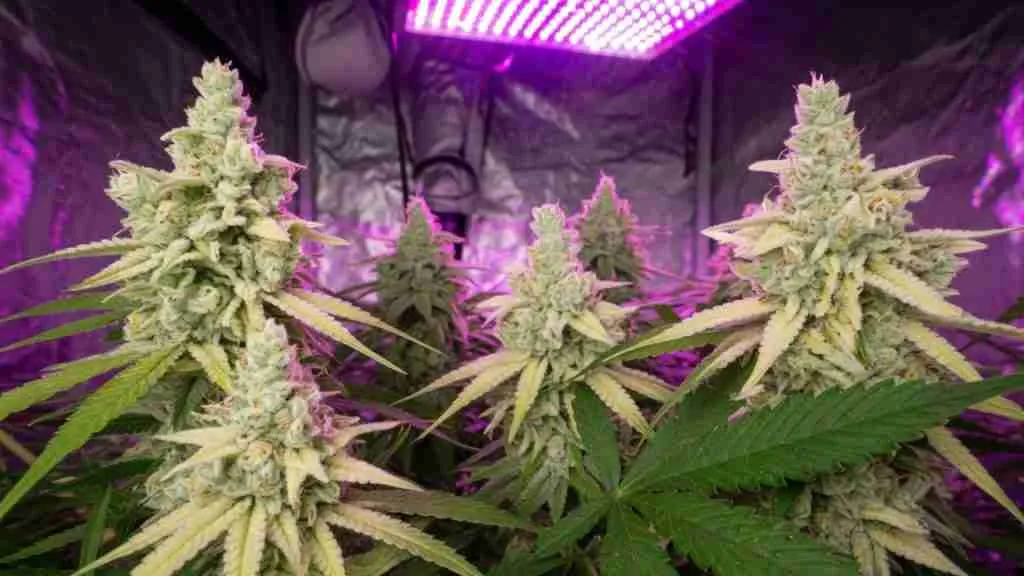
The original diagnostic is still the one we use. Leaves turn yellow for no feed reason. Growers dump nitrogen. If the leaf drops in your hand, that can be a true N fade. If the leaf is hard to peel off the stem, look up, not at the bottle. Light stress holds the leaf on. Nitrogen fade lets it go. Pale, crispy tips on the highest colas are bleaching. The tissue goes white or straw, then brown. That is photons, distance, and a dimmer left at 100 percent after the stretch. Yellowing that is actually a seedling problem is on cannabis seedling yellowing. Claw from other causes is on leaf curling or clawing in cannabis plants.
The old hand-heat test still works on HPS. Hold your palm at cola height. If it is uncomfortably hot in a minute, raise the lamp. On LED the same test lies. The diodes throw less radiant heat. Your hand stays comfortable while the PPFD at that leaf is already past 1200 micromoles. The plant bleaches while the fixture feels cool. Trust the leaf and a quantum meter. Raise the bar, dim the driver, or both. Do the two together only in small steps.
Too Little Light Makes Airy Weed
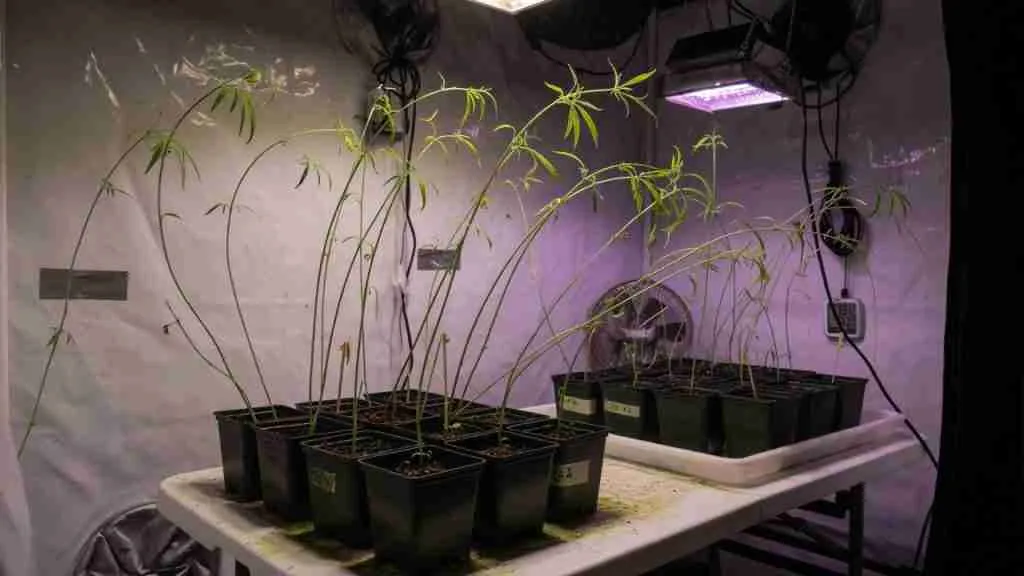
Underpowered light looks like a plant searching. Internodes lengthen. Stems stay thin. Veg plants flop. Flower sites stack with gaps. The cola is fox-tailed or hollow when you break it. You can close some of that gap by lowering a real board. You cannot close it with a 60 watt house-plant panel over four plants. Add watts or shrink the footprint. One plant under a 150 watt bar in a 2×2 will beat four plants under the same bar in a 4×4. Yield per plant is on how much cannabis you can get from growing one plant. Quality of the finished flower is on growing quality cannabis buds.
Use a Quantum Meter at Canopy Height
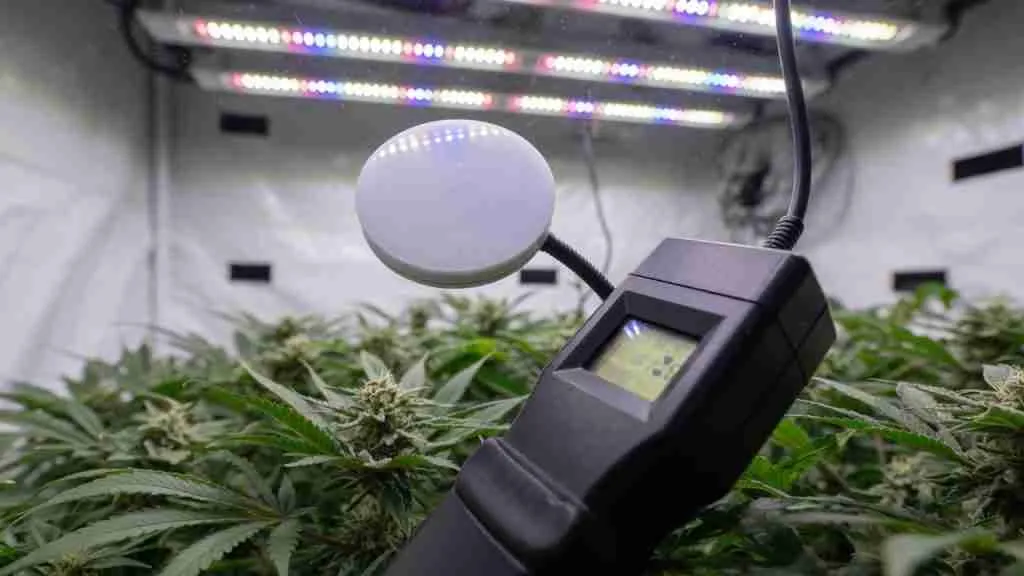
PPFD is photosynthetic photon flux density. It is micromoles of photons in the 400 to 700 nanometer band hitting a square meter each second. That is the number the leaf uses. Measure it at the top of the canopy, sensor facing the diodes, in the spots the colas actually occupy. A nine-point grid on a 4×4 is center, four mid-edges, four corners. Write the nine numbers down. You want the corners within about 20 percent of the center. A 1400 center and 400 corners is a hotspot with a stretch ring. Raise the bar to flatten the map, then dim until the center sits in the stage target.
Phone lux apps and cheap lux meters still have a job. They show a board dying, a diode string out, or a corner that never sees the bar. They do not convert cleanly to PPFD across LED, HPS, and blurple because those spectra hit a lux sensor differently. Use lux as a relative check on the same fixture over months. Use a quantum sensor when you set hanging height. The original lux meter photo stays on this page because that is the tool a lot of growers already own. Buy a PAR meter when you can. Until then, watch the plant and keep a notebook of hanging height plus dimmer percent.
What a Lux Meter Still Tells You

If the same lux meter, same height, same dimmer, reads a third lower than last cycle, the board aged or a channel died. That is worth a replacement driver conversation. If you only ever measure the floor, you are measuring the pot, not the cola. Hold the sensor at the highest shoot. That is the number that burns or starves the plant.
Biggest Mistakes Growers Make Using Cannabis Growing Lights
Hanging Height Comes From the Fixture
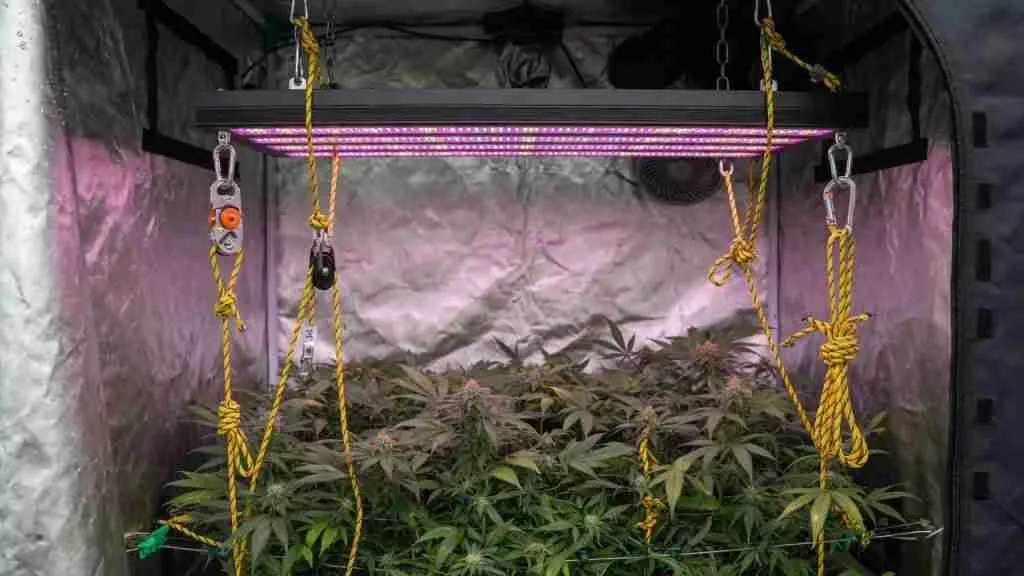
There is no universal inch chart. A 100 watt bar and a 600 watt bar do not share a 12-inch rule. Manufacturer hanging charts are a starting point for that board, at that wattage, at that dimmer. Ratchets exist so you can move 2 inches at a time. Measure PPFD after each move. Seedlings and clones sit farther or more dimmed. Veg comes in. Flower comes in more. During the first two weeks after flip the plant can put on a foot. The bar that was safe on flip day is in the tops on day 12 if you never raised it.
Dimmer and Height Work Together
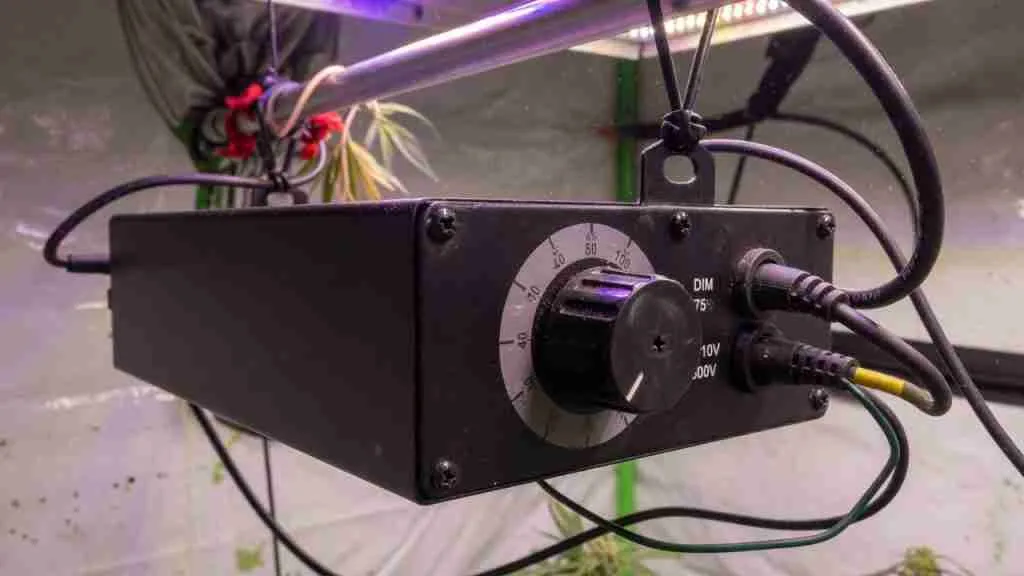
Growers pick one knob and ignore the other. They hang a 480 watt board at 24 inches on 100 percent and wonder why the corners are dark. They hang it at 8 inches on 100 percent and bleach a stripe. Dim first for seedlings. Bring intensity up in veg. For flower, hang for even coverage, then dim into the 700 to 1000 micromole band if the room is on ambient carbon dioxide. You can push higher with added CO2 and the rest of the room in line. Without extra CO2, past about 1000 micromoles you pay for photons the plant cannot use. Rodriguez-Morrison style work showed yield still climbing toward 1800 micromoles with CO2 enrichment. That is a sealed, enriched room, not a bedroom tent with a cracked zipper.
The Hand Heat Test Fails on LEDs

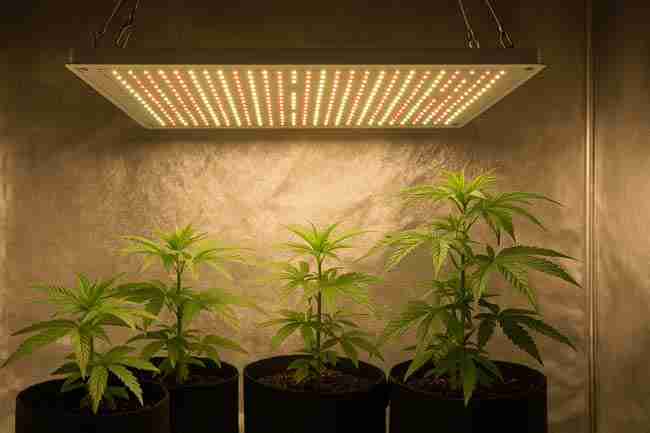
This is the original too-close photo from 2023. The diodes sit right over the plants. On HID you would already have a sunburn. On LED you get a quiet bleach a few days later. The leaf cups, the top pistils tan, the sugar leaf goes pale. Raise 3 to 6 inches or drop the dimmer 10 to 20 percent and wait 48 hours. Repeat. Do not yank the bar to the ceiling in one move or you will stretch the same week. The original close-light warning stays. The test you use to confirm it changed.
Lights Hung Too Far for the Board

The matching original too-far shot is a board with empty air under it. Photons fall off with distance. A bar that can flower at 12 inches is a veg lamp at 30. Lower it until the nine-point map is even, then check the plant for bleach over two days. Weak stems in veg are a hanging problem as often as they are a calcium problem. Flower that never packs is a hanging problem as often as it is a feed problem.
Full Spectrum Plus Photoperiod Beats Blue and Red Folklore
The 2023 version of this page repeated the old gospel: blue for veg, red for flower. There is a kernel. Blue keeps internodes tighter. Red drives a lot of photosynthesis. A modern white LED already has both, plus green that helps the eye and the lower canopy. You do not need a blurple veg lamp and a red flower lamp unless that is the hardware you already own. What you do need is a photoperiod. Photoperiod marijuana flowers when the night is long enough. The lamp spectrum will not flip a plant. The clock will. Autos ignore the clock and still want a long day of decent PPFD. Photoperiod seed behavior is on photoperiod cannabis seeds explained. Veg is cannabis vegetative stage. Flower is growing cannabis flowering stage of growth. Auto yields are on how to grow large autoflowers.
Timer Mistakes and Photoperiod
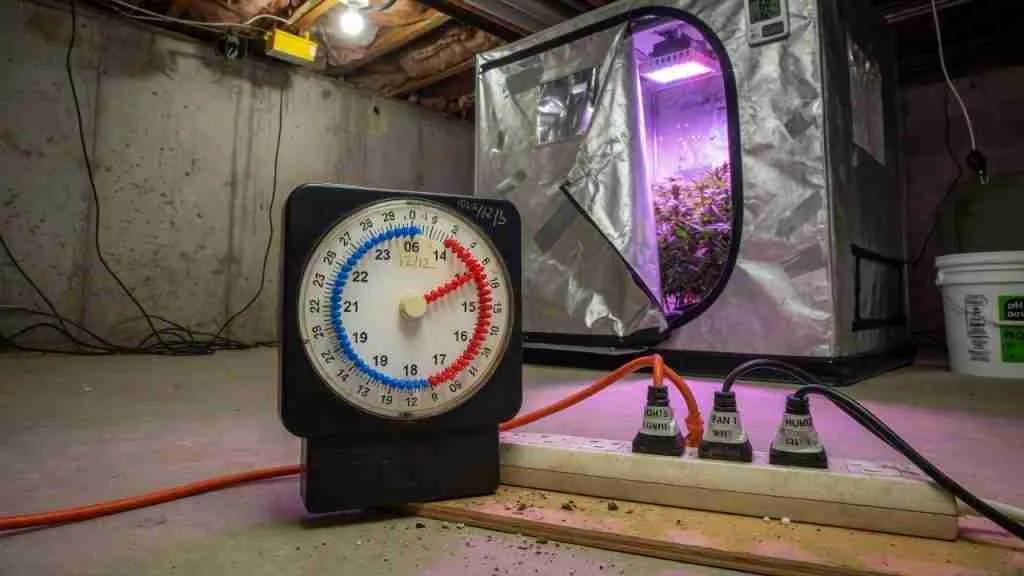
A mechanical pin timer still works if you check it. Pins walk. Outlets fail. A phone charger on the same strip as the lamp can brown the board out. Run the light on its own timer. Write 18/6 or 12/12 on tape on the timer. Photoperiod plants veg on a long day, commonly 18 hours on, 6 off. Flower is 12 and 12. Light leaks at night re-veg, nanner, or stall the stretch. Autos commonly stay on 18/6 the whole run. A 24/0 day works for some people and costs more power for little gain. The original duration warning is the same sentence: use a timer. The extra sentence is: check it every few days, and keep the dark actually dark.
Daily light integral is why a flip feels dim even when the board did not change. Eighteen hours at 500 micromoles is a lot of photons per day. Twelve hours at 500 is a third less. If you flip and leave intensity alone, DLI drops. That is one reason flower stretch looks hungry. Raise intensity after flip, in steps, as the plant can take it. Do that with the dimmer, hanging height, or both.
Coverage, Hotspots, and Dark Corners
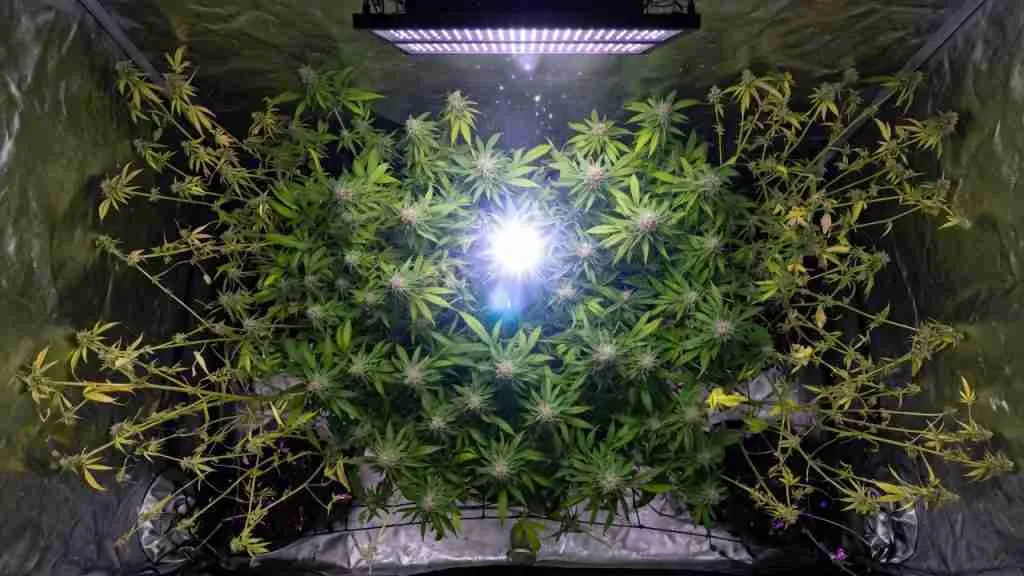
One small panel over a wide tent makes a bright island. The plants under the island bleach. The plants on the edge stretch toward it. You then have eight different canopies in one tent. Hang the bar so the diodes cover the square. Use two bars if one cannot. Train the canopy flat so every top sits in the same PPFD band. A little defoliation opens holes for light into the mid. Strip the interior after you have a map, not as a way to hide a dark corner. The cut is on defoliate cannabis.
Flower Stretch Hits the Diodes
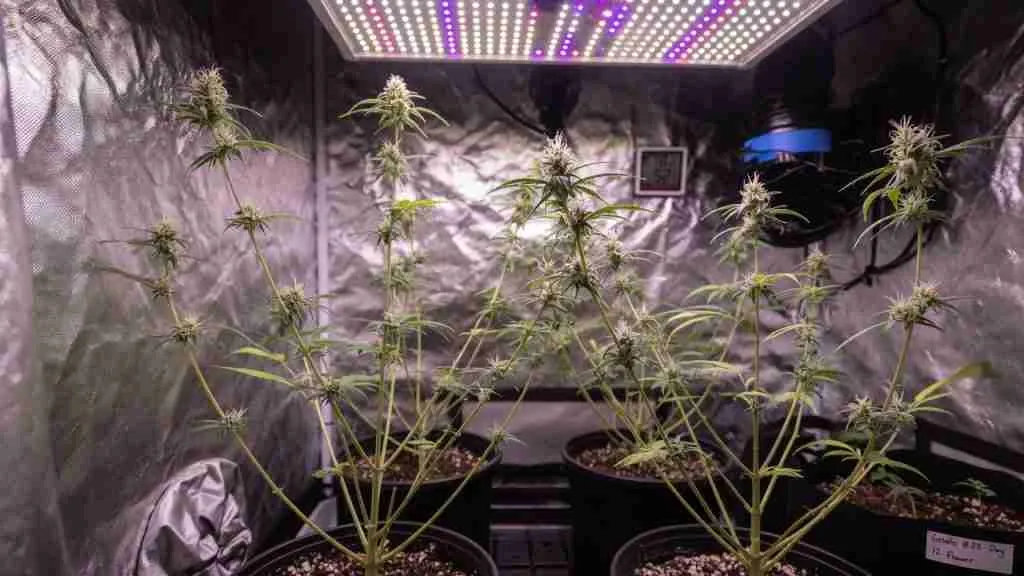
Week one and two of 12/12, a photoperiod plant can double. The tops that were 14 inches under the bar are 4 inches under it. That is when bleach shows up on a board that “was fine in veg.” Raise the bar as the plant rises. Check twice a week in stretch. After stretch, hanging height can sit still and you ride the dimmer. Harvest timing after that run is on how to harvest and cure cannabis plants.
Air Has to Move Across the Heatsink
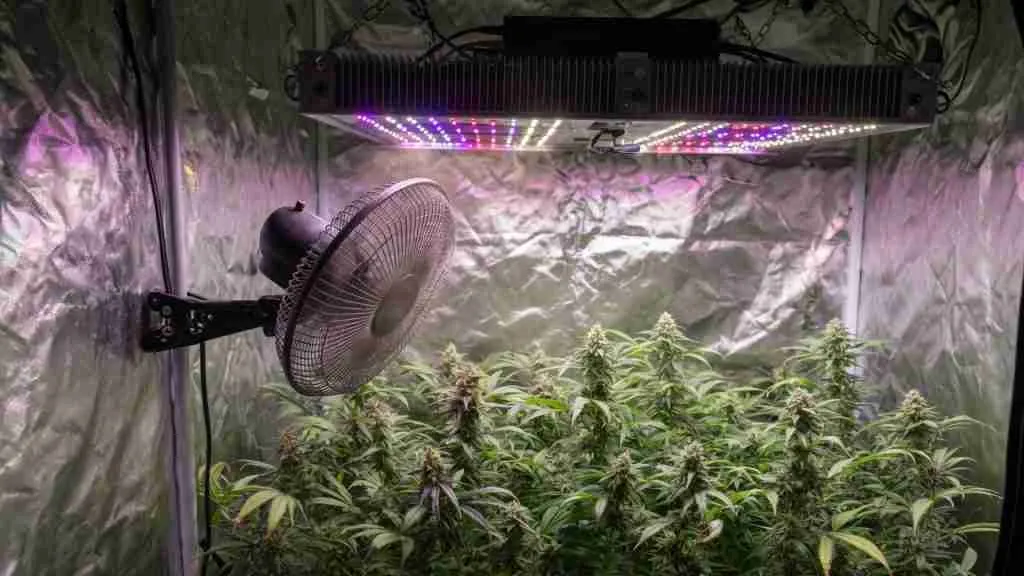
The original air-circulation point was written for hot HID. It still belongs on LED. Diodes last longer with air across the fins. The canopy needs a leaf flutter so the boundary layer of humid air leaves the stomata. A clip fan aimed at the board and another at the mid canopy is the cheap version. Exhaust has to leave the tent. A sealed cube with no outflow is a humidity box at lights off, which is how powdery mildew and bud rot get a vote. The ventilation walk is ventilation for cannabis grow. Watering that matches the new dry-down is water cannabis plants and the room notes on environment, media, watering, pot sizes.
HPS to LED Changes Watering
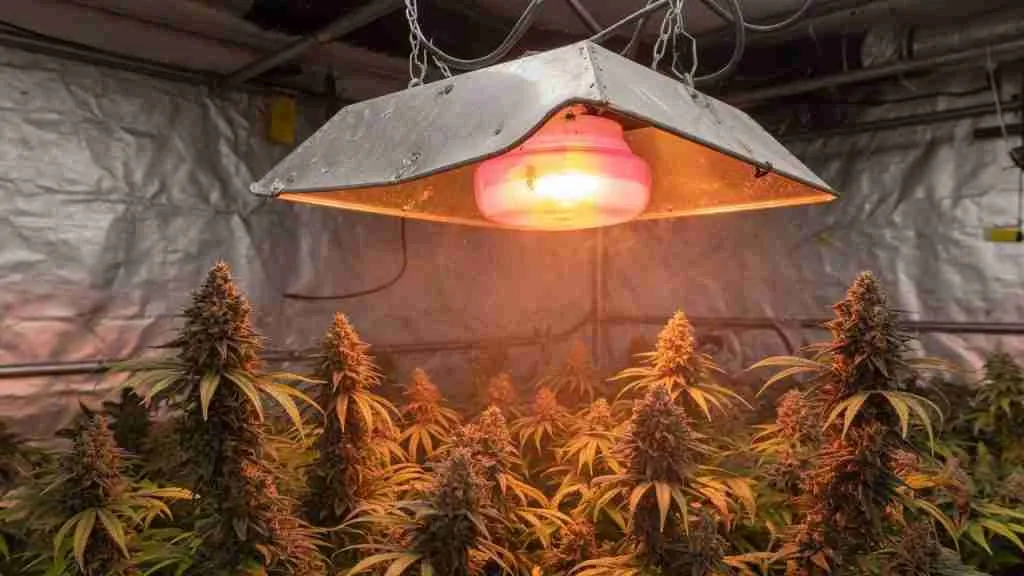
Swap a 600 watt HPS for a 400 watt LED and the room feels easy. Then the pots stay wet. HID was drying the top of the medium with radiant heat. LED does less of that. Water on the old HPS schedule and you drown roots, then chase fungus gnats, then blame the new board. Water when the pot is actually light. Expect a longer interval. Hang the LED closer than the HPS sat. Dim into the same PPFD the plant had, then walk intensity up. The plant already knew the old PPFD. Give it a week to meet the new spectrum.
Stage Numbers You Can Actually Use
These are working bands at the canopy, ambient CO2, even coverage. They are not a law. Cultivars differ. A thin-leaf sativa in a cool room takes more photons than a dark indica in a hot closet.
- Seedlings and fresh clones: about 100 to 300 micromoles. Soft 18-hour day. Distance or dimmer, your choice. Clone cuts are on how to clone cannabis and the cup method on how to clone cannabis in a cup of water.
- Vegetative growth: about 300 to 600 micromoles. 18/6 is the common clock. Raise intensity as the plant fills the square.
- Flower on ambient CO2: about 700 to 1000 micromoles at the tops. Cap near 1000 unless you add CO2 and keep temperature, feed, and water in step.
- After the 12/12 flip, raise intensity so daily light does not collapse when the day shortens. Watch stretch twice a week and move the bar.
If the center of the tent is 1100 and the corners are 450, you do not have a 1100-micromole garden. You have a hotspot. Fix the map before you chase a higher number. If the plant taco, bleach, or fade at the tops while the meter says 800, the meter is in the wrong spot or the plant is thirsty, hot, or underfed. Light is one input. It does not outrun a dry pot.
Canada’s recreational cap is four plants per household. Quebec still blocks recreational grow. Manitoba is indoor-only since 1 May 2025. The lighting math on this page is for the plants you are allowed to run. A 2×2 or 2×4 with one honest board is enough light for that cap. Named packs that match a small indoor run are in the cannabis seeds store and the quality notes on top quality cannabis seeds available in our store.
Take the board as seriously as the bottle. Buy coverage and a dimmer. Measure at the cola. Hang for the fixture you own. Keep the dark dark. Move the bar in stretch. Water for LED heat, not for the HPS you used to run. That is the whole list of growers biggest mistakes using cannabis growing lights, written the way the plants actually fail.