Grow Room Fire Safety & Electrical Load Planning

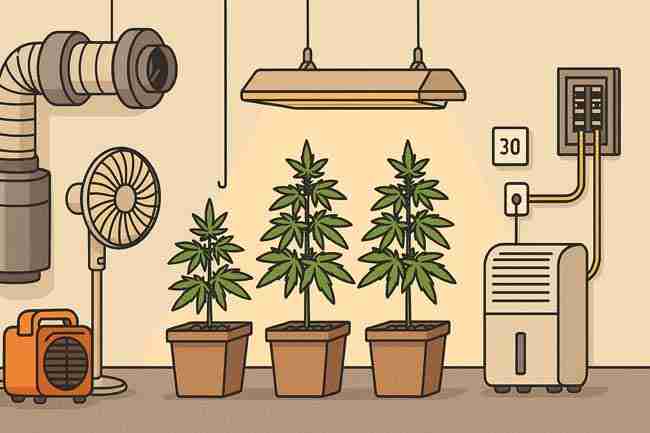
You want big, healthy buds—not a visit from the fire department. Good news: with a little planning, you can make your room safe, steady, and easy to run every single day. In this guide, you’ll learn exactly how to plan your electrical load, stop hot spots, and build belt-and-suspenders protection into your space. We’ll stick to simple English, clear steps, and real examples that work for both Canadian and U.S. growers.
To keep things focused, we’ll repeat the key phrase throughout: cannabis grow electrical safety. By the time you finish, you’ll know how to map watts and amps, choose the right circuits, and set up fire risk prevention like a pro—without overthinking it.
The Story (That Could’ve Been a Fire)
You set up a 4×4 with a bright LED, add a dehumidifier, a couple of clip fans, and a heater for cool nights. It all works… until the breaker trips one evening. You reset it. It trips again. Next morning, your extension cord is warm. Yikes.
Nothing burned, but this is how fires start: small overloads, loose plugs, dust, and heat stacking up. With a plan, you avoid the drama. Let’s make your room safe, steady, and boring—in the best way.
Cannabis Grow Electrical Safety: The Core Ideas
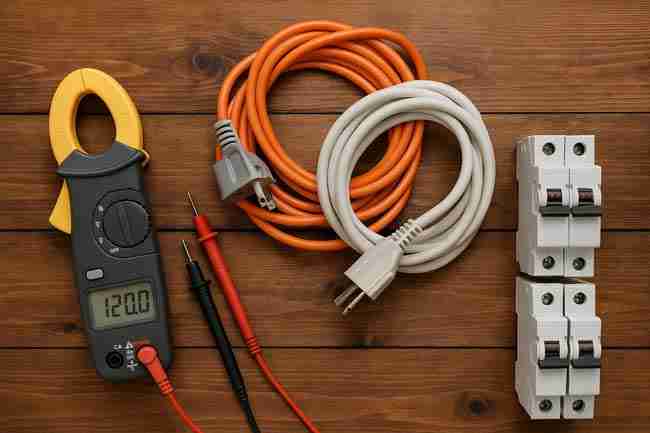
You don’t need to be an electrician to stay safe. Remember these simple rules:
- Watts = Volts × Amps.
- Continuous loads (things that run for hours) should use no more than about 80% of a circuit’s breaker rating.
- Dedicated circuits are your friend.
- Thick wire = safer wire (lower AWG number = thicker).
- Never daisy-chain power strips.
- GFCI near water, AFCI to detect arc faults where required.
- Cool, clean, tight: keep gear cool, free of dust, and connections tight.
When in doubt, talk to a licensed electrician—especially if you’re adding new circuits, switching to 240V, or building out a larger space.
Plan Your Load Before You Plug Anything In
Make a Simple Power Budget (Step-by-Step)
- List every device you’ll use (light, fans, dehumidifier, humidifier, heater, AC, pumps, controllers, CO₂ gear, etc.).
- Write the wattage next to each device. If only amps are listed, multiply: Volts × Amps = Watts.
- Group by duty cycle:
- Always on (e.g., exhaust fan, controllers).
- On for long stretches (e.g., lights, dehumidifier).
- Short bursts (e.g., pumps).
- Add your “worst-case” watts: imagine lights on, dehumidifier running, and heater or AC kicking in.
- Convert watts to amps for your circuit:
- For 120V: Amps = Watts ÷ 120
- For 240V: Amps = Watts ÷ 240
- Aim for ≤ 80% of the breaker on continuous loads.
Pro tip: Stagger high-draw devices so they don’t all start at once. Many dehumidifiers and AC units have high inrush current the moment they start.
The 80% Comfort Rule (Why It’s Smart)
Running at or below ~80% of your breaker keeps wires cooler and reduces nuisance trips. It also gives you room for inrush spikes, and it’s a strong baseline for cannabis grow electrical safety.
Example Load Plans (2×4, 3×3, 4×4)
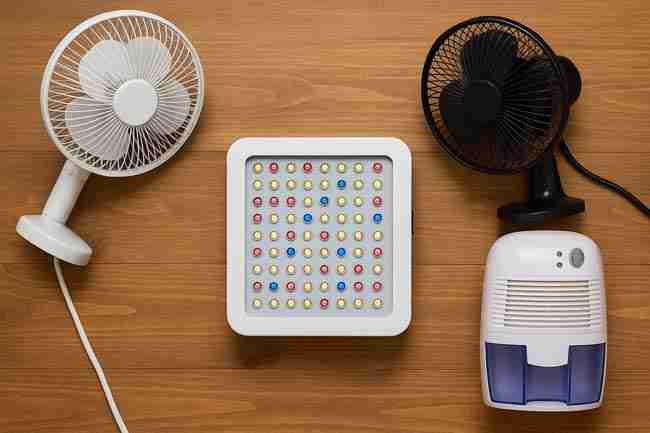
- 2×4 Tent: 300–500W LED, 40–120W fans/filters, 300–600W dehumidifier (if needed), 1000–1500W heater (worst-case winter).
- 3×3 Tent: 300–600W LED, 60–160W fans/filters, 300–700W dehumidifier, 1000–1500W heater.
- 4×4 Tent: 500–800W LED, 80–200W fans/filters, 500–800W dehumidifier, 1000–1500W heater.
Heaters are the big surprise. In many rooms, the heater is the largest draw—often bigger than your light.
Quick-Calc Table for Common Grow Gear
| Device | Typical Watts (Range) | Amps @120V (Watts ÷ 120) | Notes |
|---|---|---|---|
| LED grow light (2×4) | 300–500 W | 2.5–4.2 A | Modern drivers are efficient; check label. |
| LED grow light (4×4) | 500–800 W | 4.2–6.7 A | Some “800 W” kits include 2 drivers. |
| Inline exhaust fan 6–8″ | 40–120 W | 0.3–1.0 A | High static pressure = higher watts. |
| Oscillating clip fan | 20–45 W | 0.2–0.4 A | Cheap fans can fail; buy reliable ones. |
| Carbon filter load (fan adds) | — | — | Filter adds resistance; fan draws more. |
| Dehumidifier (30–50 pint) | 300–800 W | 2.5–6.7 A | Big inrush; place on its own outlet if possible. |
| Portable heater | 1000–1500 W | 8.3–12.5 A | Major load; watch duty cycle. |
| Portable AC (8–12k BTU) | 900–1400 W | 7.5–11.7 A | Big inrush; often needs dedicated circuit. |
| Humidifier (ultrasonic) | 30–100 W | 0.25–0.8 A | Keep away from outlets; use GFCI. |
| Water pump (small) | 10–60 W | 0.08–0.5 A | Short duty cycles most of the time. |
| Dehumidifier drain pump | 20–80 W | 0.17–0.7 A | Consider a condensate pump instead of lift. |
| Controllers/timers | 5–30 W | 0.04–0.25 A | Low draw, but don’t stack wall warts on one strip. |
These are typical consumer figures. Always check your device labels.
Circuits, Breakers, and Wire—Choose the Right Backbone
Typical Home Circuits in the U.S. & Canada
- 15A / 120V circuits with 14 AWG wire (common in bedrooms, living rooms).
- 20A / 120V circuits with 12 AWG wire (often in kitchens, garages, workshops).
- 240V dedicated circuits for dryers, AC, or custom installs (use a licensed electrician).
How Much Can I Safely Use?
- 15A circuit (120V): About 1440 W for continuous loads (80% of 1800 W).
- 20A circuit (120V): About 1920 W continuous (80% of 2400 W).
- 240V circuits carry the same amps but double the voltage, so twice the watts at the same current.
Wire Gauge Cheat Sheet
| Copper Wire Gauge (AWG) | Typical Circuit Amp Rating* | Common Use |
|---|---|---|
| 14 AWG | 15 A | Standard 120V outlets |
| 12 AWG | 20 A | Kitchens, workshops, grow upgrades |
| 10 AWG | 30 A | Dryers, heavier equipment |
| 8 AWG | 40–55 A | Subpanels, high-draw equipment |
*Always follow your local electrical code and device ratings.
120V vs 240V for Grow Lights
- 120V Pros: Easy to find outlets; simple setup; common plugs.
- 120V Cons: Lower watt headroom per circuit; heaters eat the budget fast.
- 240V Pros: Same amps = double the watt capacity; often steadier for big lights; less voltage drop.
- 240V Cons: Needs a dedicated circuit; special receptacles; get an electrician.
For small tents (2×4, 3×3), 120V with smart load planning is plenty. For bigger spaces or multiple tents, consider a 240V light circuit and keep dehumidifier/AC separate.
Outlets, Strips, and PDUs—Don’t Build a “Spaghetti Fire”

Good vs Bad Power Practices
Do:
- Use heavy-duty power strips with integral surge protection and overload reset.
- Mount strips above the floor and away from water lines.
- Use drip loops on cords that run down from humidifiers or reservoirs.
- Label each plug. It’s not fussy—it’s smart.
Don’t:
- Daisy-chain strips or plug a strip into another strip.
- Run cords under rugs, coil them tightly, or pinch them in doors.
- Overload a strip with many high-draw devices on one outlet.
Extension Cords (If You Must)
- Pick 12 or 14 AWG, grounded, short as possible.
- Never use thin, cheap orange cords for heaters or dehumidifiers.
- Check plugs for heat (they should feel cool). Warm means trouble.
PDUs and Contactors
- Rack PDUs (power distribution units) help you centralize mounting and cable management.
- Contactors/relays let a small controller switch a big load safely. Use properly rated devices in enclosures.
GFCI, AFCI, and Protection That Actually Saves Grows
GFCI (Ground-Fault Circuit Interrupter)
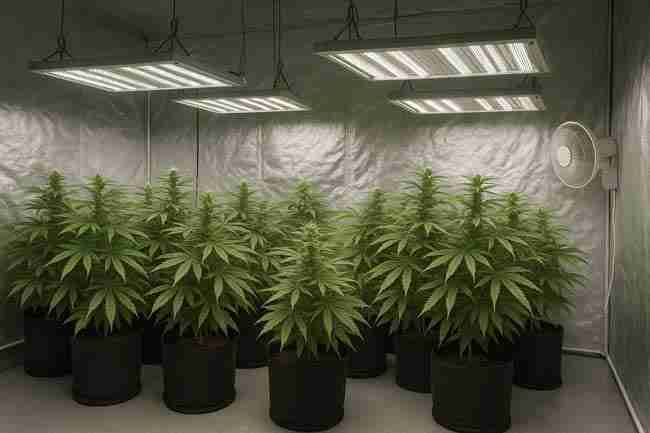
Use GFCI for outlets near water—humidifiers, reservoirs, or anything that might splash. If a fault to ground happens, GFCI trips fast and can save your life.
AFCI (Arc-Fault Circuit Interrupter)
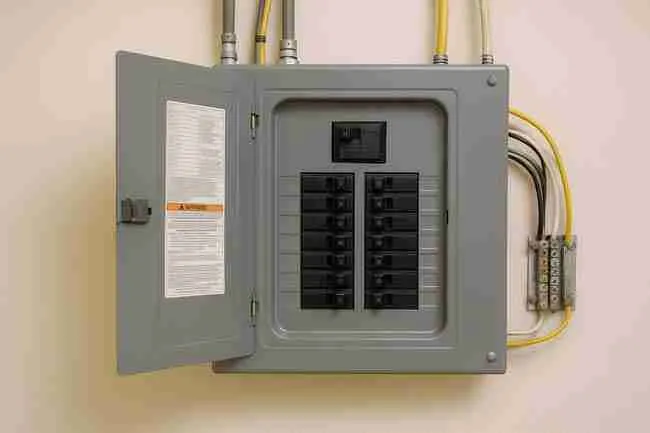
AFCI helps detect arcing (damaged cords, loose plugs). Many newer panels require AFCI on certain circuits. When paired with careful cord management, it’s powerful for cannabis grow electrical safety.
Surge Protection & Voltage Monitoring
- Protect lights and controllers with quality surge strips.
- Consider a plug-in voltage/amp meter or smart plug with energy monitoring for your main light and dehumidifier. It’s like a speedometer for your power.
Heat Management = Fire Risk Prevention
Keep Things Cool, Clean, and Clear
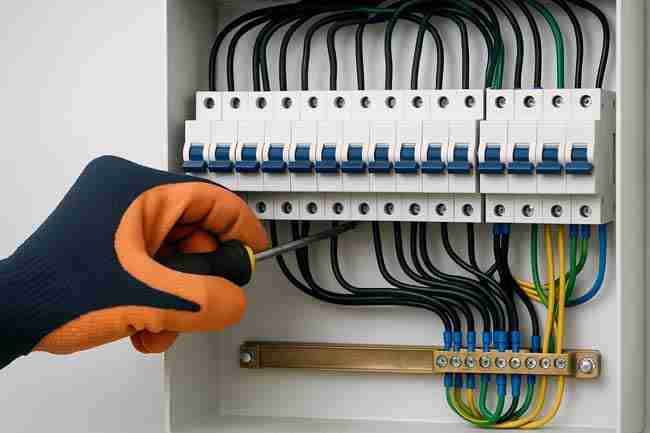
- Vent drivers and ballasts: Don’t bury them under fabric pots or hang them against insulation.
- Clear the dust: Dust insulates heat sinks and turns into kindling. Blow out fans and lights monthly.
- Mind your stack: Don’t place a heater under a drippy humidifier or near a plastic tote.
- Leave air space around dehumidifiers and AC units. They need to breathe.
Where Fires Start (and How You Stop Them)
- Loose plugs → snug everything; replace worn strips.
- Cheap fans → upgrade to reputable models; check bearings for noise/heat.
- Heaters on thin cords → use heavy-gauge cords or, better, a dedicated outlet.
- Ballasts/drivers on carpet → mount on metal or wood boards with standoffs.
Smart Scheduling—Spread Out the Peaks
Don’t Let Everything Start At Once
- Stagger start times: Light at 7:00, dehumidifier at 7:10, AC at 7:20.
- Use delay timers or controller sequencing.
- Night vs day: If your utility rates change by time of day, try running lights during off-peak hours (if temps allow).
Duty Cycle Tricks
- Set dehumidifier to a tight RH band to avoid constant cycling.
- Use thermostat controls on heaters.
- Let exhaust run steady; pulse the intake if needed to balance pressure.
Layout & Cable Management (So You Never Trip a Cord)
Map the Room
- Draw where your shelves, tents, buckets, and controller boards go.
- Plan shortest safe routes for cords.
- Mount a cable tray or simple hooks along the wall.
Keep Water and Electric Apart
- Power on one side; water on the other.
- Drip loops on every cord that passes near water.
- Keep power strips off the floor—use the wall studs.
Label Everything
- Label plugs, circuits, and breakers (“4×4 Light,” “Dehu,” “Heater”).
- In a hurry, you’ll pull the right thing—no guessing.
Example: Build a Safe 4×4 Tent on a 15A Circuit
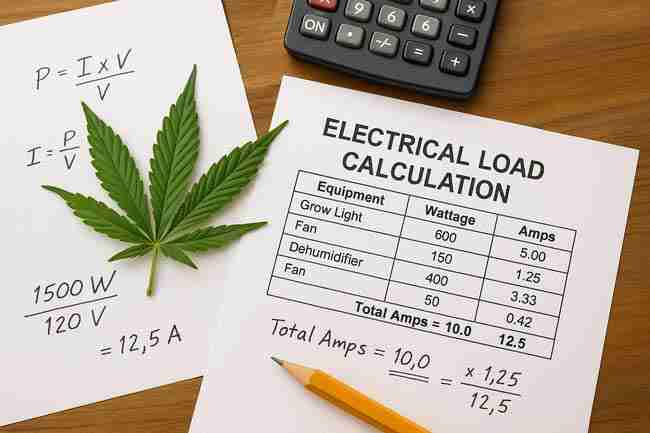
The Gear
- 650W LED light
- 8″ inline fan + carbon filter (100W)
- Two clip fans (2 × 30W = 60W)
- 30-50 pint dehumidifier (500W typical)
- Small ultrasonic humidifier (50W)
- Controllers/timers (20W)
Worst-Case Watts = 650 + 100 + 60 + 500 + 50 + 20 = 1380 W
Amps @120V = 1380 ÷ 120 ≈ 11.5 A
15A circuit budget (80%) ≈ 1440 W (12 A)
You’re under the comfort line. Nice. If the dehumidifier and heater would run together, move the heater to a separate 15A/20A circuit or use a different room outlet on a different breaker.
If you need a heater, consider a dedicated outlet for it. Heaters love to hog power.
Example: Upgrade Path for Bigger or Multiple Tents
- Add a dedicated 20A / 120V circuit for dehumidifier + AC.
- Or install a dedicated 240V circuit for lights (professional install).
- Use two separate circuits: one for environmental control, one for lighting.
- Consider a subpanel if you’re building out a full-room grow (hire an electrician).
Fire Readiness: The Stuff You Hope You Never Need
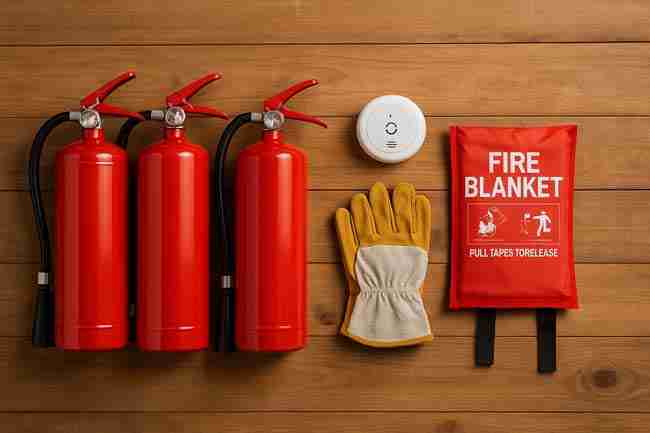
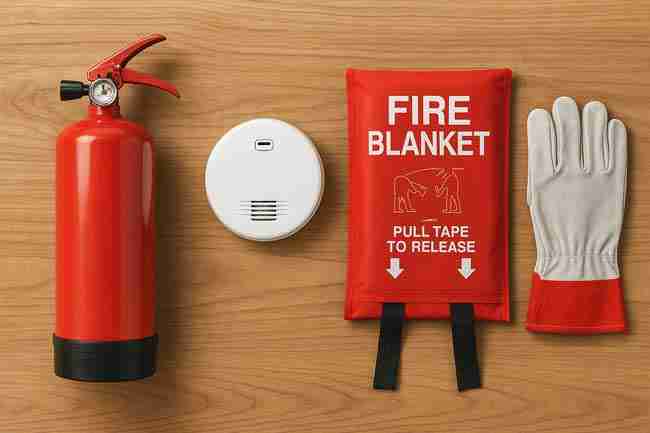
Must-Have Safety Gear
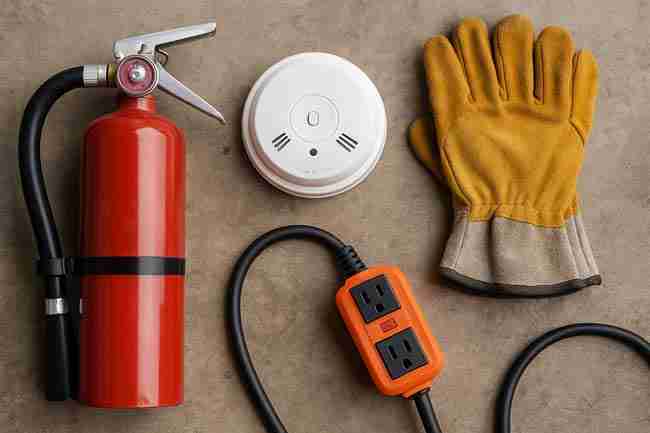
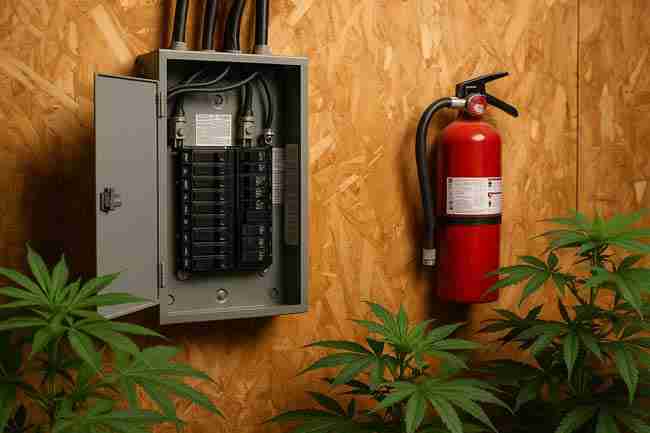
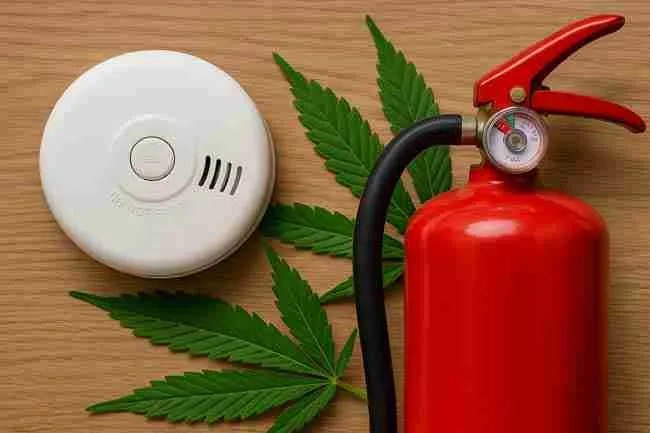
- ABC fire extinguisher mounted by the door.
- Photoelectric smoke alarm (and test it monthly).
- Heat alarm (if smoke can cause false alarms).
- Water leak sensor near reservoirs.
- Cable ties and Velcro for cord management.
- Spare fuses/breakers (don’t oversize them—use the same rating).
Daily & Weekly Checklists
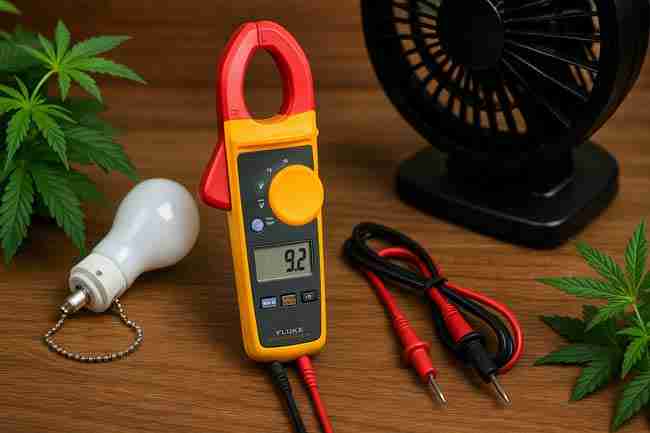
Daily:
- Feel for warm plugs and outlets.
- Check humidity and temperature history for spikes.
- Look for condensation near wiring.
Weekly:
- Vacuum dust from fans and light heat sinks.
- Inspect cord insulation for nicks.
- Test GFCI buttons and verify surge strips’ lights.
- Verify controller schedules and time drift.
Specifications You Can Copy (Starter “Safe Room” Specs)
Small Tent (2×4, Beginner-Friendly)
- Circuit: One 15A / 120V dedicated outlet (GFCI if near water).
- Power strip: Heavy-duty with surge protection and reset.
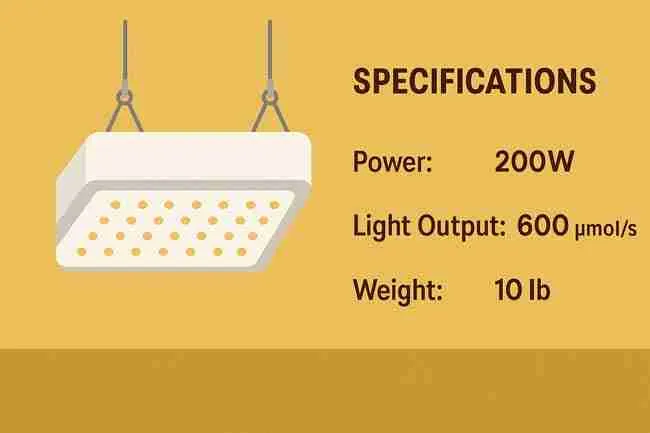
- Light: 300–500W LED (UL/ETL listed, driver mounted with airflow).
- Air: 6–8″ inline fan (40–120W) + carbon filter.
- Climate: 30–50 pint dehumidifier (on separate outlet if possible), small heater only if needed.
- Monitoring: Smart plug on light or dehu for watts/amps.
- Protection: GFCI near water, smoke/heat alarm outside the tent.
Medium Tent (3×3 to 4×4, Performance-Focused)
- Circuits: Two 15A / 120V circuits (or one 20A for climate, one 15A for lights).
- Light: 500–800W LED; consider 240V if expanding.
- Climate: 50-pint dehumidifier + portable AC (as needed), each with dedicated outlets.
- Controls: Delay start or sequenced schedules to spread peaks.
- Cable tray: Wall-mounted, cords labeled, drip loops on all water-adjacent lines.
Larger Room (Multiple Tents or a 5×10)
- Electrical: Add a 240V dedicated circuit for lighting and a separate 20A / 120V for climate.
- Distribution: Use a PDU or a professionally wired controller with contactors and proper enclosures.
- Inspection: Annual checkup by a licensed electrician.
Pros and Cons of Common Choices
120V vs 240V Lights
Pros (120V):
- Easy to find outlets and plugs
- No special install needed
- Great for small to mid setups
Cons (120V):
- Lower watt headroom per circuit
- Heaters and AC quickly eat capacity
Pros (240V):
- More wattage headroom per circuit
- Often steadier voltage for big lights
- Lower amperage for same power
Cons (240V):
- Requires dedicated circuit
- Special receptacle and plug
- Always hire a pro to install
Dehumidifier vs AC for Humidity Control
Dehumidifier Pros: Simple, cheap, targeted RH control.
Dehumidifier Cons: Adds heat to the room; the bigger the pint-rating, the more watts.
AC Pros: Controls both temp and some humidity; can lower room heat.
AC Cons: High inrush current; can require dedicated circuits.
Common Mistakes (And Easy Fixes)
- Mistake: Running a heater and LED on the same 15A circuit.
Fix: Put heater on a separate circuit; choose an oil-filled radiator with thermostat and heavy-gauge cord. - Mistake: Coiling cords under the tent tray.
Fix: Uncoil fully; route along wall; secure with clips. - Mistake: Using cheap fans that squeal and get hot.
Fix: Replace with reputable models; inspect bearings; keep them dust-free. - Mistake: Mounting drivers/ballasts with no airflow.
Fix: Add standoffs; leave space; keep off carpet. - Mistake: One power strip doing everything.
Fix: Split loads; use multiple strips on different outlets/circuits.
U.S. & Canada Notes You’ll Actually Use
- In many homes, a bedroom outlet is 15A / 120V; garages and kitchens often have 20A / 120V.
- Basements can be cooler (good for AC load), but watch humidity and use GFCI near any water source.
- If you’re unsure which outlets are on the same breaker, flip the breaker and see what turns off. Label it for future you.
Quick “Before You Grow” Checklist
- Make a load list with watts and amps.
- Keep continuous load ≤ ~80% of the circuit.
- Use GFCI near water; AFCI where required.
- Mount surge-protected strips off the floor.
- No daisy-chains. Ever.
- Label plugs, lines, and breakers.
- Install smoke/heat alarm and keep an ABC extinguisher by the exit.
- Stagger start times for lights, dehu, and AC.
- Check for warm plugs during the first week.
FAQ (circuit load grow & fire risk prevention)
How do I calculate circuit load for my grow?
List device watts, add them up for your worst-case (lights + dehumidifier + heater/AC). Divide total watts by voltage to get amps (Amps = Watts ÷ 120 for 120V). Keep continuous loads ≤ ~80% of your breaker (e.g., ≤ 12A on a 15A circuit). This simple math is core to circuit load grow planning and cannabis grow electrical safety.
What’s the fastest fire risk prevention win?
Stop daisy-chaining strips, use heavy-duty cords, mount strips off the floor, and add a GFCI where water lives. Then check every plug for warmth after your first full day.
Should I switch to 240V for my lights?
If you’re pushing the limits on 120V and plan to scale, 240V can cut current in half for the same watts and free headroom. However, it needs a dedicated circuit and the right receptacle—call a licensed electrician.
Do I need a dedicated circuit for my dehumidifier?
If it’s medium-to-large (30–50 pint), it’s smart. Dehumidifiers have high inrush current and love to trip breakers when paired with lights or heaters.
Is a warm plug always bad?
Yes. Plugs, outlets, and strips should stay cool. Warmth means resistance, which means heat, which means risk. Fix it now: swap cords, tighten connections, spread loads.
What’s better for safety—many small fans or one big fan?
Many small fans spread airflow and keep each cord light, but cheap fans can fail. One quality inline fan plus a few reputable oscillators is a strong, safe balance.
What extinguisher should I keep in the grow?
An ABC dry-chemical extinguisher by the exit. Check the gauge monthly.
Can smart plugs help with safety?
Yes, if they’re properly rated for your load. Energy-monitoring smart plugs show watts and amps in real time. That visibility helps with cannabis grow electrical safety and fire risk prevention.
Troubleshooting Table (When Things Trip or Run Hot)
| Symptom | Likely Cause | Fix |
|---|---|---|
| Breaker trips when lights and dehu run | Overloaded circuit / inrush spike | Move dehu to another circuit, add start delay, consider 20A circuit |
| Outlet or plug feels warm | Loose contact / overload | Replace the strip or outlet, use heavier-gauge cord, split the load |
| LED driver very hot | Poor airflow / dust | Clean dust, add airflow, mount with standoffs |
| Fans slow or noisy | Failing bearings / dust | Clean or replace; check watt draw vs label |
| Heater trips strip reset | Strip not rated for load | Plug heater directly into wall, use 12 AWG cord, dedicated circuit |
| GFCI keeps tripping | Moisture intrusion | Move outlet away from humidity, dry cords, add drip loops |
Final Word (Calm, Cool, and Collected)
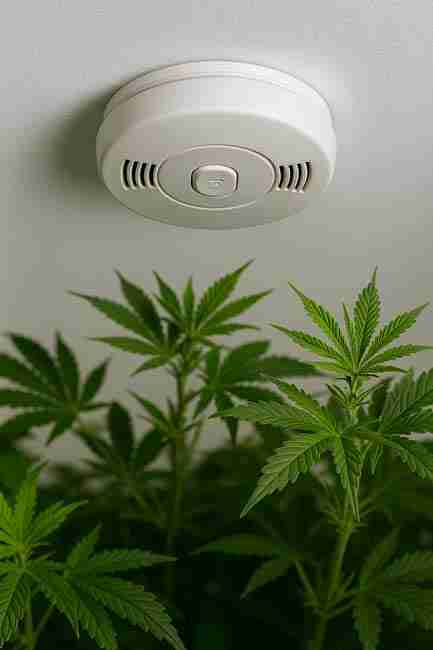
By planning your load, keeping continuous draw below ~80% of your circuit, and using the right protection (GFCI, surge strips, alarms), you lock in cannabis grow electrical safety from day one. You’ll sleep better. Your plants will too.
And hey, if you’re ever unsure—get a licensed electrician to eyeball your setup. A quick visit now can save you from headaches (and heartaches) later.