Composting for Cannabis Growers: Turning Your Waste into Gold

Composting for Cannabis Growers is a bin you can turn, filled with chopped stalks and dry leaves, not a jar of flower. The searches that rank for this job talk about brown and green layers, a pile that heats, a sealed kitchen ferment, and a bucket of brown water. Those are real tools. They are not the same week of work. This page is the bin, the fork, and a same-day bucket made from compost that is already finished. How much of that finished crumb belongs in a pot, and how you know the pile is actually done, lives on the nutrients guide.
A marijuana plant does not need its buds returned as fertilizer. A weed plant you plan to smoke stays in the jar. The pile gets healthy fan leaves, chopped stems, and the ordinary scraps from the kitchen. People call the result gold because a finished bin looks richer than the trash it started as. The result is a dark crumb you can no longer name. It is not a bloom bottle, and it will not finish a plant that is short on light, air, or water.
A household grow makes a bin of waste, not a farm windrow. Build the bin you will open. Chop what you put in. Turn it when it slumps or stinks. Keep it outside the flower room. Use a plain bucket of water on the soil the day you mix it, and dump that bucket if it smells rotten. The countertop scrap pail, the one that lives in the kitchen, is a different article. So is a bin of worms.
Composting for Cannabis Growers starts with the bin
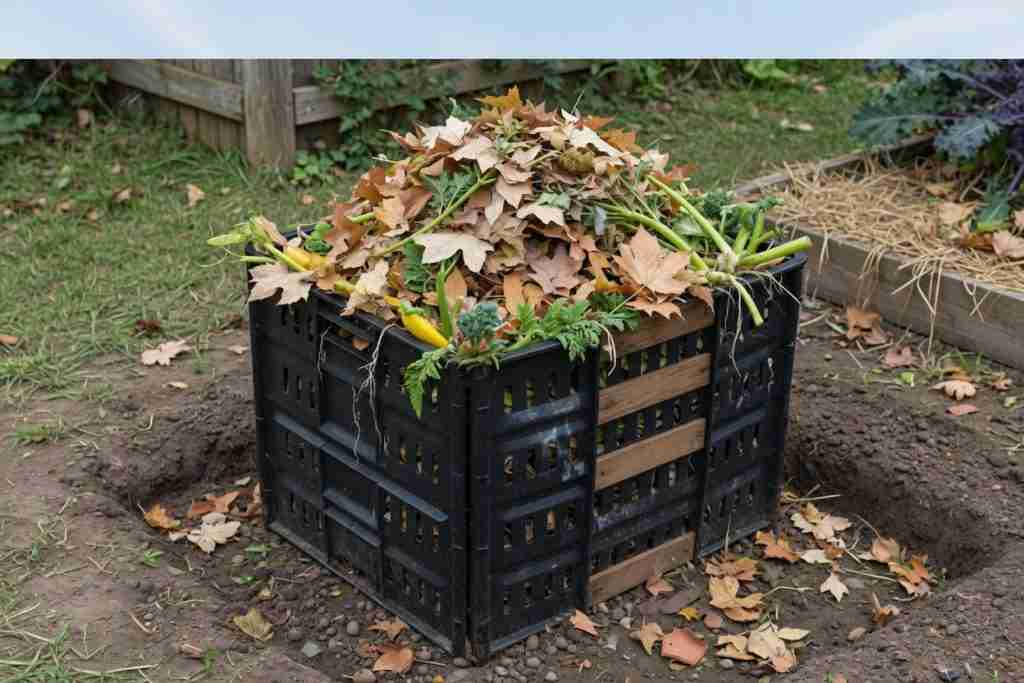
Pick the container you will actually open with a fork. An open heap on soil is the simplest. You can turn it, rain reaches it, and worms can move up from the ground. It also takes a footprint, and a raccoon will visit if last night’s scraps are sitting on top. A slatted bin or a crate with air gaps is the same heap with walls. A lidded plastic bin stays neater and holds moisture, and it goes sour if you never turn it and never crack the lid. A tumbler spins easily and often stays too small and too dry to do much. Buy the one that matches the space. A bin you are ashamed to stand next to becomes a trash can.
Set it on soil if you can, not on a sealed patio that puddles. Water has to leave. If the only spot is a balcony, use a bin with a tray so the deck does not stain, keep the lid on in a storm, and accept that this bin will stay small. Do not put the working bin in the flower room or in the intake path of the tent. A pile smells on the day you turn it, and the gnats that breed in a wet bin will not stay there if they share air with the pots. The fungus gnat page owns what to do once they are in the soil. Moving the bin outside is the prevention that belongs here.
What goes in from the grow is the leaves and the stalks, not the flowers. Healthy fan leaves from a defoliation are a fresh green. Stems you cleared while lollipopping, and the stalks left on harvest day, are browns once you chop them and let the cut ends dry a little. Soil knocked off a healthy root ball can go in. A root ball from a plant that rotted does not. Cover every kitchen load the same day with dry leaves or torn plain cardboard. Open scraps are how flies find the bin. Coffee grounds are a green even though they look brown. A thin scatter is fine. A wet mat poured from the pot is a slime layer. Grass goes on in a layer you can see through, then disappears under browns.
About twice as much dry material as fresh material, judged by eye, is the mix that keeps air in a home bin. You do not need a scale. If the top looks like a wet salad, add dry leaves or torn cardboard until the scraps disappear. If the bin is a dry leaf pile that never changes, add a layer of fresh leaves or scraps and turn. The nutrients guide owns why that balance matters, how to tell the pile is finished, and how much of the finished crumb belongs in a pot at each stage. This page stops at building a pile that can rot. It does not hand you a feeding chart.
Chop the stalks before they go in
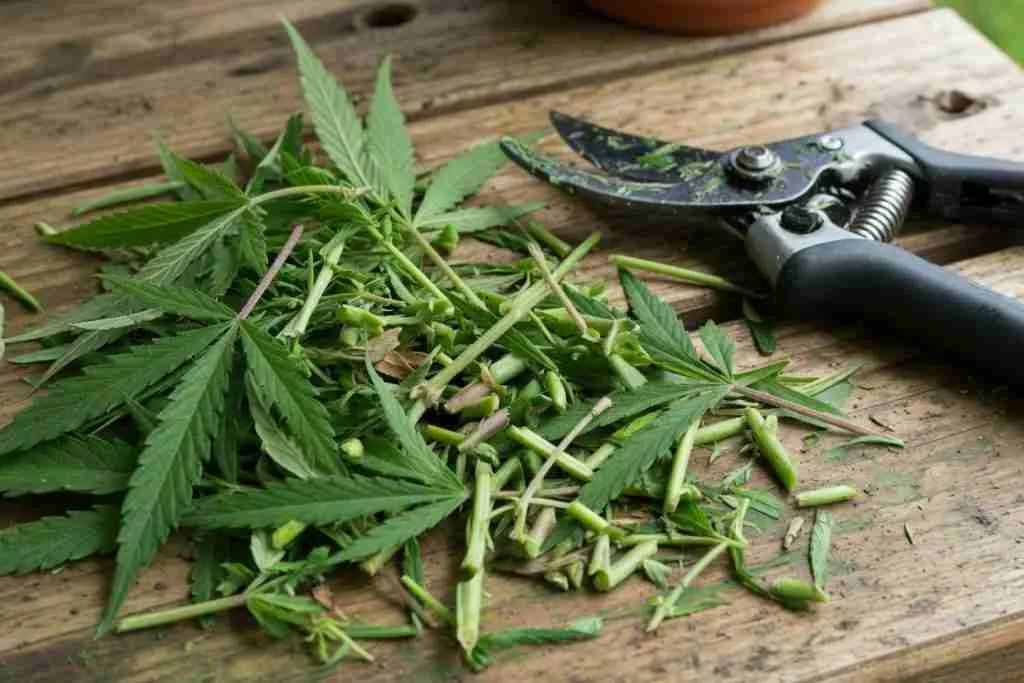
A whole stalk is a bridge. It sheds water, it blocks the fork, and it is still a stalk next year. Cut harvest stalks into short pieces the day you take the plant down, while the stem is still soft enough to snap. A stalk that dries whole becomes a broom handle. Fan leaves can go in larger, but a bin of only fresh leaves mats the way thick grass does. Mix the leaves with the chopped wood and with dry leaves from the yard so the layer does not seal.
Shears on the bench are the whole tool. You are not chipping a tree. Pieces short enough to turn with a fork are short enough. If a piece fights the fork, it was too long. Put the cuttings in the bin the same day and cover them. A pile of chopped greens left open on the lawn is a fly buffet, and it heats in a slimy mat instead of in a managed core.
Plain cardboard is a brown if you tear it and pull the tape off. Glossy inserts and heavy colored sections stay out. A few wood chips add air. A bin that is half chips will sit for a year and still look like chips. Straw is a brown with more air than a mat of paper. Use it when you have it. Do not buy a pallet of chips to “activate” four plants of leaves. The leaves and the chopped stalks are the crop waste. The browns are there so that waste does not collapse.
Do the chop outside, or in a shed, not on the tent floor. Sap and leaf bits in the flower room are how you track soil across a clean space and how you invite the same gnats you just moved the bin to avoid. A board, a pair of shears, a bucket for the pieces, and a lid on the bin when you are done. That is the harvest cleanup. The jar work happens somewhere else.
Turn the pile when it slumps or smells
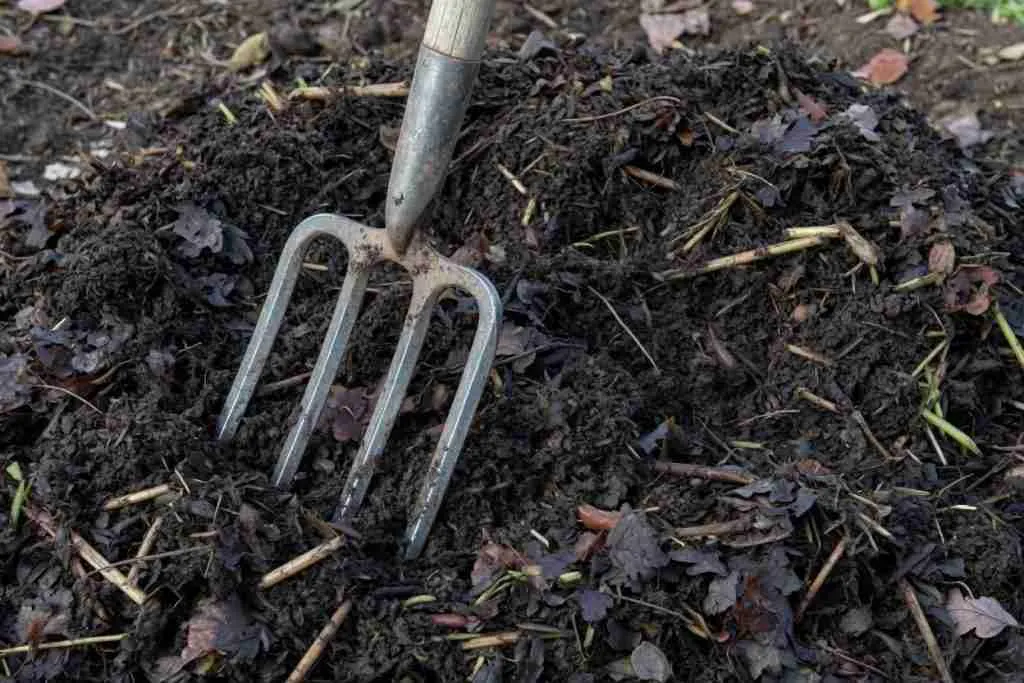
Air is the part people skip, because a full bin looks finished when it is only packed. Turn when the pile slumps into a mat, when it smells like ammonia, or when it smells like rotten eggs. Fork the outside material into the middle so the cool shell becomes the new core. You are not on a calendar. A pile that still holds shape and smells like a forest floor can sit. A pile that shines and stings your nose cannot. Turning is the fix. Bagging it and calling it soil is not.
Moisture is the other lever, and your hand is the meter. Squeeze a handful. A drop or two is enough. A stream means the oxygen is gone, so add dry browns as you turn. Dust that will not hold a shape has stalled. Wet that dust while you turn it. Pouring a can on the crust wets the top and leaves the core dry, or it floods a core that was already too wet. After a heavy rain, crack the lid so water sheds and air still moves. A sealed lid on a soaked bin is how a good pile turns to sludge.
The fork stays in the pile or beside it. If you have to hunt for a tool, you will talk yourself out of the turn. Lift and fold. You do not need to pulverize the heap into coffee grounds. Break the mat, bury the fresh scraps that were on top, and stop. Two turns in a month when the smell asks for them beat a daily stir that never adds browns. If the bin is a tumbler, spin it when it clumps, and add a splash of water if the contents rattle like dry leaves. A tumbler that only spins dry paper is a dryer, not a compost bin.
Animals are a lid problem and a food problem. Meat, dairy, oil, and cooked leftovers draw them and they do not make a better pile. Vegetable scraps under a thick brown cap, with a lid that latches, are boring enough that most visitors leave. If something still digs, stop adding kitchen scraps for a stretch and let the bin run on leaves and chopped stalks. The crop waste alone will rot. The kitchen is optional. The kitchen fertilizer page owns the small countertop pail and what you do with a handful of scraps before they ever reach this bin.
A cold bin still rots
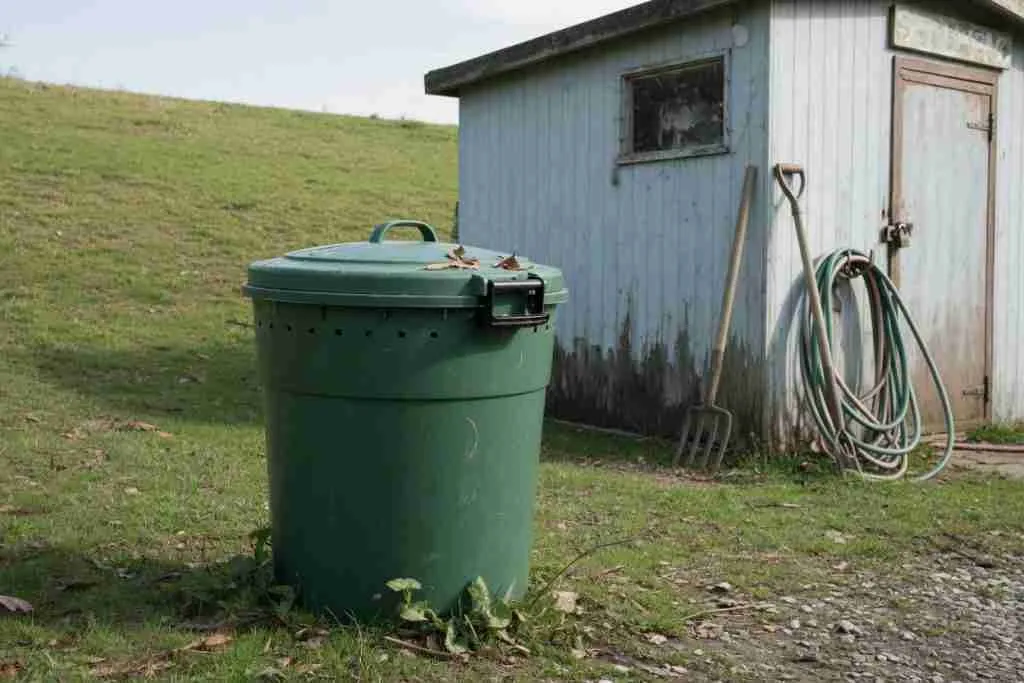
A heap with real bulk can warm in the middle. A balcony bin and a small tumbler often never do. Both can become compost. The cold one takes a warm season, and winter pauses it. Do not stand over a small bin in March and decide the method failed because the center is cool. Give it the summer. Turn it when it smells. It finishes on a slower clock, not a broken one.
A bin that never warmed can still hold unwanted seeds. Do not use that compost to start seeds, and do not treat it as a sterile mix. Screen out the sticks if you want the crumb in a container, and throw the sticks back on the pile. The nutrients guide owns the heat check and the rule for how much finished material a pot can take. Cold compost is a fair top-dress on an established outdoor bed, where a volunteer is easy to pull. It is a poor plug-tray mix. If you are unsure it is finished, leave it. Compost that sits longer is safer than compost you rushed onto a fine root.
A sealed kitchen ferment, the bucket sold with inoculated bran, is for a home with no outdoor bin at all. It is not finished compost. Press the air out when you add scraps, drain the liquid that collects, and do not pour that liquid on flowers. When the bucket is full, bury the contents in soil and wait weeks before a seed or a transplant goes in that spot. Do not spread the fresh ferment on a pot like a mulch. If you have room for the bin in this article, use the bin. The sealed bucket is the fallback, not an upgrade.
Worms are a third system. A worm bin wants bedding, a steady little feed, and a harvest of castings. It is not this compost bin with a handful of worms tossed on a hot core. The worm castings page owns that bin and how castings differ from a coarse compost. Do not run both recipes in one container and hope the label covers it. Castings are already processed. Compost is the slower, chunkier cousin. The nutrients guide tells you not to stack a full share of both in the same small pot.
A bucket of tea is finished compost and water
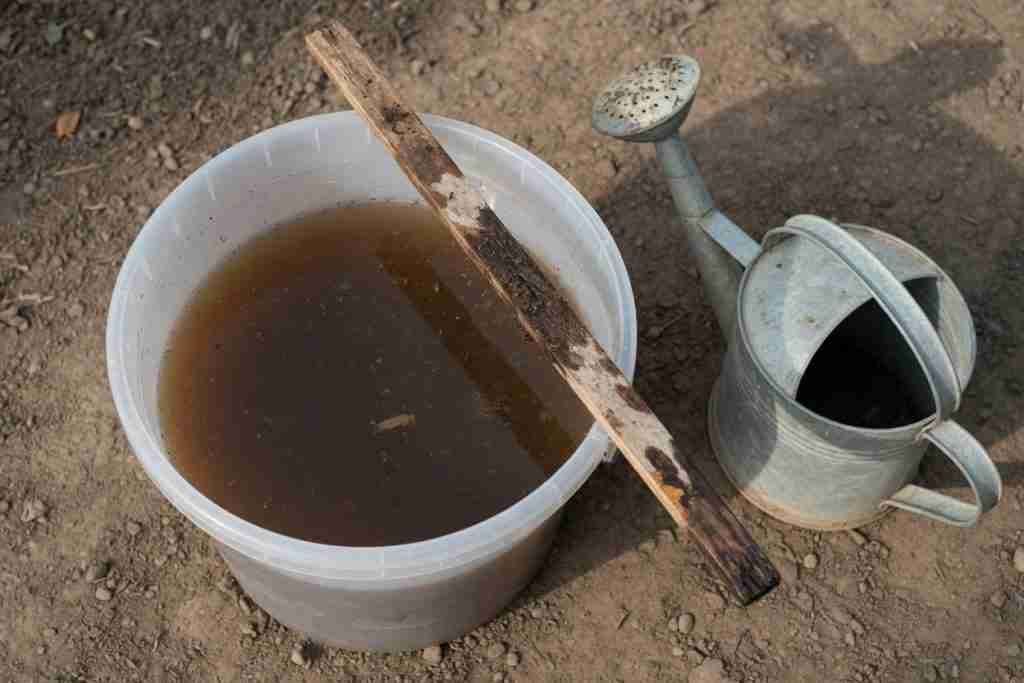
Tea, on this page, means a handful of finished compost stirred into a bucket of water and poured on the soil the same day. Finished means you cannot name the leaves, the smell is earthy, and the crumb is cool. If you can still see last month’s salad, it goes back on the pile. Stir the bucket so the crumb stays mixed. Pour it on the soil around an established plant. Do not store the bucket warm overnight. Do not spray it onto flowers. Wash the bucket when you are done so the next batch does not start from an old film.
This is a light soil drench between ordinary waterings, not a bloom feed and not a fix for a pale leaf. If the plant is asking for one element, a brown bucket will not name that element for you. The nutrients guide is where the modest top-dress and the pot fraction live. Use the bucket when you want a little of an already finished pile to reach the root zone without digging the pot apart. Use the pile itself when you are mixing the next container or the next outdoor bed. A bucket does not replace either job.
If you come back and the bucket smells rotten, dump it. Outdoor soil or the pile can take it. A plant in a fabric pot should not. A rotten bucket sat without air, and pouring that on a cola or into a saucer is how you chase a smell through the tent. The same-day rule is the whole safety step. Mix, pour, wash. There is no second day.
The kitchen page already owns a small overnight steep made from finished compost or castings, diluted until it looks like weak tea. Follow that page if you are working from a jar on the counter. Follow this page if the crumb came from the outdoor bin. Do not invent a third drink. Do not pour either one on a seedling. The seedling stage is water and a light mix. A brown bucket on a sprout is how a fine root stalls in a rich puddle.
Skip the sugar brew
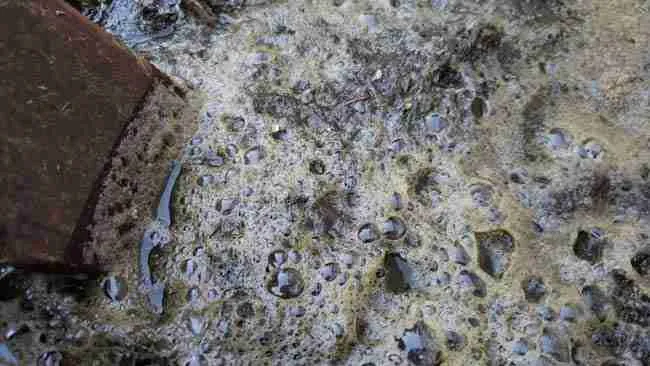
A bubbled bucket with molasses, sugar, or a sweetener is not this method. Warm sugar water grows whatever was already in the bucket, and some of that does not belong on a plant you handle. Skip the air pump. Skip the sweetener. Skip the overnight sit in the tent. A foamy surface and a rotten smell are the signal to dump the bucket, not the signal that the brew is ready. Rinse the bucket. Start over with finished crumb and plain water if you still want a drench that day. If you do not, just water the plant.
The same refusal covers urine, wood ash, and a jug of anything sold as an activator. Ash drives a pot the wrong way and does not belong in the bin either. Urine is not a shortcut you add by the jug. The kitchen page already leaves both of those out of the countertop pail. Leave them out of the outdoor bin too. A pile of leaves, chopped stalks, and vegetable scraps does not need a laboratory. It needs air, a cover of browns, and time.
Do not foliar-feed flowers with any bucket, sweet or plain. Flowers that stay wet are a rot problem, and a compost bucket is not a clean spray. Soil only, established plants only, same day only. If you want a microbial product with a label and a rate, that is a bought inoculant, and it is a different page. This bucket is compost and water. The moment it becomes a recipe with a sweetener, it has left the method.
Four plants fill a bin not a field
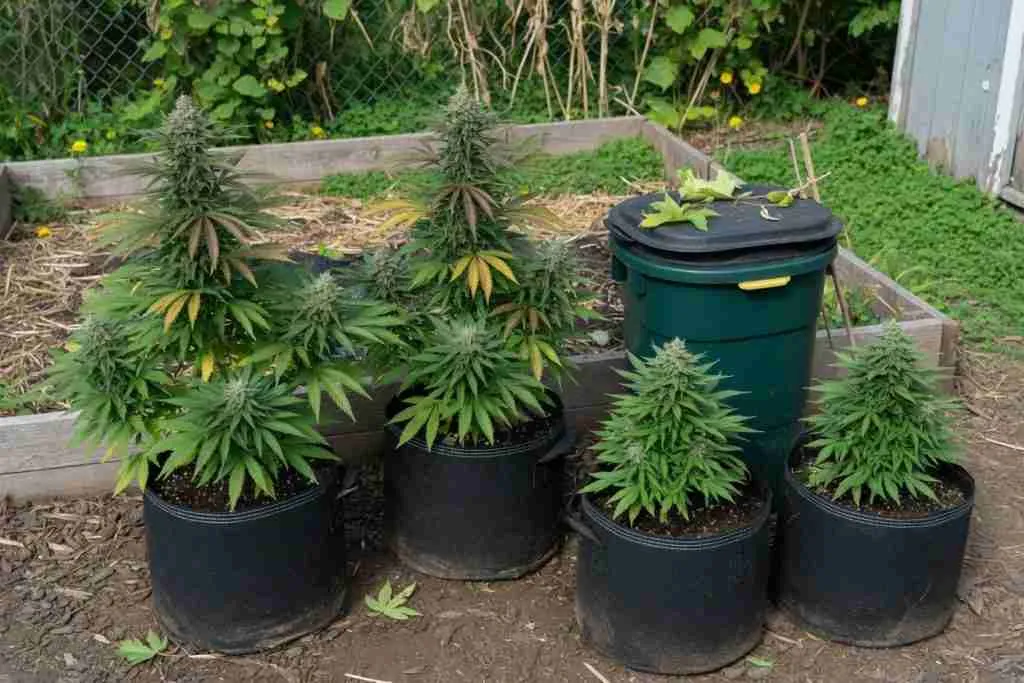
Canadian rules still cap recreation at four plants per household, and seedlings count toward that cap. Quebec bans recreational home growing. Manitoba has allowed indoor plants only since 1 May 2025. Four plants of leaves and stalks, plus a kitchen, fill one bin over a season. They do not fill a windrow, and they do not justify a second tumbler, a chipper, and a pallet of amendments. Build one bin. Chop the stalks on harvest day. Turn it when it smells. Use it next season, when you cannot name what you put in.
The first run is the bin habit, not a soil factory. Keep the bin outside. Keep one pair of shears for the chop. Write nothing more exotic than the day you filled it and the day it stopped smelling like food. Next spring, if the crumb is dark and cool, it can go into the next mix or onto an outdoor bed in the modest amount the nutrients guide allows. If it is still full of stems you recognize, it is not ready. Leave it. A rushed bin teaches you a sour pot. A patient bin teaches you the crumb.
Where that crumb goes is not a second composting method. A pot mix is the growing medium page. A bed you stop digging is the no-till page. The difference between tired dirt and a living mix is the living soil page. A cap of straw or leaves on top of an outdoor bed is mulch, and mulch is not the same job as compost folded into the soil. Finished compost can sit in a thin layer on a bed only after you already know the amount is modest. A mound packed against the stem is the mistake the nutrients guide names. Pull it back until you see a little bare stalk.
Seed choice still matters more than a perfect bin. A pile will not turn a plant that does not fit the season into a plant that does. If you are choosing what to grow while the bin works through winter, the seed shelf is the decision. The bin will be there for the leaves that plant drops later. It does not replace the pack, the light, or the pot.
Keep flower and sick plants out of the pile
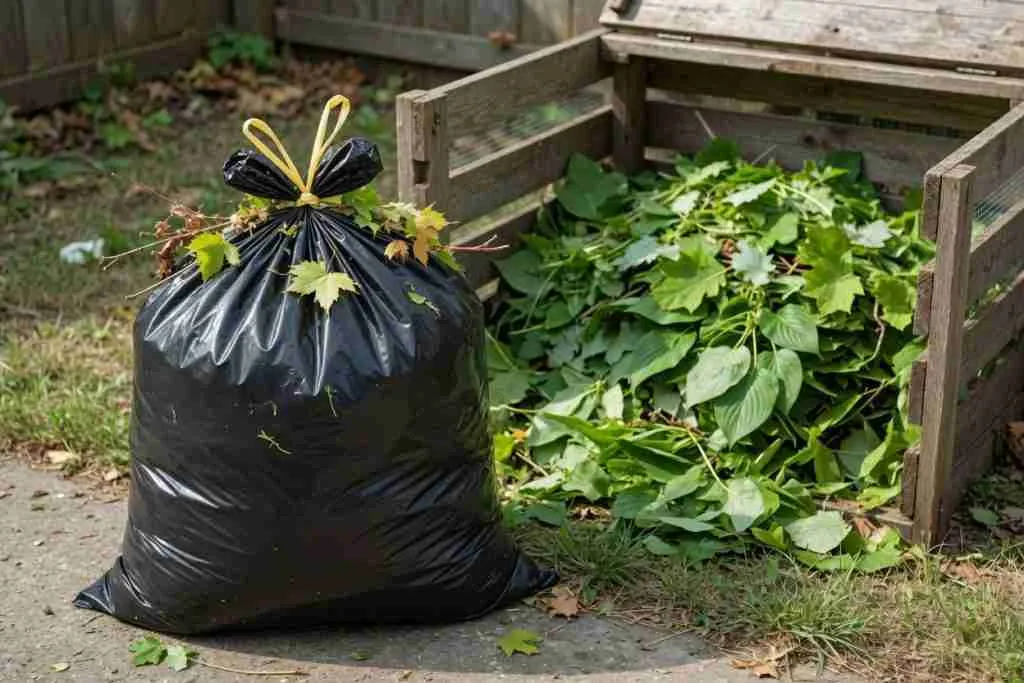
Buds you would smoke stay in the jar. They are not a compost ingredient, and they are not a browns-and-greens problem you solve with a fork. Moldy flowers, and any plant that showed rot or a disease you can see on the leaves, go in a tied bag and then in the trash. A clean fan leaf from a healthy plant is fine. A cola with gray mold is not. Recycling a sick leaf because it is “organic” moves the problem into next season’s soil. The bag in the photo is that refusal. The bin gets the healthy green. The bag leaves the garden.
Lawn clippings from a yard that was sprayed stay out. You will not see the spray, and you will put it under a plant you intend to handle. Pet waste stays out. It draws animals and it carries pathogens you do not want in a bin you turn by hand. Meat, bones, dairy, and grease stay out for the same pair of reasons: smell, and visitors. Glossy paper and plastic film stay out because they do not become crumb. When you are unsure, leave it out. A bin of leaves and chopped stalks is enough. A bin of everything in the house is a nuisance.
Licensed producers in some places have extra rules about flower waste and about rendering it before it is composted. A home garden is not that paperwork. The home rule is simpler and stricter on purpose. Leaves and chopped stalks from healthy plants can go in the bin. Flower you harvested does not. Anything that was moldy does not. If your city green bin has its own list, follow that list for the curb. The bin you will spread under your own plants follows the tighter rule.
When the bin is doing its job, the work gets dull. You chop, you cover, you turn when it smells, you wait until you cannot name the scraps, and you keep the bucket plain. That dull stretch is the method. The crumb shows up the next season, outside the tent, in a bin you were willing to open. Spread only what the nutrients guide calls finished, in the amount that page allows, and leave the rest to keep working.