


Biosecurity Practices for Home Cannabis Propagators: Keep Your Genetics Safe and Strong

You have poured weeks or even months into hunting down that perfect keeper phenotype. The terps are fire, the yields make you smile every harvest, and you finally feel like you have something special worth protecting. Then one day you bring home a “just this once” clone from a buddy or a swap, and suddenly spider mites show up or worse, your plants start showing the telltale signs of hop latent viroid. Sound familiar? It happens more often than most home growers like to admit.
Introducing new plants or sharing cuttings carries hidden risks. However, simple biosecurity habits dramatically reduce the chance of bringing problems into your garden. Consequently, this foundational yet often overlooked topic protects everything else growers do right. With more people growing at home than ever before and clone trading happening across forums, social media, and local networks, strong cannabis biosecurity home practices have become non-negotiable if you want to protect cannabis genetics and keep your operation running smooth for the long haul.
What Is Cannabis Biosecurity for Home Growers and Why It Matters More Than Ever
Biosecurity in a home cannabis grow simply means doing everything you reasonably can to stop pests, diseases, and pathogens from entering or spreading inside your space. Think of it like locking your doors at night or washing your hands before handling food. It is not about fancy equipment or commercial-level clean rooms. It is about consistent, practical habits that stop problems before they start.
Why does this matter more right now? Legal home growing has expanded in many places, and that means more genetics are moving around. People are trading clones, sharing seeds from their personal stashes, and buying from a wider variety of sources. Unfortunately, that also means pests and pathogens like spider mites, thrips, powdery mildew, and especially hop latent viroid travel with them more easily. One infected cutting can wipe out months of work or, even worse, contaminate your mother plants and ruin future generations of clones.
When you practice good home grow hygiene cannabis habits, you are not just protecting this season’s harvest. You are protecting your investment in time, money, and genetics. Healthy plants produce better terpenes, denser resin, and higher quality flower. They also resist stress better, which means fewer nutrient issues and stronger overall performance. On the flip side, skipping biosecurity might save you ten minutes today, but it can cost you an entire crop or force you to start over from scratch.
You know how frustrating it feels when you finally dial in your environment and then something sneaks in and undoes all that hard work. That is exactly why biosecurity sits at the very foundation of successful clean propagation cannabis. It is the quiet work that lets everything else shine.
Practical Quarantine Procedures for New Cannabis Seeds, Clones, and Mother Plants
Quarantine is your first and best line of defense. Every single new plant, cutting, or even batch of seeds that enters your space should spend time in isolation before joining the main garden. This gives you a chance to watch for problems and treat them without risking your existing plants.
Setting Up Your Quarantine Zone
You do not need a second full tent. A spare closet shelf, a small pop-up tent, or even a dedicated corner of a spare room works great. The key is separation. Keep the quarantine area physically away from your main grow. Use its own light, its own fan, and its own set of tools if possible. If you must share tools, sanitize them thoroughly before and after.
Good airflow matters here too. You want leaves to move gently so you can spot issues early, but you also want to avoid blowing air from the quarantine zone back into your clean areas. Point exhaust away if you can.
Quarantining Cannabis Seeds and Seedlings
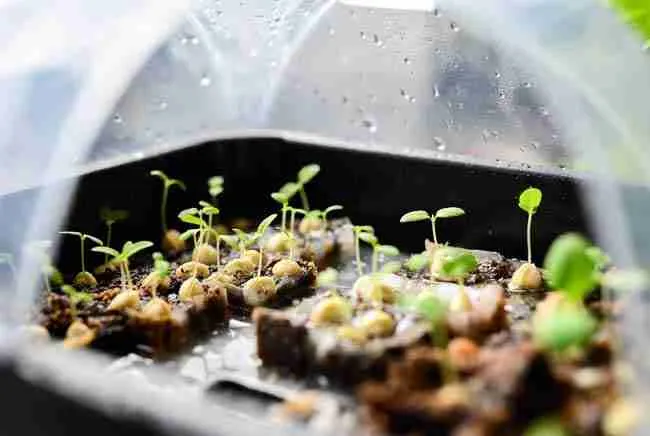
Seeds themselves carry lower risk than clones, but they are not zero risk. Old seeds, gifted seeds, or seeds from unknown sources can still bring along issues if the parent plants were stressed or infected. When you germinate, do it in fresh, clean media in your quarantine area. Keep the dome on, vent daily, and maintain steady temperatures around 74–78°F with gentle airflow.
Watch the seedlings closely for the first 10–14 days. Look for damping off, weird spotting, or slow uneven growth. If everything looks vigorous and clean after that window, you can move them into your main seedling area. However, if you notice anything off, extend the time or consider culling. It is always better to lose a few seedlings than to introduce a problem that spreads.
Bringing in New Clones the Right Way
Clones are where most problems enter home grows. They come from someone else’s environment, and even healthy-looking cuttings can carry eggs, spores, or systemic issues like hop latent viroid that do not show symptoms right away.
Here is a simple, effective 14-to-21-day protocol you can actually follow:
- Open the package or bag outside your main grow space. Inspect the cuttings immediately for webbing, eggs, stippling, white patches, or distorted new growth.
- Give the leaves a gentle rinse with lukewarm water or a very mild citric acid solution (about 1 teaspoon per quart). This knocks off a lot of hitchhikers.
- Optional but smart: A quick hydrogen peroxide dip on the rooting cube or media (3% H₂O₂ mixed 1:4 with water, 60–90 seconds).
- Pot them up in clean media with good drainage and label everything clearly with date, source, and strain.
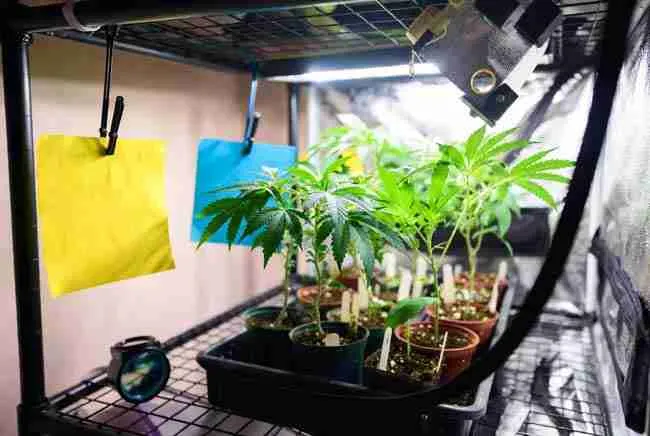
- Place yellow and blue sticky traps right away. Yellow catches aphids, whiteflies, and fungus gnats. Blue is better for thrips.
- Scout on a schedule: Day 0 (arrival), Day 2, Day 5, Day 7, Day 10, Day 14, and Day 21. Use a good loupe or hand lens. Check undersides of leaves, new growth tips, and the media surface.
- During this time you can do gentle preventive leaf washes or introduce beneficial insects if you want extra protection.
- Only graduate the plants into your main area if you have seen zero pests or disease signs for the full period. When in doubt, add another week.
You will be amazed how many problems you catch early with this routine. Many growers who skip quarantine later say they wish they had just taken the extra time.
Special Notes for New Mother Plants
If you are bringing in a new mother or planning to take cuts from an outside source, treat it with extra caution. Quarantine the entire plant longer if possible, and be extremely strict with tool sanitation afterward because mothers get cut repeatedly. Any pathogen on that mother will multiply fast once you start propagating from it.
Sterilization Protocols for Tools, Surfaces, and Your Entire Grow Space
Even with great quarantine, you still need to stop problems from moving plant to plant inside your garden. That is where sterilization comes in.
Tool Sanitation That Actually Works
Contaminated tools are one of the fastest ways hop latent viroid and other pathogens spread. The sap from an infected plant stays on your scissors or pruners and gets transferred the next time you cut.
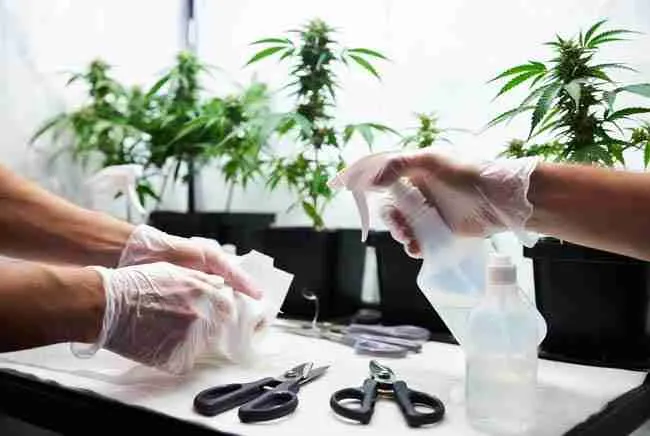
Best practice: Sanitize tools between every single plant or, even better, have dedicated tools for each mother or zone. When that is not practical, keep a jar or spray bottle of 70% isopropyl alcohol or a fresh 10% bleach solution (1 part bleach to 9 parts water) right next to you. Wipe or dip the blades, let them sit for 30–60 seconds, then wipe dry or rinse if using bleach.
Some growers keep two pairs of scissors and rotate while one soaks. Others use disposable blades for critical work. Whatever system you choose, make it automatic so you never have to think about it.
Cleaning Surfaces and Grow Room Hygiene
Wipe down tables, trays, and tent walls regularly with your sanitizing solution. Pay special attention to zippers, handles, and any place your hands touch often. Change or wash your grow shirt before entering the space if you have been outside or around other plants. Many home growers keep a cheap dedicated hoodie or button-up shirt just for the grow room.
Shoes are another sneaky vector. Leave them at the door or have a pair of cheap grow-room-only slippers or Crocs. Pets can also carry pests on their fur, so try to keep them out of the immediate grow area.
A Quick Comparison of Common Sanitation Methods
| Method | Best Against | How to Use | Pros | Cons |
|---|---|---|---|---|
| 70% Isopropyl Alcohol | Most viruses, bacteria, some fungi | Spray or wipe, 30–60 sec contact time | Fast, no residue, easy to find | Can dry out some surfaces, flammable |
| 10% Bleach Solution | Strong against viroids & hardy pathogens | Wipe or dip, rinse after if needed | Very effective on tools | Corrosive, smell, must rinse |
| Hydrogen Peroxide (3%) | Fungi, bacteria, some pests | Spray or dip, good for media too | Breaks down to water & oxygen | Weaker on some viruses |
| Citric Acid Wash | Mild cleaning & pH adjustment | Mist leaves or surfaces, rinse | Gentle on plants, organic-friendly | Less effective on heavy contamination |
Rotate methods or combine them depending on what you are dealing with. The important thing is consistency.
Creating a Clean Workflow That Stops Cross-Contamination
Once your quarantine and sanitation habits are solid, the next layer is workflow. How you move through your space matters.
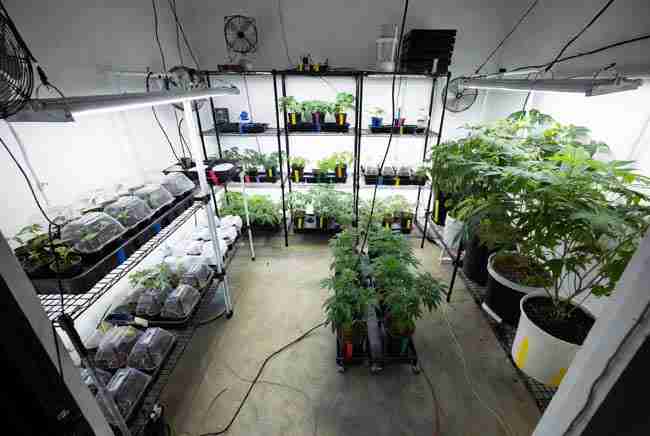
Try to create a one-way flow whenever possible. Work in the quarantine area first, then move to veg, then flower. Never go backward without changing clothes or at least washing hands and sanitizing tools. Color-code your pots or trays if it helps you stay organized. Some growers use blue tape for quarantine plants, green for veg, and so on.
Minimize unnecessary traffic in and out of the grow room. Every time you open the door you create an opportunity for something to hitch a ride. Do all your pruning, training, and inspecting in one focused session rather than popping in and out all day.
When you do have to handle plants, start with your healthiest, cleanest ones and finish with any that are showing minor issues. That way you are not moving problems to your best plants.
Record-Keeping That Helps You Trace Problems Back to Their Source
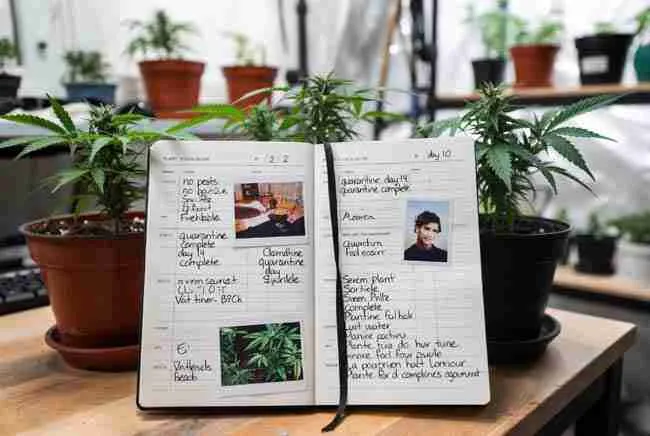
Good records turn guesswork into detective work. When something does go wrong (and sometimes it still will), your notes help you figure out exactly where it came from and how to stop it from happening again.
You do not need fancy software. A simple notebook or a basic spreadsheet works fine. For every new plant or batch, write down:
- Date it arrived and from whom or where
- Strain or plant ID
- Any treatments or washes during quarantine
- Daily or weekly observations (pests seen? New growth clean? Trap counts?)
- Date it graduated or any issues that extended quarantine
- Photos on your phone linked to the date are incredibly helpful later
If spider mites suddenly appear in week six of flower, you can look back and see that you introduced three new clones in week two and one of them had suspicious stippling on day five. That kind of traceability is gold.
Simple Checklists and Routines You Can Actually Stick With
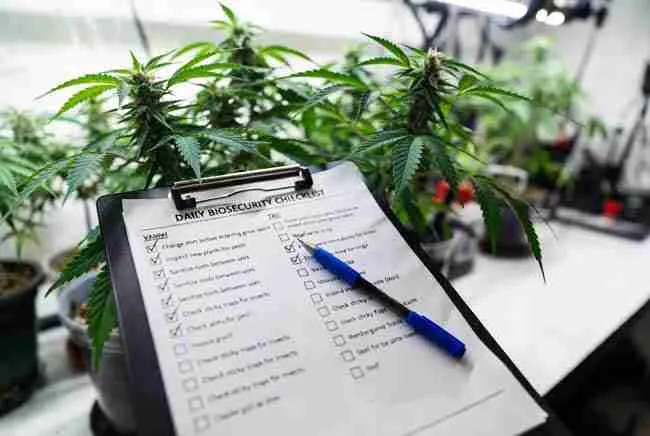
The best biosecurity system is the one you will actually follow. Keep it simple and repeatable.
New Plant Intake Checklist
- Open package outside main grow space
- Visual inspection with loupe (tops, bottoms, stems, media)
- Gentle leaf rinse or citric wash
- Pot up in clean media and label clearly
- Place yellow and blue sticky traps immediately
- Set up in quarantine zone with its own light and airflow
- Log arrival date and source in your notebook
- Schedule scouting days on your calendar
Daily / Every Grow Session Hygiene Routine
- Change into your dedicated grow shirt or wash hands thoroughly
- Wipe down tools or grab your sanitized pair
- Check sticky traps and note any catches
- Inspect new growth and undersides while you work
- Bag and remove any dead leaves or trimmings right away
- Sanitize tools again before leaving the space
Weekly Deep Clean Tasks
- Wipe tent walls, shelves, and trays with sanitizing solution
- Replace or clean sticky traps
- Check and clean fans and intake filters
- Review your notebook for any plants that need extra attention
- Take a slow walk through the whole garden looking for anything unusual
Print these lists or keep them on your phone. After a couple of weeks they become second nature.
Starting with Clean, High-Quality Genetics from Trusted Sources Sets You Up for Success
All the biosecurity habits in the world work best when you start with the cleanest possible material. That is why choosing high-quality cannabis seeds or verified clean clones from a reputable source makes such a big difference. When your foundation is solid, your quarantine and hygiene routines have far less to fight against.
Green Avenger Seeds focuses on providing reliable, vigorous genetics that give home growers a strong starting point. Healthy seeds and well-bred stock already carry fewer hidden issues, which means your biosecurity efforts can focus on protection rather than constant firefighting. You still quarantine and sanitize, of course, but you are building on a cleaner base.
In the end, cannabis biosecurity home practices are not about being paranoid. They are about being smart and respectful of the living genetics you have worked so hard to find and keep. When you treat every new introduction with care, you protect your time, your money, your future harvests, and the special plants you want to keep around for years.
Your plants will reward you with stronger growth, better quality, and fewer headaches. And that peace of mind? It is worth every extra minute you spend on good habits.
