How Beneficial Yeasts for Cannabis Improve Nutrient Uptake, Defense, and Flavor

Many growers focus on bacteria and fungi yet overlook yeasts. However, certain beneficial yeasts can improve nutrient availability, suppress pathogens, and even influence terpene expression. Moreover, they work well in both soil and hydroponic systems.
Furthermore, this post explains which yeast species show promise for cannabis and how they differ from commercial microbial products. In addition, you get simple inoculation recipes, foliar spray schedules, and safety notes. Consequently, you gain a new biological tool that has never been covered in depth on this blog. Above all, the article connects yeast use to healthier plants started from quality Green Avenger Seeds.
Why Growers Overlook Beneficial Yeasts in Cannabis Cultivation

You’ve probably heard plenty about mycorrhizae and bacillus. Those microbes get all the love. Yet yeasts sit quietly in the background, even though they’ve been helping plants for ages.
Think about it. When you bake bread or brew beer, Saccharomyces does the heavy lifting. That same yeast family shows up in living soil and on plant leaves. Most of us just never think to invite it into the grow room on purpose.
One grower I know spent years chasing bigger yields with expensive bacteria blends. His plants looked fine, but the terps stayed flat and the roots never exploded the way he wanted. Then he tried a simple yeast inoculant. Suddenly the soil smelled richer, the leaves stayed greener longer, and the finished buds carried a deeper, more complex aroma. That change didn’t come from fancy bottles. It came from giving yeast a seat at the table.
Understanding Saccharomyces and Its Role in Cannabis Growing
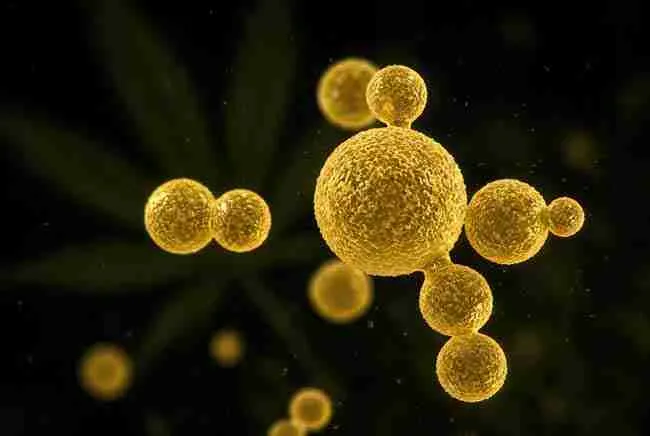
Saccharomyces cerevisiae is the star of the show for most home cannabis yeast applications. You know it as baker’s yeast or brewer’s yeast. It’s a single-celled fungus that loves sugar and produces all sorts of helpful compounds while it works.
In the world of saccharomyces cannabis growing, this yeast acts like a tiny factory. It releases organic acids that free up locked nutrients. It makes plant hormones such as auxins and cytokinins that push root growth and shoot strength. It also competes hard for space and food, which leaves less room for bad guys.
How Saccharomyces Differs from Commercial Microbial Products
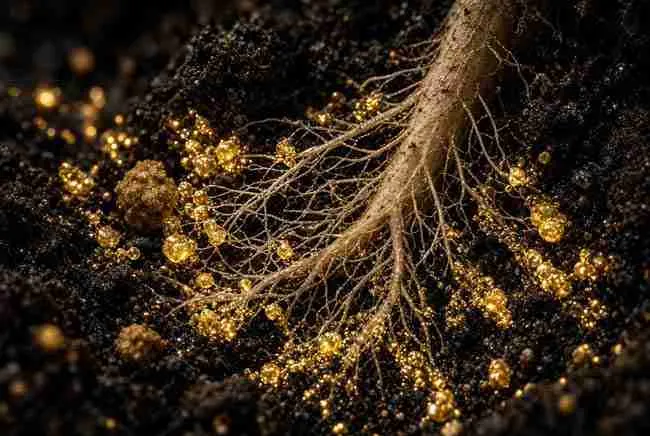
Most commercial microbial products focus on bacteria or specific fungi like Trichoderma. Those are great, but they work differently. Saccharomyces brings a unique mix of enzymes, vitamins, and proteins that the others don’t always supply in the same way.
Commercial yeast extracts, such as heat-shocked Saccharomyces products used in large trials, have delivered dry-bud weight gains between 14 percent and 56 percent across different strains. Those products often combine the yeast proteins with special delivery systems. Home versions made from plain food-grade yeast won’t match every commercial claim, yet they still deliver solid nutrient release, better root health, and stronger plant defenses.
The big difference is control. With a homemade yeast inoculant cannabis mix you decide the strength and timing. Store-bought blends arrive already packaged and shelf-stable, but they cost more and sometimes contain extra carriers you don’t need.
How Beneficial Yeasts Improve Nutrient Availability
Your plants can only use nutrients that sit in the right chemical form. Phosphorus loves to lock itself up with calcium or iron. Potassium and zinc often stay stuck too. Saccharomyces helps free them.
The yeast produces organic acids, including citric acid, that lower the pH right around the roots. That small change dissolves the locked minerals so the plant can drink them up. Studies on other crops show clear gains in phosphorus uptake and overall biomass when Saccharomyces is present. Cannabis growers report the same pattern: deeper green leaves, stronger stems, and better flower density once the yeast gets established.
Unlocking Phosphorus and Other Minerals
Start with a light yeast drench in early veg. The yeast colonizes the root zone and begins the solubilization work. Within a couple of weeks you’ll notice the plants respond faster to regular feeding. They don’t need as much bottled phosphorus because more of what’s already in the soil becomes available.
In living soil the effect stacks. The yeast works alongside bacteria and fungi, creating a bigger nutrient web. In coco or soilless mixes the same yeast still helps by keeping minerals mobile in the root zone.
Suppressing Pathogens with Yeast Power
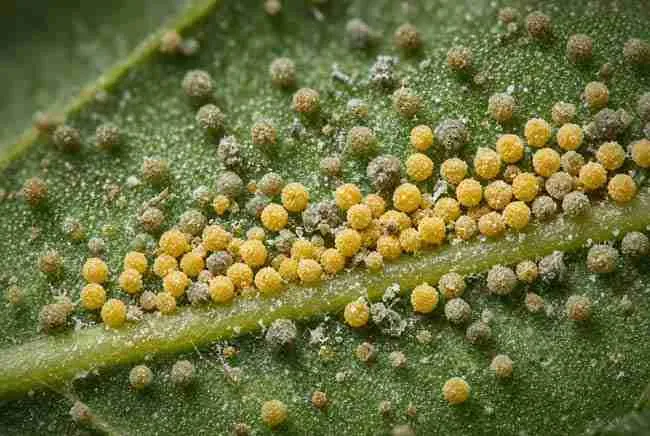
Bad fungi and bacteria love open real estate on leaves and in soil. Beneficial yeasts fill that space first. They also produce enzymes that punch holes in pathogen cell walls.
Chitinases are one of those enzymes. Certain yeasts release them and they specifically attack the chitin that many fungal pathogens use for their outer walls. Powdery mildew and some root pathogens feel the hit. Yeast also creates volatile compounds and simply out-eats the bad microbes for sugar and nitrogen.
Enzyme Action and Competitive Exclusion
When you spray a light beneficial yeast foliar cannabis mix, the yeast cells land on the leaf surface and start multiplying. They form a living shield. Spores that arrive later find no free food and no empty space. At the same time the enzymes begin breaking down any early pathogen attempts.
This is not a miracle cure. You still need good airflow and proper humidity. But the yeast gives your plants an extra layer of defense that pure chemical sprays cannot match because the yeast keeps working long after the spray dries.
Enhancing Flavor and Terpene Profiles
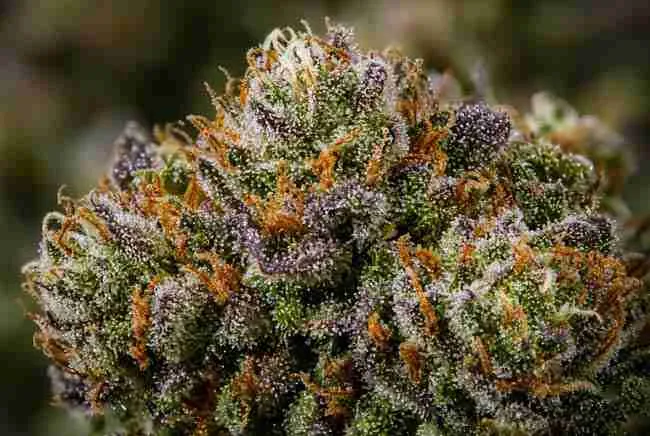
Here’s where things get exciting for flavor hunters. Healthier plants with better nutrient flow and lower stress tend to push more secondary metabolites. That includes terpenes.
Some commercial yeast extracts have been linked to higher terpene readings and improved THC numbers in large trials. Home growers often notice the same trend: buds smell louder and taste cleaner after consistent yeast use. The yeast itself does not create terpenes, yet it creates the conditions that let the plant express its full genetic potential.
Cannabis Flavor Enhancement Yeast in Action
Imagine two identical plants from the same Green Avenger Seeds pack. One gets regular care. The other gets a light yeast foliar schedule in veg and early flower. The treated plant often finishes with denser trichomes and a richer aroma. Growers describe the difference as “louder gas,” “brighter fruit,” or simply “more of what the strain is supposed to be.”
That improvement comes from reduced stress, better mineral uptake, and the mild eliciting effect yeast compounds can have on the plant’s defense pathways. Those pathways also drive resin and terpene production.
Applying Yeast Inoculants in Soil Systems
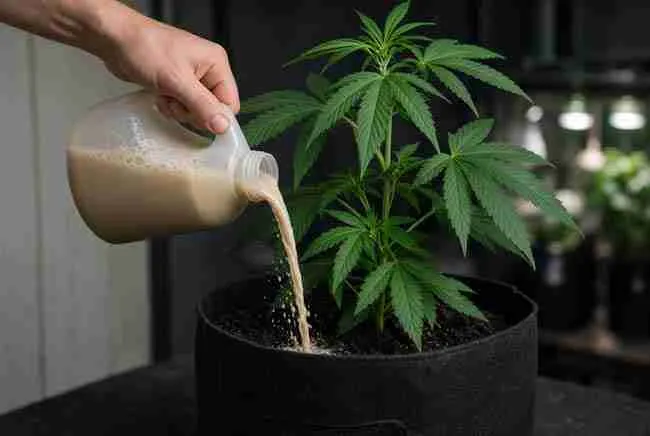
Soil is the easiest place to start with home cannabis yeast applications. The yeast settles into the rhizosphere and multiplies if you feed it a little sugar or molasses now and then.
Mix a simple drench and pour it around the base of your plants once every ten to fourteen days in vegetative growth. The yeast colonizes the root hairs and begins its nutrient and protection work. In living soil the population stays higher for longer because organic matter keeps feeding it.
Keep the soil moist but never soggy. Yeast likes oxygen too, so good drainage matters.
Beneficial Yeasts in Hydroponic Cannabis Setups
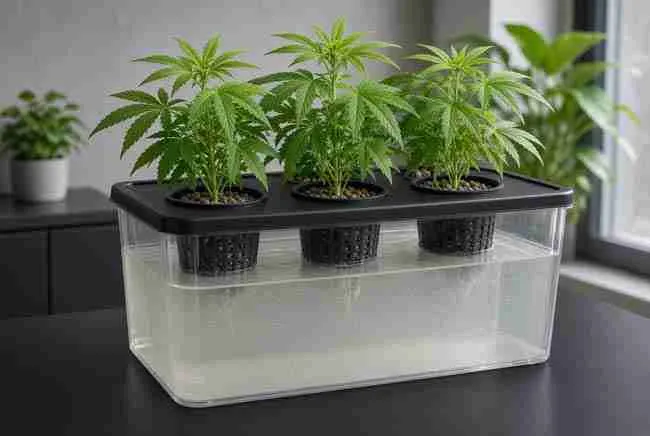
Hydro systems can use yeast as well, but you have to be careful. The reservoir is a closed loop, so any living culture can boom if conditions favor it.
Use lower concentrations and shorter contact times. Some growers add a light yeast extract to the reservoir for a day or two, then flush and resume normal nutrients. Others prefer foliar-only applications in hydro so the roots stay clean.
When done right, the yeast still improves nutrient availability and plant resilience. The key is monitoring the reservoir closely for any unexpected cloudiness or pH swings.
Simple Recipes for Home Cannabis Yeast Applications
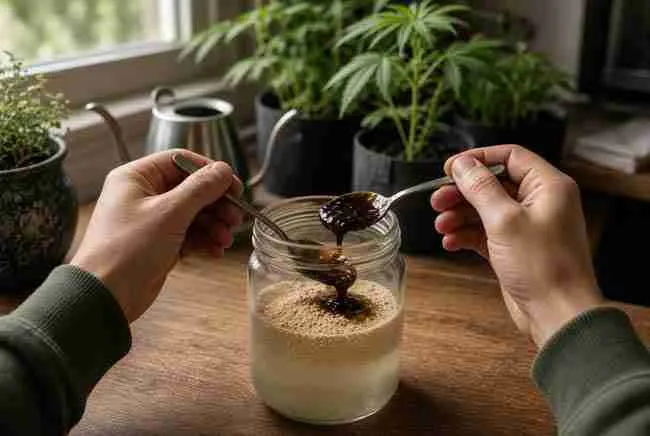
You don’t need fancy lab strains. Plain active dry baker’s yeast works for most home growers.
Soil Drench Inoculant Recipe
Grab one teaspoon of active dry yeast. Dissolve it in one liter of lukewarm, non-chlorinated water. Add one teaspoon of unsulfured molasses or a pinch of sugar. Stir until everything dissolves. Let the mix sit for fifteen to twenty minutes so the yeast wakes up.
Water your plants with this mix at the base until the soil is evenly moist. Do this once every ten to fourteen days during veg. Cut back once heavy flower sets in.
Beneficial Yeast Foliar Cannabis Spray Schedule
For foliar work use a weaker mix. One-quarter teaspoon of yeast in one liter of water is plenty. Add a drop of mild surfactant or a tiny bit of kelp if you like. Adjust the pH to around 6.2–6.5.
Spray in the evening or when lights are off. Coat both sides of the leaves lightly. Start once a week in mid-veg. Move to every ten to fourteen days in early flower. Stop foliar sprays once the buds get dense to avoid moisture problems.
Always mix fresh. Don’t store diluted yeast sprays for more than a few hours.
Safety Tips and Common Pitfalls
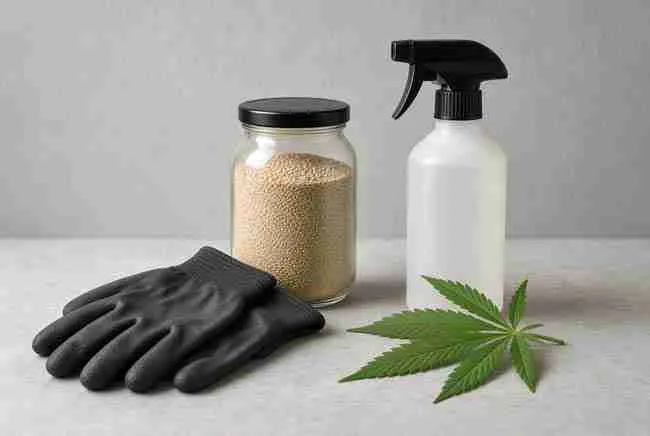
Food-grade yeast is safe, yet too much can cause issues. Over-application leaves a sticky film that attracts pests or burns leaves under strong light. Always start dilute and watch your plants for the first few days.
Never spray in the heat of the day. The sugars can cook on the leaf surface. Keep the mix away from open buds late in flower. If your reservoir turns cloudy after a hydro application, dump it and start clean.
People with yeast sensitivities should wear gloves and a mask when mixing large batches, though the amounts used in growing are tiny.
Pros and Cons of Using Saccharomyces in Your Grow
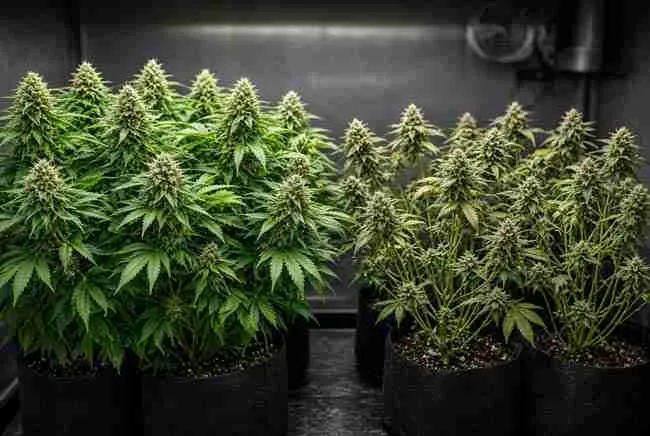
Pros
- Improves nutrient availability, especially phosphorus and micronutrients
- Helps suppress certain pathogens through competition and enzymes
- Supports stronger root systems and greener foliage
- Can enhance terpene expression and overall plant vigor
- Cheap and easy to source for home cannabis yeast applications
- Works in both soil and carefully managed hydro systems
Cons
- Overuse can create sticky residue or attract pests
- Results vary by strain, environment, and existing microbe populations
- Not a complete replacement for balanced nutrition or good environmental control
- Foliar sprays must stop before dense buds form
- Hydro use requires extra monitoring to avoid reservoir problems
Key Specs and Best Practices
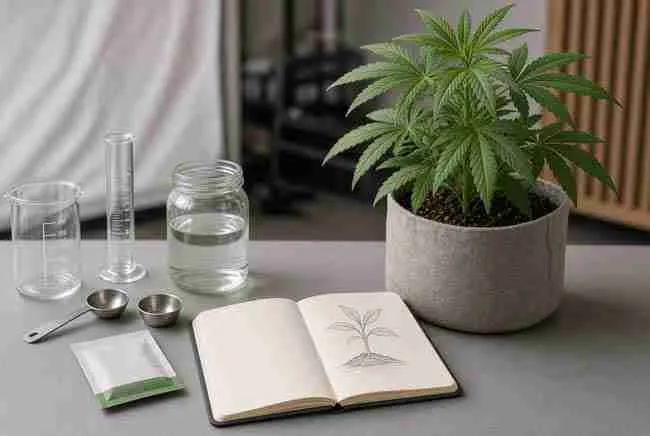
Use active dry or instant baker’s yeast for home mixes. Aim for a concentration of roughly 1–5 grams per liter for soil drenches and much lighter for foliar. Apply in vegetative growth and early flower for best results. Keep soil or media oxygenated. Pair with modest organic matter or molasses to feed the yeast without overdoing sugars. Track plant response over two to three weeks rather than expecting overnight miracles.
Commercial heat-shocked yeast extracts often come with specific rates listed on the label. Follow those when using bottled products.
Pairing Yeasts with Quality Green Avenger Seeds for Best Results
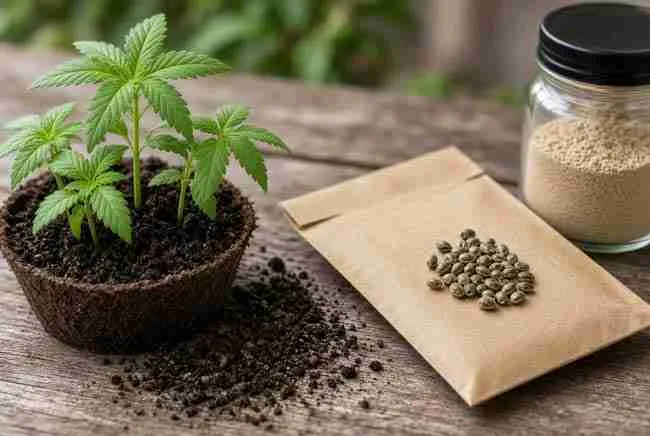
Strong genetics give the yeast more to work with. Healthy seedlings from solid seed stock respond faster and show clearer benefits. When you start with vigorous Green Avenger Seeds and add a simple yeast program, the plants often finish with better structure, richer aroma, and more consistent yields.
The yeast does not change the genetics. It simply helps the plant express what is already written in the seed. That combination of good starting material and smart microbial support is hard to beat.
Try a small test run on a couple of plants first. Watch how the roots, leaves, and final buds respond. Most growers who give beneficial yeasts a fair shot end up keeping them in the regular rotation. The plants simply look and smell happier when Saccharomyces is part of the team.