Beginner Mistakes That Waste Money (and What to Buy Instead)

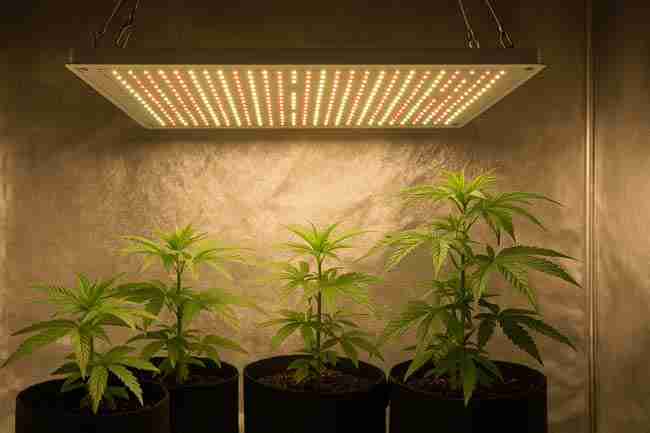
You’re excited. You’ve got seeds, a tent in your cart, and about a million YouTube tabs open. However—before you click “buy,” let’s save you a pile of cash and headaches. This guide breaks down beginner cannabis mistakes, why they burn money, and exactly what to buy instead. It’s written in simple, no-nonsense language, with real specs, checklists, and step-by-step “do this, not that” tips. You’ll grow better buds, waste less, and feel like a pro sooner—whether you’re in Canada or the United States.
The Core Idea: Spend Where It Matters, Skip What Doesn’t
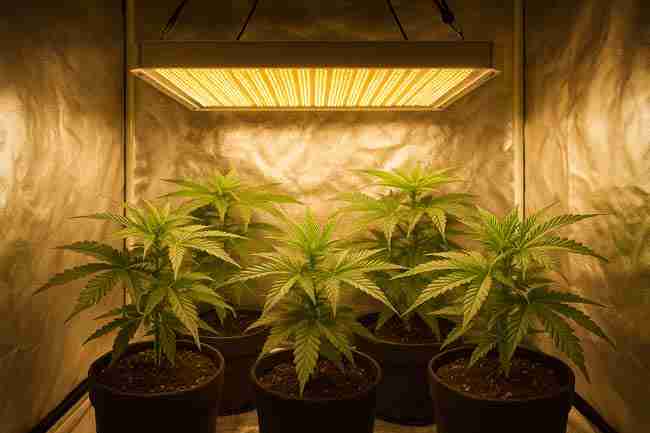
You don’t need fancy gizmos to grow great cannabis. You need a few durable, well-sized tools that control light, air, water, and nutrients. Everything else is either optional or a distraction. Below, you’ll see the most common beginner cannabis mistakes and the gear that actually delivers results.
Quick-Glance Table: Skip This, Buy That (With Specs)
| Mistake Purchase (Skip) | Why It Wastes Money | Buy Instead | Specs That Matter | Typical Cost (USD/CAD) |
|---|---|---|---|---|
| “Blurple” mystery LED or underpowered panel | Low PAR, poor spectrum, early failures | Full-spectrum white LED bar/board | 2.3–2.8 μmol/J, dimmable, 100W (2×2), 200–240W (3×3), 300–480W (4×4) | $120–$600 / $160–$800 |
| Tiny/no-name tent | Light leaks, tearing zippers | Mid-range tent with metal corners | True size, 600D+ canvas, double-stitched zips | $80–$250 / $110–$330 |
| Eight-bottle nutrient “system” | Confusing, expensive, redundancy | Simple 2–3 part or dry salts | Clear N-P-K schedule, cal-mag ready | $20–$70 / $27–$95 |
| No exhaust or cheap booster fan | Heat/humidity spikes, smells | Inline fan + carbon filter | Sized CFM for tent volume; speed control | $120–$250 / $160–$330 |
| $15 pH pen with no calibration | Drifts fast = lockout | Mid-range pH meter + calibration | 4.01/7.00 buffers, storage solution | $40–$120 / $55–$160 |
| Heavy, muddy soil in plastic pots | Overwatering, root rot | Fabric pots + airy media | 30–40% perlite in soil or buffered coco | $15–$40 / $20–$55 |
| CO₂ bags/gimmicks | Negligible effect for sealed needs | Better environment control | Keep VPD in range; air exchange steady | $0 (skip) |
| No hygrometer or data | “Blind” growing | Hygrometer/thermometer (min/max) | Probe or remote sensor, data memory | $10–$30 / $14–$40 |
| Random IPM sprays | Can harm plants, wasted | Sticky traps + sanitation kit | Yellow traps, isopropyl, neem/soap | $10–$40 / $14–$55 |
| Daisy-chained power spaghetti | Fire risk, outages | Quality power strip/timer | 15A+, grounded, reliable timer | $20–$50 / $27–$68 |
Use the table as your shopping filter. If it’s not on the “Buy Instead” column, you probably don’t need it to grow great flower.
Mistake #1: Buying the Wrong Light (Or Too Little Light)
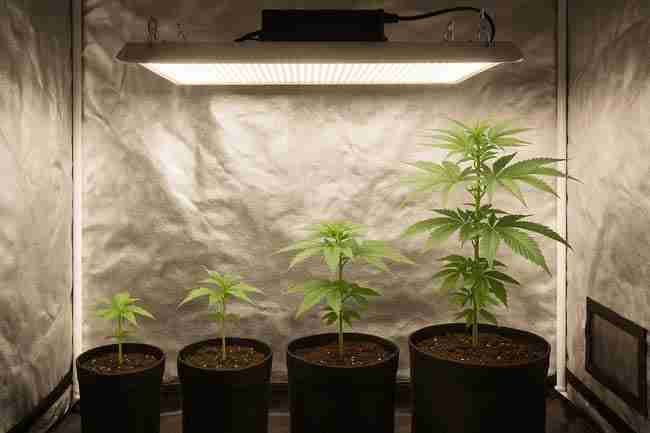
Why this is one of the biggest beginner cannabis mistakes
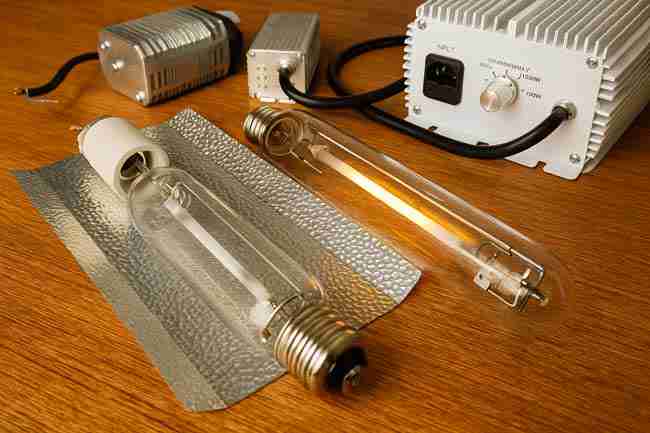
Light is your engine. Underpowered or poor-quality LEDs give you fluffy buds, slow growth, and high electricity per gram. “Blurple” panels and suspicious “1000W” listings are classic money pits.
What to buy instead
- Full-spectrum white LED (board or bar style)
- Power targets by tent size:
- 2×2 ft: ~100–150 W
- 3×3 ft: ~200–240 W
- 4×4 ft: ~300–480 W
- Efficiency: 2.3–2.8 μmol/J
- Features: Dimmable, quality driver, even coverage
Do it right (step-by-step)
- Match your tent size to the wattage above.
- Hang the light per manufacturer height, then dim to manage temps.
- In veg, run 18/6. In flower, run 12/12. Use a reliable timer.
Pros and cons
- Pros: Best grams per watt, dense buds, cooler rooms.
- Cons: Higher upfront cost than budget panels.
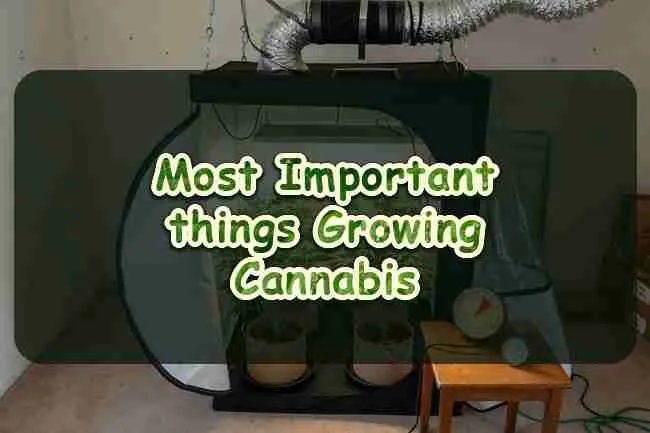
Mistake #2: Wrong Tent Size (Or Cheap Tent)
Why it’s wasteful
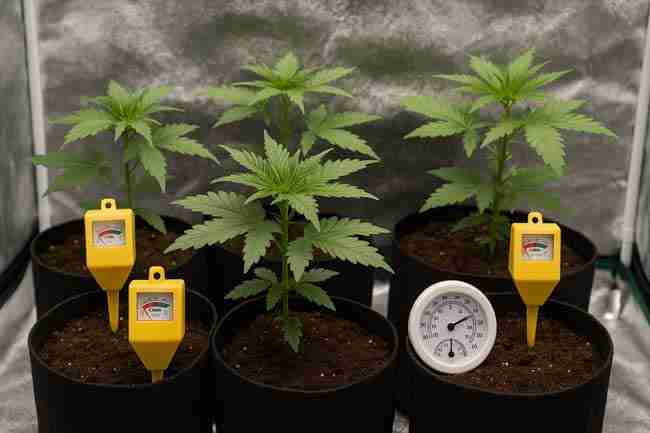
A too-small tent overheats fast. A too-big tent needs more light and fan power. Cheap tents leak light and rip. You end up buying twice.
What to buy instead
- 2×2 ft (one or two small plants), 3×3 ft (two to four plants), 4×4 ft (four to six plants)
- Look for: 600D+ canvas, metal corners, reinforced bars, double-stitched zippers, proper duct/cord ports
Setup that works
- Place tent in a cool, dry room with a nearby window or vent route.
- Keep the tent off damp basements floors; use a mat or riser.
Pros and cons
- Pros: Predictable environment, easy odor control, tidy.
- Cons: Takes a chunk of room space; you’ll want to keep it clean.
Mistake #3: The “Everything” Nutrient Line
Why it’s a trap
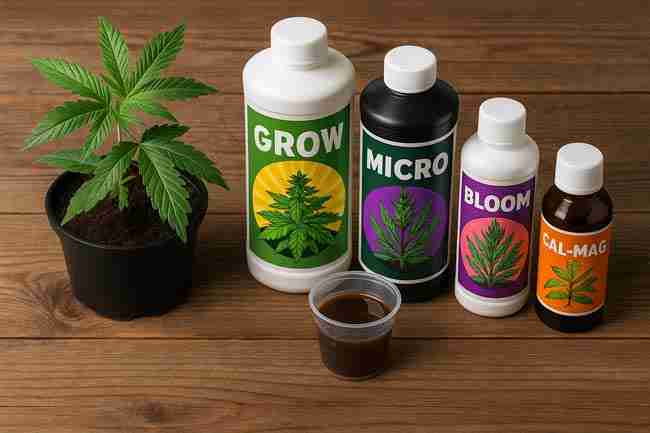
Eight bottles don’t make buds better. They make your schedule confusing and your wallet thin. Overlapping bottles = paying twice for the same minerals.
What to buy instead
- A simple base nutrient (2–3 part) or dry salts
- Additives that actually help: Cal-mag (if using RO or coco), silica (optional), microbes (optional)
Simple feeding rhythm
- Seedling/early veg: ¼ strength
- Late veg: ½ to ¾ strength
- Early flower: ¾ strength
- Mid-late flower: back to ½ strength if tips burn
- Final 10–14 days: plain water (or minimal EC) if desired
Pros and cons
- Pros: Lower cost, fewer mistakes, healthy plants.
- Cons: You won’t have a bottle for every single micro-thing—and that’s fine.
Mistake #4: No Real Exhaust or Carbon Filter
Why it costs you
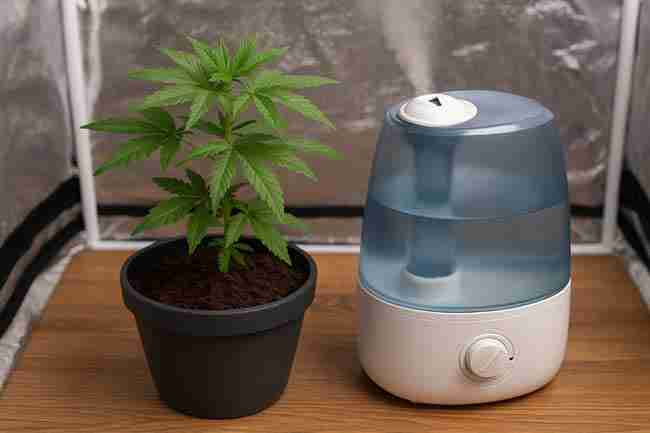
Without controlled air exchange, heat and humidity spike, pests love it, and smells leak. Then you spend on “fixes” that don’t fix.
What to buy instead
- Inline fan with speed control (4″ for 2×2/3×3, 6″ for 4×4)
- Matched carbon filter (rated for your fan’s CFM)
How to size it
- Tent volume: length × width × height (in feet).
- Multiply by 1.5–2 to get a target CFM.
- Pick a fan that can hit that number on a lower speed (quieter, longer-lasting).
Pros and cons
- Pros: Stable temps/VPD, odor control, happier plants.
- Cons: Upfront cost, some hum noise (reduce with insulated ducting).
Mistake #5: A $15 pH Pen and No Calibration
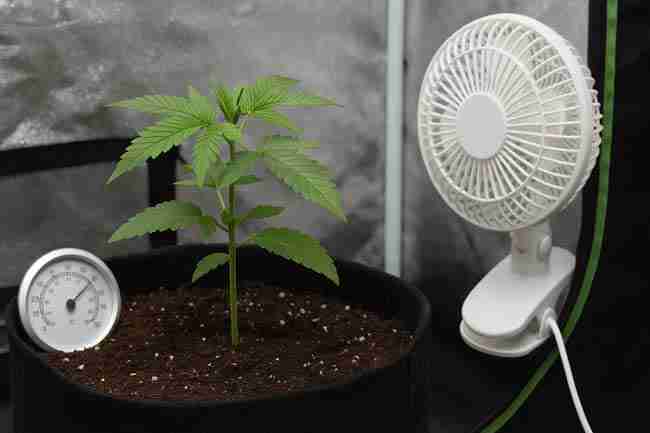
Why it’s expensive in disguise
A drifting pH meter leads to nutrient lockout, sad leaves, and wasted nutrients. Replacing plants is far pricier than a decent meter.
What to buy instead
- Mid-range pH meter + 4.01/7.00 buffer solutions + storage solution
- Rinse probe with distilled water, store wet, and calibrate weekly.
Tip
Keep pH test strips as a backup sanity check. If the pen says 5.4 but strips say 6.5, recalibrate.
Mistake #6: Heavy Soil + Plastic Pots = Overwatering
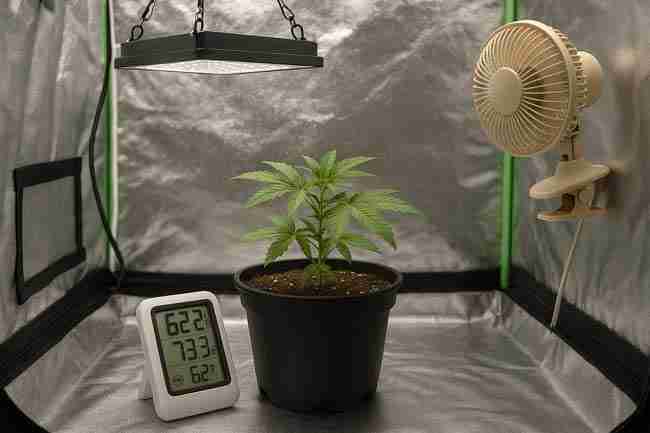
Why it hurts yields
Roots need oxygen. Heavy mixes in non-breathable pots hold water too long. You’ll see droop, slow growth, and fungus gnats camping out.
What to buy instead
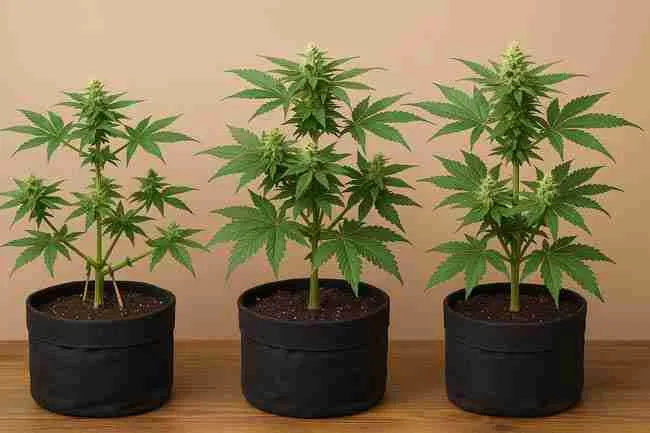
- Fabric pots (3–5 gal in 2×2/3×3; 5–7 gal in 4×4)
- Airy media:
- Soil: add 30–40% perlite
- Coco: buy pre-buffered coco; feed each watering
Watering that works
- Lift the pot—water when it feels “light.”
- Aim for 10–20% runoff to prevent salt build-up (especially in coco).
Mistake #7: Gadget Traps (CO₂ Bags, Magic Additives, etc.)
Why it’s a money sink
CO₂ does almost nothing unless your room is sealed and light-saturated. “Miracle boosters” rarely beat good environment control.
What to do instead
- Dial in basics first: light intensity, temps, humidity, airflow.
- Keep VPD in range (roughly 0.8–1.2 kPa in veg; 1.2–1.6 kPa in flower).
- Spend on better light/air, not gimmicks.
Mistake #8: Ignoring Water Quality
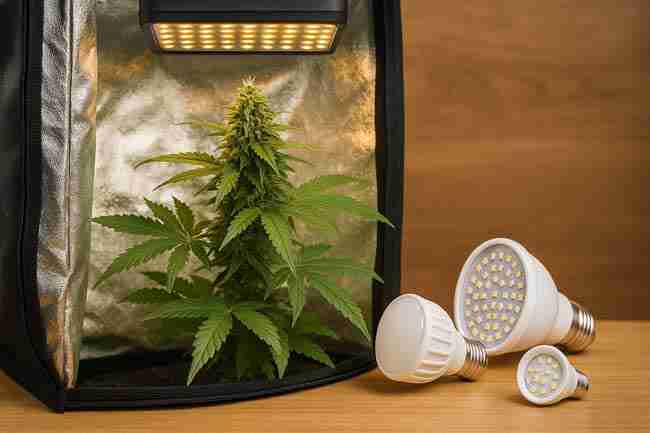
Why it shows up as “mystery issues”
Hard water swings pH and EC. Chloramine doesn’t gas off like chlorine. The plant struggles and you end up chasing symptoms.
What to buy instead
- At minimum: let chlorinated water sit 24 hours (if it’s chlorine, not chloramine).
- Good upgrade: small RO system if your tap is very hard.
- Add a reliable cal-mag if using RO or coco.
Mistake #9: No Hygrometer, No Data

Why you miss the mark
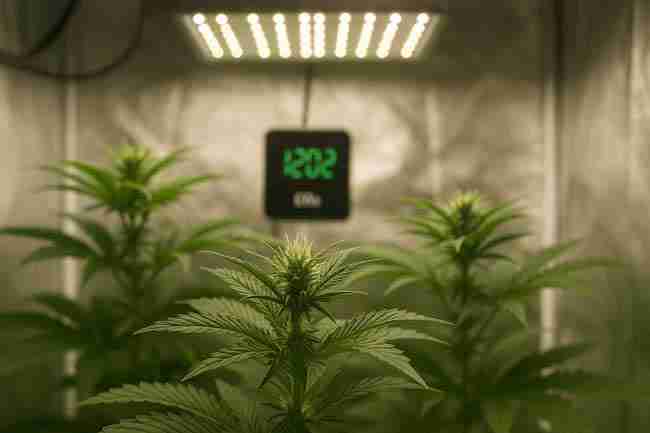
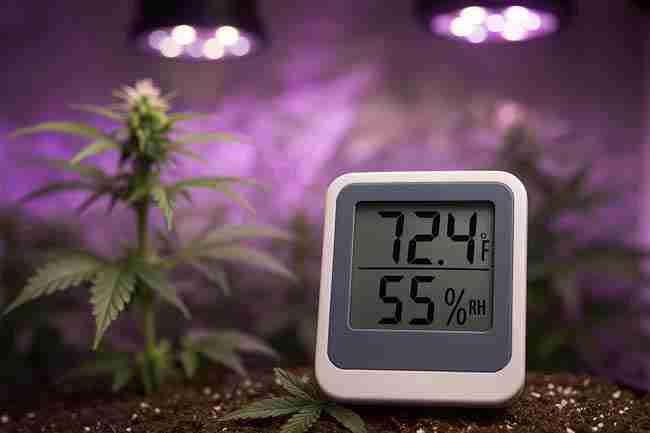
You can’t manage what you don’t measure. If you don’t know your min/max temps and RH, you’ll ride a roller coaster.
What to buy instead
- Hygrometer/thermometer with min/max memory
- Bonus: Bluetooth/wi-fi units show graphs on your phone
How to use it
- Place one canopy-level, one root-zone level (on the pot or tray).
- Check daily; adjust fan speed, humidifier, or dehumidifier accordingly.
Mistake #10: Overcrowding Plants
Why your tent turns to chaos
Too many plants in small space = poor airflow, larfy buds, pest highways, and trimming doom.
What to buy instead (or do)
- Plant count targets:
- 2×2: 1–2 plants
- 3×3: 2–4 plants
- 4×4: 4–6 plants
- Use plant ties, low-stress training (LST), and trellis to spread the canopy.
Mistake #11: Unreliable Timer or Inconsistent Light Schedule
Why it bites hard
Light leaks and timing errors can cause stress and herms. Re-veg in flower? That’s weeks lost.
What to buy instead
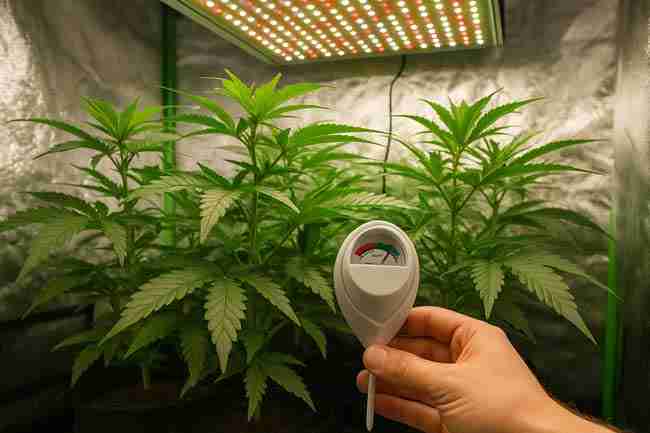
- Digital timer or quality smart plug with backup schedule
- Lightproof your tent (check zippers and ports)
Simple schedules that work
- Veg: 18/6
- Flower: 12/12
- Autos: 18/6 or 20/4 from start to finish (flexible)
Mistake #12: Skipping IPM (Integrated Pest Management)
Why it gets expensive
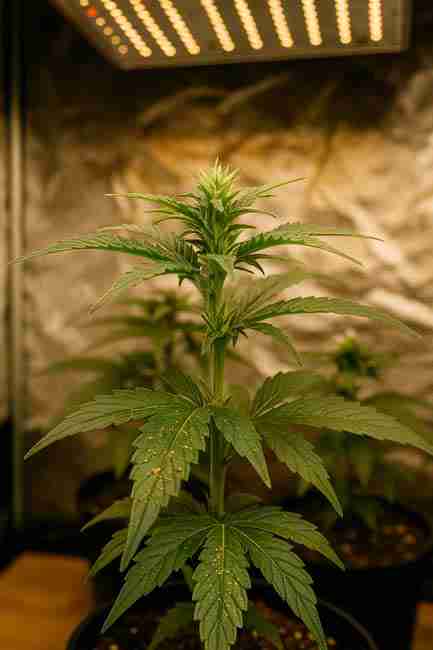
Pests multiply fast. By the time you notice, damage is done, yields drop, and you’re buying emergency sprays.
What to buy instead
- Yellow sticky traps (monitor)
- Sanitation kit: 70% isopropyl alcohol, gloves, wipes
- Gentle sprays: insecticidal soap or neem (follow label)
- Fans for airflow, and clean intakes (pre-filters)
Weekly IPM rhythm
- Quick leaf check (top + undersides).
- Replace sticky traps.
- Wipe tent poles, trays, and tools.
- Keep floors dry; remove dead leaves.
Mistake #13: Skimping on Drying & Curing Setup
Why it ruins good grows
You nailed the grow and lose it in the dry. Over-dry = harsh. Under-dry = mold risk. Both = waste.
What to buy instead
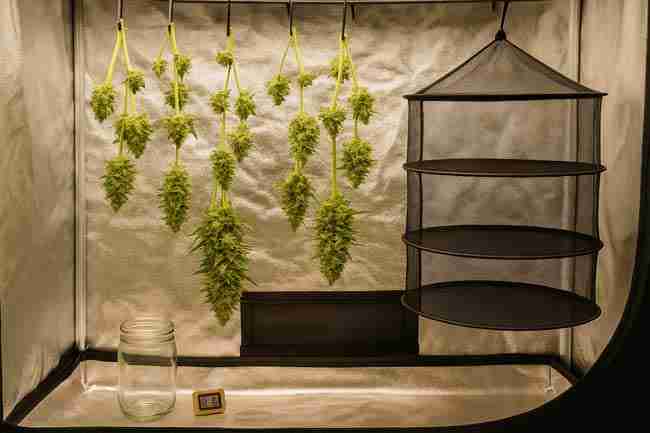
- Drying lines or racks, small circulation fan (not on buds)
- Jars, hygrometers, and humidity packs (62% is common target)
Drying targets
- Temp: 60–68°F (15–20°C)
- RH: 55–60%
- Time: 7–14 days, then cure in jars 3–8 weeks, burping daily at first
Mistake #14: Choosing Genetics Without a Plan
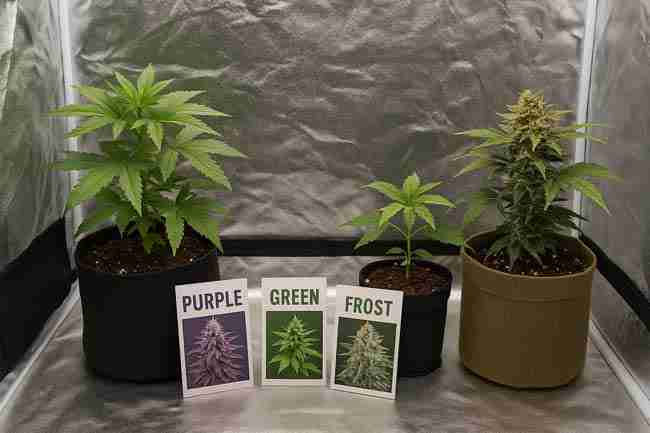
Why you spend twice
Bagseed or mystery crosses can be fun, but not if you want predictable results. Some strains stretch too much, others finish too late for your space.
What to do instead
- Pick genetics that match your tent, climate, and timeline.
- For your first run, photoperiods give you training flexibility; autoflowers are great if you want faster harvests and simple schedules.
Pros and cons (autos vs photoperiods)
- Autos
- Pros: Fast, smaller, simple light cycle.
- Cons: Less training time; stress can reduce yield.
- Photoperiods
- Pros: More control; you flip to flower when ready.
- Cons: Longer veg = more power/time.
Mistake #15: Overcomplicating Media and Additives
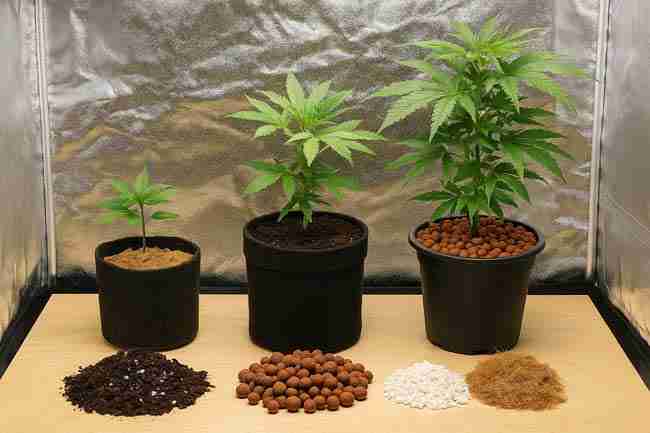
Why it frustrates beginners
Mixing five soils, three amendments, and two teas without a baseline often creates weird, overlapping effects.
What to buy instead
- One proven base:
- Soil grower: quality potting soil + perlite; light top-dressing later if desired.
- Coco grower: pre-buffered coco; feed low EC every watering.
Keep it simple
- Start with the base alone.
- Add one new amendment next run so you can actually see its effect.
Mistake #16: No Training, No Canopy Plan
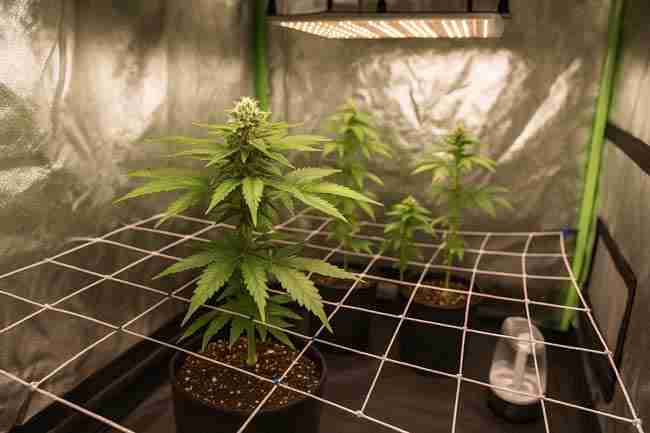
Why it costs grams
A single cola is pretty but not space-efficient. Side branches shaded = popcorn buds.
What to buy instead
- Soft ties or plant clips
- Trellis net (optional)
How to do it (quickly)
- Veg: Top once or twice; tuck branches sideways.
- Flower stretch: Keep spreading the canopy.
- Rule: Even canopy = even light = even buds.
Mistake #17: Ignoring Safety and Power Limits
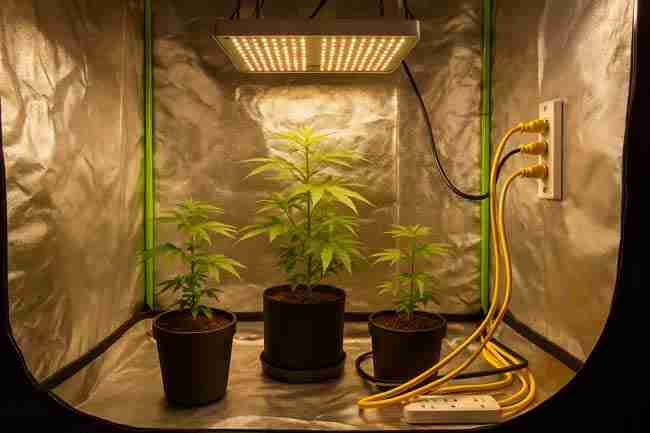
Why it’s not worth the risk
Daisy-chained extension cords, overloaded outlets, and wet floors are a recipe for problems.
What to buy instead
- Proper power strip (15A+), GFCI outlet if possible
- Cable management, drip trays, and elevate electrical items
Mistake #18: No Grow Journal
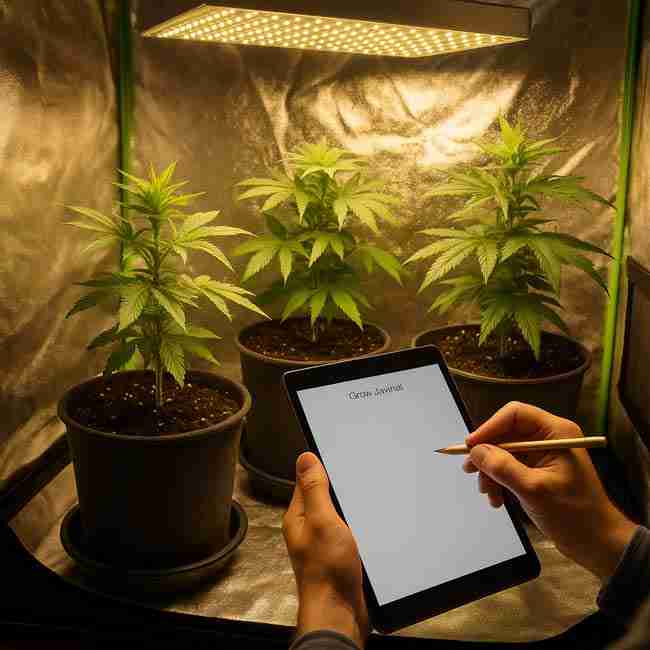
Why you repeat mistakes
You forget what worked, when you fed, or which height was perfect. Then you re-learn the same lesson—expensive.
What to buy instead
- Notebook or app + simple template:
- Date, stage, light height/dimmer %, feed (EC/pH), temp/RH min-max, observations, actions.
Specifications Cheat Sheet (Bookmark This)
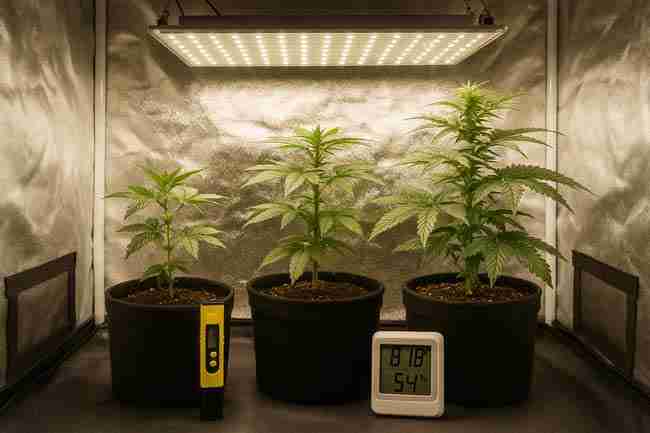
Lighting
- 2×2: 100–150 W LED
- 3×3: 200–240 W LED
- 4×4: 300–480 W LED
- Efficiency: ≥2.3 μmol/J, dimmable, good coverage map
Airflow
- Inline fan CFM ≥ tent volume × 1.5–2
- Carbon filter matched to fan CFM
- Oscillating fans: at least one per 3×3, two in 4×4
Environment
- Veg temps: 72–80°F (22–27°C), RH 55–70%
- Flower temps: 68–78°F (20–26°C), RH 45–55%
- Keep VPD in range; check daily
Water & pH
- Soil pH: 6.2–6.8
- Coco pH: 5.7–6.2
- Calibrate meters weekly; store pH probe in storage solution
Pots & Media
- Fabric pots: 3–5 gal (2×2/3×3), 5–7 gal (4×4)
- Soil: 30–40% perlite for drainage
- Coco: pre-buffered; feed every watering to runoff
“Buy It Once” Starter Kit (Budget-Smart List)
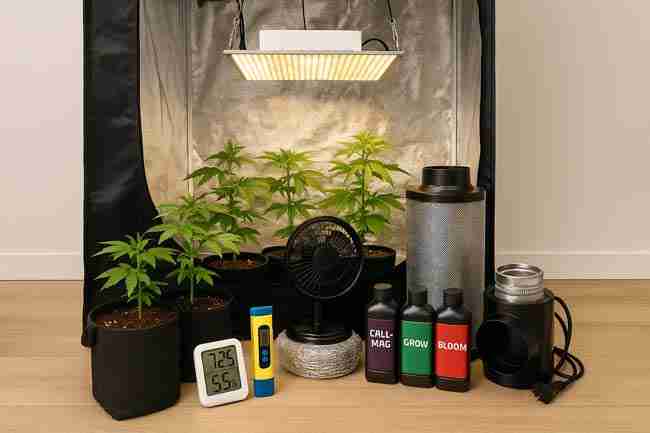
- Mid-range 2×2, 3×3, or 4×4 tent
- Full-spectrum LED matched to tent size
- Inline fan + carbon filter + ducting + speed controller
- Hygrometer/thermometer (min/max)
- Fabric pots, airy media (soil+perlite or buffered coco)
- Simple base nutrients (2–3 part or dry salts) + cal-mag
- pH meter + calibration fluids + storage solution
- Digital timer (lights)
- Soft ties/plant clips, trimming scissors
- Sticky traps, sanitation supplies
- Notebook or grow app
With this list, you’re covered for a clean, efficient first grow—no fluff, all function.
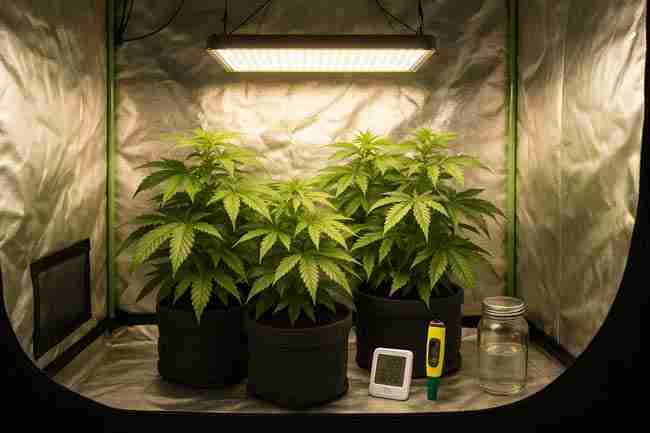
Real-World Example: 3×3 “Money-Smart” Setup
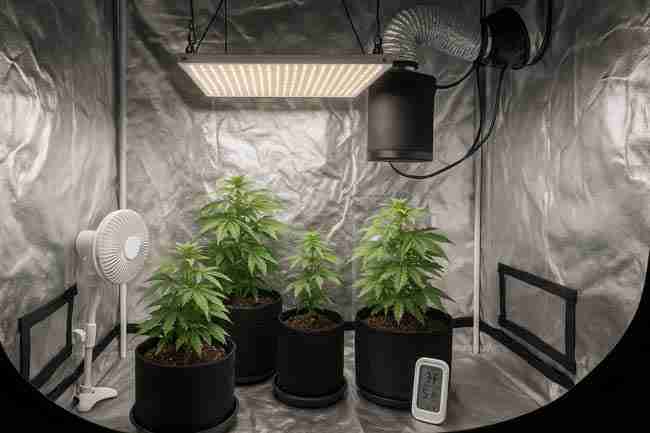
- Tent: 3×3 ft (true size)
- Light: 200–240W full-spectrum LED, dimmable
- Exhaust: 6″ inline fan at low–medium speed + 6″ carbon filter
- Air movement: 1–2 clip fans
- Pots/Media: Two 5-gal fabric pots with airy soil (or coco)
- Nutrients: Simple base + cal-mag
- Meters: pH pen (calibrated), hygrometer (min/max)
- Training: Top once, LST to fill square canopy
- Schedule: Veg 18/6, flower 12/12, dry 7–14 days, cure 3–8 weeks
This build hits all the high-ROI items and avoids the traps. Great quality, predictable costs, and easy upgrades later.
Pros and Cons: Budget vs Premium
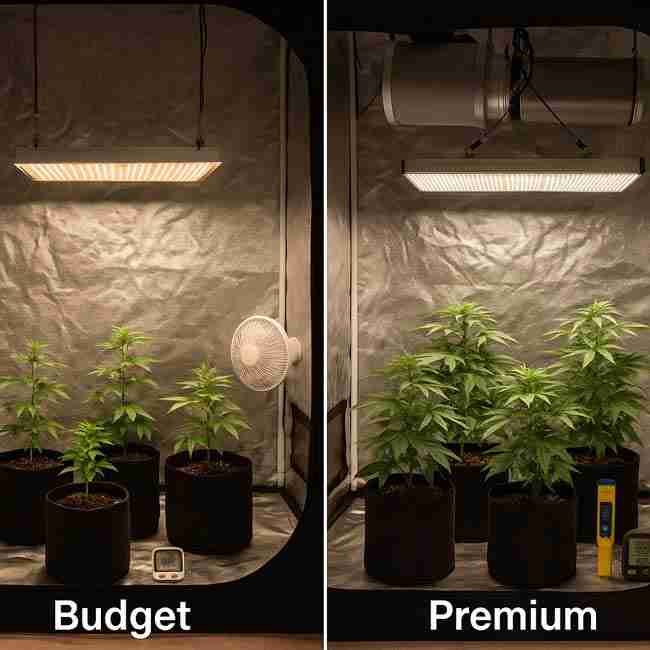
Budget Path
- Pros: Lowest cost to first harvest, teaches fundamentals, easy to replace/upgrade.
- Cons: Less headroom for future scaling; some items (fans, meters) may be noisier or need replacement sooner.
Premium Path
- Pros: Quieter, more efficient, nicer experience; often better PAR maps and lifespan.
- Cons: Higher upfront spend; not always necessary for first grows.
Verdict: Start mid-range. Upgrade the light first when you’re ready.
FAQ (Use These to “Save Money Grow” and Pick “Gear to Skip Cannabis”)
What are the top three beginner cannabis mistakes that cost the most?
- Underpowered/cheap lighting (sinks yields).
- No environment control (fan/filter/hygrometer).
- Complicated nutrients (money and mistakes).
Fix these and you’ll save money grow after grow.
What gear to skip cannabis beginners usually overspend on?
- CO₂ bags, “boosters,” and most miracle additives
- Eight-bottle nutrient lines (choose a simple base)
- Unbranded blurple LEDs and booster fans without proper specs
Do I need CO₂ to grow great buds?
No. In a vented tent with a decent LED and healthy temps/RH, CO₂ bags won’t move the needle. Spend on light and airflow first.
Is soil or coco cheaper for beginners?
- Soil: Fewer feedings, easier pH management; cheaper upfront.
- Coco: Faster growth, but you’ll feed every watering and track EC.
Both can be budget-friendly; choose the style you’ll maintain consistently.
What’s the cheapest way to control smell?
A properly sized carbon filter on an inline fan, with sealed tent and low fan speed for quiet operation. Cheap filters often fail early—buy a decent one once.
How do I keep from overwatering?
Use fabric pots and an airy medium. Lift the pot: water when it’s light. In coco, feed small amounts to runoff every time.
Do autos or photoperiods save more money?
- Autos can finish faster (less electricity), but stress hurts yield quickly.
- Photoperiods let you veg until the canopy is right.
If you’re brand new, choose the path that fits your routine and stick to it.
What simple tools give the biggest payoff?
- Dimmable LED, inline fan+filter, hygrometer, calibrated pH pen, fabric pots, and a notebook. These beat fancy gadgets every single time.
Your 10-Step “No Waste” Action Plan
- Pick your tent size (2×2, 3×3, or 4×4).
- Match the LED wattage to that size; avoid “too good to be true.”
- Buy an inline fan + carbon filter sized for your tent’s CFM.
- Get a hygrometer/thermometer with min/max memory.
- Choose fabric pots and an airy medium (soil+perlite or buffered coco).
- Select a simple nutrient system (2–3 part or dry salts).
- Grab a mid-range pH meter and calibration kit; store the probe wet.
- Set reliable timer schedules (18/6 veg, 12/12 flower).
- Start a grow journal (light %, feed, temp/RH, notes).
- Run weekly IPM (traps, wipe-downs, leaf checks).
Do this, and you’ll skip 90% of the beginner cannabis mistakes that drain wallets and crush confidence.
Final Word: Buy Smart, Grow Happy
You don’t need the perfect room to grow sticky, loud, top-shelf buds. You need the right few tools and the habit of measuring, adjusting, and keeping notes. Spend on light, airflow, and accuracy. Skip the noise. That’s how you save money grow after grow—and enjoy the process start to finish.