Advanced Seed Priming and Bio-Stimulant Treatments for Stronger Cannabis Starts


Many growers focus on what happens after germination. However, what you do to seeds before they even sprout can dramatically influence the entire grow. Consequently, this article introduces practical, science-backed seed treatments that give plants a powerful head start.
Picture this. You drop your cannabis seeds into a simple soak one evening. The next morning you plant them, and instead of the usual scattered, uneven popping over a week or more, you wake up to a sea of strong, green seedlings standing tall and proud by day three or four. Every single one looks vigorous. That’s the real-world payoff of cannabis seed priming combined with smart bio-stimulants.
You’re not just hoping for good luck anymore. You’re giving every seed the best possible launch. Whether you’re running a small tent, a bigger indoor setup, or even planning an outdoor season, these techniques help you get faster stronger cannabis seedlings that resist early problems and set the stage for bigger, better harvests later.
What Is Cannabis Seed Priming and Why It Gives Your Plants a Powerful Head Start
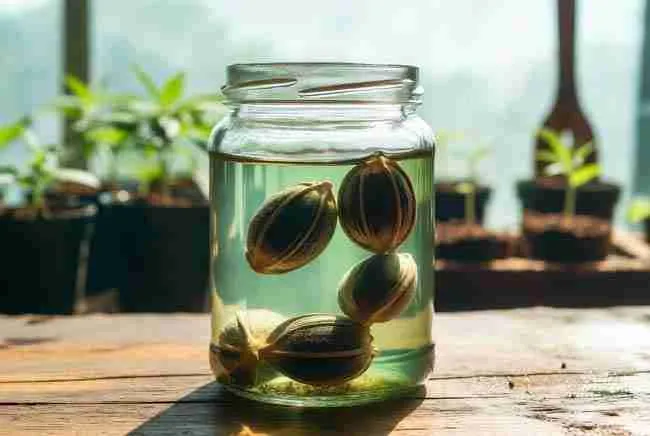
Cannabis seed priming is basically a controlled pre-soak. You let the seeds drink in just enough water (or a special solution) to wake up their internal systems, but you stop short of letting the little white taproot poke out. Then you either plant them right away or dry them back gently for later use.
The magic happens inside the seed. Enzymes activate. DNA repair kicks in. Energy reserves start building. The seed essentially gets a head start on the germination process without committing to full sprouting yet. When you finally put it in soil or a plug, it explodes out of the shell much faster and more uniformly than an untreated seed.
You’ll see germination speed improve dramatically — often by one to three days. Uniformity gets way better too. Instead of some seeds up on day two and others still sitting there on day seven, most of your primed batch pops around the same time. That even canopy makes training, lighting, and feeding so much simpler later on.
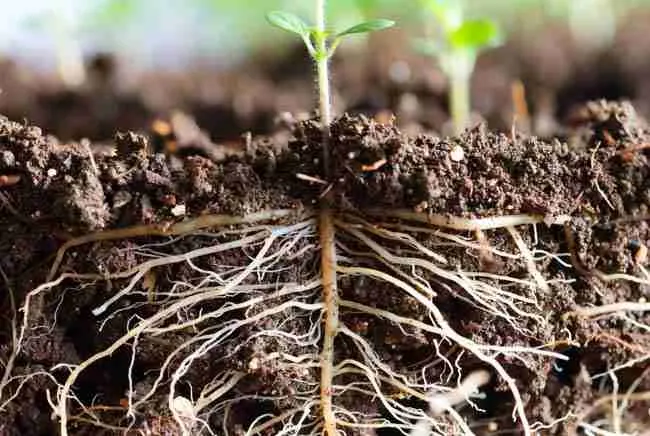
On top of that, primed seedlings usually develop stronger root systems right from the start. They handle transplant shock better. They resist damping-off and early fungal issues more effectively because they’re already metabolically ahead. In short, cannabis seed priming turns good genetics into great performers.
The Inner Workings of Seed Priming Cannabis Germination – Science You Can Actually Use
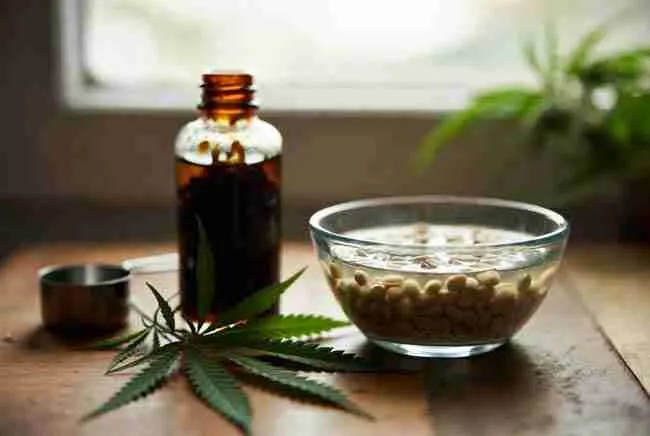
Let’s keep this simple and practical. Inside every cannabis seed sits an embryo that’s basically asleep. It needs water, oxygen, and the right temperature to wake up. Classic germination methods (paper towel, direct soil, plugs) work fine, but they start from zero.
With cannabis seed priming you give the seed a controlled head start. The seed absorbs water and begins the early metabolic steps of germination — enzyme activation, starch breakdown into sugars, building protective proteins. Because you control the timing and conditions, you avoid the two big problems that kill or weaken seeds: drying out too early or rotting from sitting too long in water.
Temperature during the soak matters a lot. Keep it steady between 20–25 °C (68–77 °F). Too cold and the processes slow to a crawl. Too warm and you risk bacterial or fungal growth that can rot the seed before it even sprouts. Darkness or very low light is perfect during priming — the seed doesn’t need light yet.
After the soak you have two choices. Plant immediately for the fastest results, or dry the seeds back slowly in a cool, dark, well-ventilated spot until they feel dry to the touch again. Properly dried primed seeds can be stored for weeks or even months with excellent viability. That flexibility is gold when you’re planning a grow or testing multiple strains.
Safe and Effective Bio-Stimulants for Seed Enhancement Cannabis

Plain water priming already works wonders. But when you add safe, natural bio-stimulants you take things to another level. These are the same kinds of ingredients experienced growers use to boost root growth, nutrient uptake, and stress resistance — only you’re delivering them right at the seed stage for maximum impact.
Seaweed Extracts: Nature’s Growth Hormones in a Bottle
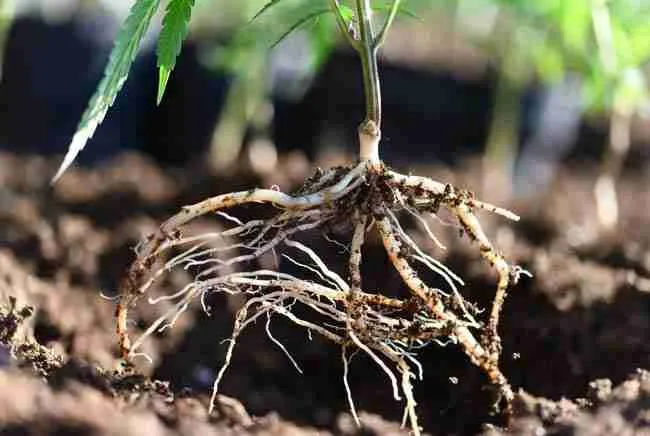
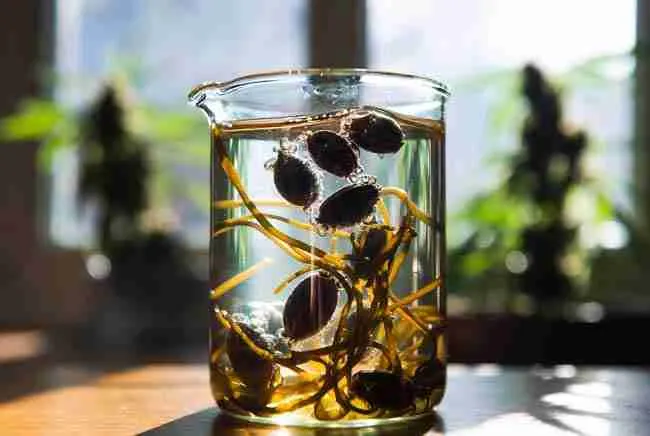
Liquid seaweed or kelp extract is probably the easiest and most popular bio-stimulant for home growers. It’s packed with natural auxins, cytokinins, trace minerals, and amino acids. These compounds act like gentle plant hormones that encourage root initiation and overall vigor.
When you include a little seaweed in your priming soak, you’re essentially giving the seed a bio stimulated seed coating cannabis treatment. The hormones help the embryo push out a stronger taproot faster. Seedlings often come out darker green and more robust because the extract supplies micronutrients that support early chlorophyll production.
Start with a very dilute solution — roughly 1–2 ml of quality liquid kelp per liter of water (or just a few drops per cup if you’re doing a small batch). Soak for 18–24 hours. Any longer and you risk the solution going anaerobic. After soaking, you can plant straight away or rinse lightly and dry back.
Humic and Fulvic Acids: Building Strong Foundations from the Seed Up

Humic and fulvic acids come from ancient organic matter (think leonardite or well-composted material). They act as natural chelators — they grab onto nutrients and make them easier for the young plant to absorb. They also improve cell membrane permeability, so the seed takes up water and dissolved goodies more efficiently during those critical first hours.
For priming, use a dilute humic acid solution following the product’s seed-treatment guidelines (often around 0.5–1 ml per liter). Many growers notice that humic-primed seeds produce seedlings with noticeably thicker stems and more expansive root systems right from the cotyledon stage. It’s like giving your future plants a little soil-conditioning boost before they even touch real soil.
Beneficial Microbes and Biopriming Coatings
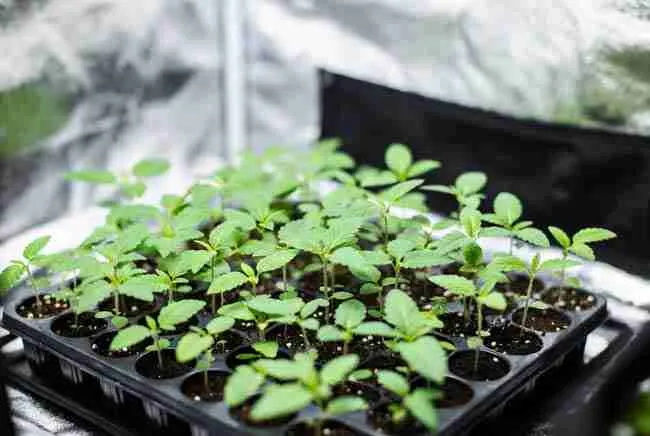
This is where things get really interesting for advanced growers. Beneficial bacteria and fungi (mycorrhizae, Trichoderma, Bacillus species, etc.) can be introduced during the priming soak or applied as a light coating afterward. These microbes start colonizing the seed surface and the emerging root zone immediately.
You’re creating a living shield and a nutrient-exchange partnership from day one. The microbes help suppress soil-borne pathogens that cause damping off. They also make phosphorus and other nutrients more available as soon as the roots start exploring. Some commercial products are specifically designed as seed inoculants or coatings — perfect for bio stimulated seed coating cannabis applications.
If you’re using a powder or liquid inoculant, follow the label rates for seed treatment. A short 12–18 hour soak in a well-diluted microbial solution works great. After that, plant promptly or dry carefully. The living organisms don’t like being dried for super long periods, so immediate planting usually gives the best results.
Step-by-Step Recipes and Soaking Protocols That Actually Work for Cannabis
Here’s exactly how to do it at home with things you can actually buy or already have.
Basic Hydro-Priming (great starting point for beginners)
- Use room-temperature distilled, RO, or dechlorinated water (pH 6.0–7.0).
- Place seeds in a clean glass or food-grade container.
- Cover with about 2–3 cm of water.
- Keep at a steady 20–25 °C in a dark spot.
- Optional: stir or gently agitate every few hours.
- Soak 12–24 hours (set a timer — don’t exceed 24 hours).
- Drain, rinse once with fresh water, and plant immediately or dry back slowly.
Seaweed-Enhanced Priming (my favorite everyday method) Follow the hydro-priming steps above, but add 1–2 ml of quality liquid seaweed/kelp extract per liter of water before adding the seeds. Soak 18–24 hours. The natural hormones give you that extra root and vigor boost without any synthetic chemicals.
Humic Acid Priming Use the same method but add the recommended dilution of liquid humic acid (check your product — many suggest 0.5–1 ml/L for seed soaks). Soak 12–24 hours. This one shines when you’re planting into living soil or coco that could use a little extra chelation help.
Microbial Biopriming Dilute your beneficial microbe inoculant according to seed-treatment instructions. Soak seeds 12–18 hours. Plant as soon as possible after draining. You can also dust freshly primed (still slightly damp) seeds with a light coating of inoculant powder right before planting.
Optional Sterilization Pre-Soak (especially useful for older seeds) Before any of the above, you can do a quick 5–10 minute soak in a dilute hydrogen peroxide solution (roughly 1 part 3% H₂O₂ to 4–5 parts water). Rinse thoroughly with clean water, then move straight into your chosen priming solution. This helps knock down surface pathogens without harming the embryo.
Always label your containers with strain name, treatment type, and start time. Work clean — sterilized tools and containers prevent problems before they start.
Real-World Before and After Comparisons – See the Difference Priming Makes
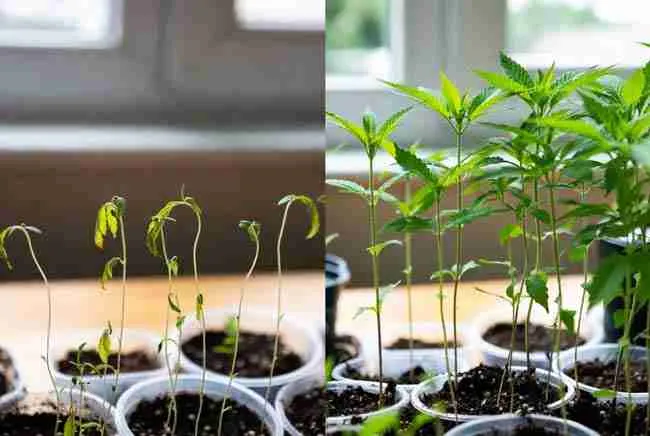
Let’s talk results you can actually see and feel.
Untreated cannabis seeds from the same batch might germinate anywhere from day 3 to day 8. Some come up strong, others look weak and yellow, and a few never make it. The canopy ends up uneven. You spend extra time fussing with lights and training to compensate.
Primed seeds from that same batch? Most pop between day 2 and day 4. They emerge with thicker stems, darker green color from the very first true leaves, and noticeably more root mass when you check a sacrificial plant. The whole tray or tent looks like a little army standing at attention instead of a patchy mess.
In side-by-side grows, growers consistently report that primed seedlings catch up and then pull ahead. They handle the first transplant without missing a beat. They seem to shrug off minor temperature swings or slight over-watering better. By the time you flip to flower, those early advantages have compounded into bigger plants with more bud sites.
The difference becomes even more obvious with older or borderline-viability seeds. Priming can bring marginal seeds back to life that might have otherwise failed or produced runty plants.
Which Cannabis Strains and Seed Types Respond Best to These Advanced Treatments
Almost every cannabis seed benefits from proper priming, but some situations shine brighter than others.
Fresh, high-viability seeds from a reputable source respond beautifully because the genetics are already strong — you’re just helping them express their full potential right away. Older seeds or ones that have been stored a while often get the biggest relative boost. The controlled hydration helps repair some of the cellular wear and tear that happens during long storage.
Autoflowering strains can be a little more sensitive to strong concentrations, so stick to milder seaweed or plain hydro-priming and don’t push the soak times. Photoperiod indicas and hybrids generally love the extra root and vigor push — they tend to veg faster and bushier when they start strong. Sativas that like to stretch appreciate the solid foundation so they don’t get leggy and weak early on.
If you’re running a mix of strains in one tent, priming helps level the playing field so everything grows at a similar pace. That makes canopy management and harvest timing much easier.
Storing and Handling Your Primed Seeds Like a Pro
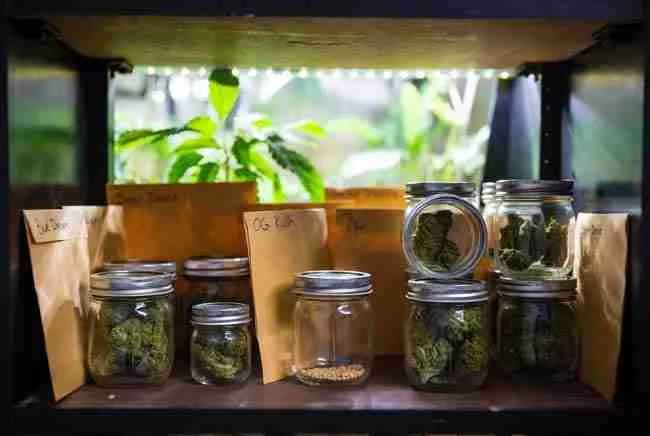
If you’re not planting immediately, drying the seeds back properly is crucial. Spread them in a single layer on a clean paper towel in a cool, dark, well-ventilated spot. Let them dry slowly over 24–48 hours until they feel like normal dry seeds again. Then store them exactly like you would any other cannabis seeds — airtight container, cool and dark (a refrigerator works great for longer term).
Label everything clearly: strain, priming method, date treated, and expected viability window. Primed seeds that were dried back can stay viable for months, sometimes longer than untreated seeds because the early metabolic work was already done under controlled conditions.
When you’re ready to plant, handle them gently. The embryo is a bit more “awake” than a completely dormant seed, so rough handling or sudden temperature shocks aren’t ideal. Get them into their final medium quickly once you start the process.
Starting Strong: Why Fresh Seeds from Green Avenger Seeds Pair Perfectly with These Techniques
All the priming and bio-stimulant magic in the world works best when you start with excellent genetics. That’s why so many experienced growers reach for fresh, high-viability seeds from Green Avenger Seeds. Their stock is stored properly, tested regularly, and comes from stable, vigorous lines that actually respond well to advanced techniques.
When you combine top-tier seeds with cannabis seed priming and a touch of seaweed or humic enhancement, you’re giving yourself the highest possible success rate and the strongest possible plants. You spend less time babying weak seedlings and more time enjoying the grow. That’s the kind of edge that turns good harvests into great ones.
Troubleshooting Common Issues with Cannabis Seed Priming
Even with the best intentions, things can go sideways. Here’s what to watch for and how to fix it.
Seeds didn’t germinate or germinated very slowly — Old or low-viability seeds, water too cold or too hot, soak time too short or way too long, or the solution concentration was too strong and actually inhibited the embryo. Next time test a small batch first and use fresh seeds when possible.
Mold or slime appeared during the soak — Contaminated water or container, temperature too high, or you left the seeds too long without changing water. Always use clean or sterilized containers and fresh water. A quick H₂O₂ pre-rinse helps.
Seedlings came up but looked weak or yellow — Possibly too strong a bio-stimulant concentration (especially with some humic products). Or the follow-up environment wasn’t dialed in (light too intense, medium too wet or too dry). Dial back the additive next round and focus on perfect seedling conditions after planting.
Taproot came out during the soak — You went a little too long or the temperature was on the warm side. It’s not the end of the world — just plant carefully with the root pointing down. For future batches, check a couple seeds at the 12-hour mark and plant as soon as you see activity if you want to avoid this.
Uneven results across the batch — Inconsistent temperature during the soak, seeds of very different ages or storage conditions mixed together, or some seeds were damaged during handling. Sort and label batches carefully and keep conditions rock-steady.
How Priming Fits Into Your Bigger Grow Picture for Bigger Harvests
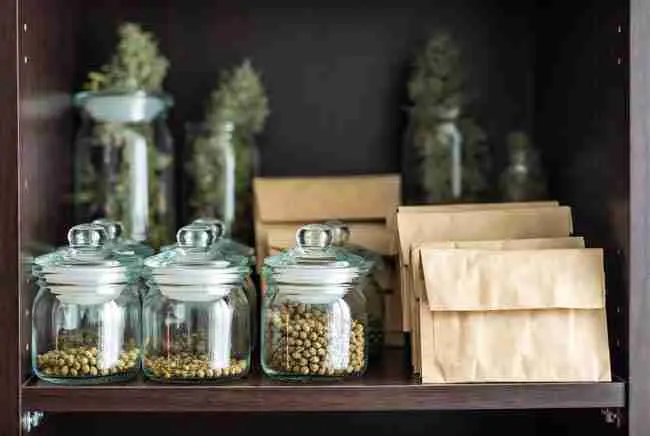
Stronger starts from cannabis seed priming and bio stimulated seed coating cannabis techniques don’t just make the first week prettier — they compound all the way to harvest. Better root systems mean more efficient nutrient and water uptake throughout veg and flower. More uniform plants mean easier training (LST, SCROG, topping) and better light penetration. Healthier early growth often translates to better resistance against pests and diseases later because the plant isn’t fighting from behind.
You’ll also notice that primed plants seem to “forgive” small mistakes a little more. A slight over-water or a day or two of cooler temps doesn’t set them back as hard. That resilience adds up when you’re juggling multiple strains or a busy schedule.
In the end, advanced seed treatment cannabis methods are one of the highest-ROI things you can do as a grower. A little extra time and care at the very beginning saves you hours of frustration later and puts more top-shelf buds in your jars.
You already know good genetics matter. Now you know that how you wake those genetics up matters just as much. Give cannabis seed priming and simple bio-stimulants a try on your next run. Start small, keep notes, and watch what happens. Chances are you’ll never go back to planting seeds completely cold again.
Your plants will thank you with faster growth, stronger structure, and ultimately bigger, better harvests. That’s what this whole game is about — giving your green ladies the best possible life from the very first moment they touch water.