Advanced Digital Trichome Analysis for Precise Cannabis Harvest Timing

Guessing the perfect harvest window often leads to disappointing results. However, modern digital microscopes and simple apps now make precise timing accessible to everyone. Moreover, this technique helps maximize both potency and flavor.
What the Article Will Cover
Furthermore, the post will compare different affordable microscope options and show exactly what to look for in trichome color and structure. In addition, readers will learn how to photograph and log results for consistent decision-making across multiple grows. Consequently, they will harvest at the ideal moment every time.
One effective approach involves taking weekly photos starting in late flower and comparing them side by side. Additionally, the article will include visual guides for cloudy versus amber trichomes and how they affect effects. Above all, it connects better timing directly to the quality of weed seeds started from Green Avenger Seeds.
Why Guessing Harvest Time Keeps Letting Growers Down
You know that sinking feeling. Your buds look fat, the smell is incredible, and you think “this has gotta be it.” So you chop, dry, cure, and… it’s just okay. Not bad, but not the knockout you hoped for. Potency feels a little flat, flavor doesn’t quite pop, and the high isn’t what the strain promised.
That’s what happens when you guess. Trichomes don’t lie, but your eyes from two feet away sure can. Those tiny resin glands hold the real story of potency, terpenes, and effects. Miss the window by even a few days and you either lose peak THC or let too much of it turn into sleepier CBN.
Here’s the good news though. You don’t need a lab or fancy gear anymore. A decent digital microscope and your phone can turn you into a harvest-timing pro. You’ll stop second-guessing and start making decisions based on what’s actually happening on your plants. And when you start with strong genetics from Green Avenger Seeds, nailing the timing lets those plants show you their absolute best.
Getting Up Close and Personal with Trichomes
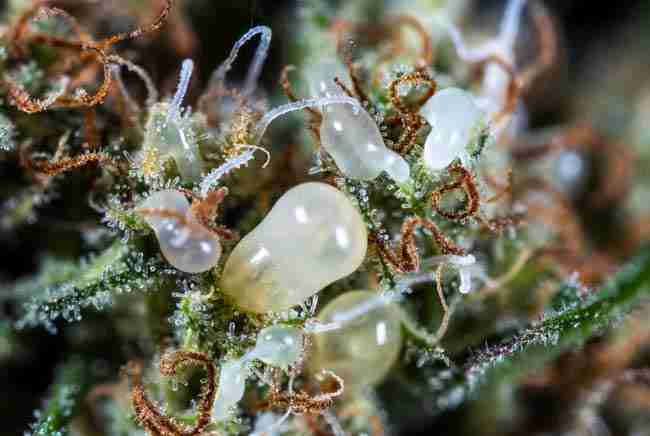
Trichomes are those sparkly little mushroom-shaped glands all over your buds and sugar leaves. Think of them as tiny factories pumping out THC, CBD, terpenes, and other goodies. As the plant matures, the heads of these glands go through clear stages you can actually watch.
Early on they look clear, almost like tiny glass bubbles. That usually means the plant still has work to do. THC levels are still climbing. Harvest too soon and you get weaker effects and less flavor.
Next comes the cloudy or milky stage. The heads turn opaque white. This is when THC and terpenes are usually at their peak. Most growers aim for mostly cloudy trichomes because that’s where you get the brightest, most energetic, and flavorful effects.
Then some start turning amber or golden-brown. That’s the plant breaking THC down into CBN. A little amber adds body and relaxation. Too much and things get very sedative and the overall “high” can feel softer.
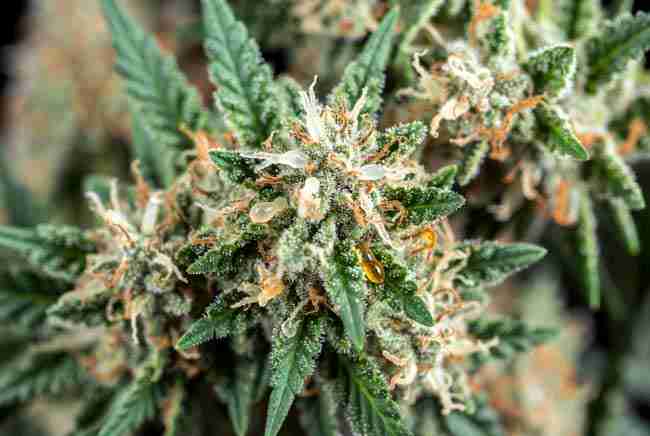
You don’t need to count every single trichome. Just get a good representative look at several buds from different parts of the plant. The image below shows you exactly what these stages look like side by side so you know what you’re aiming for.
Picking the Right Digital Microscope for Trichome Work
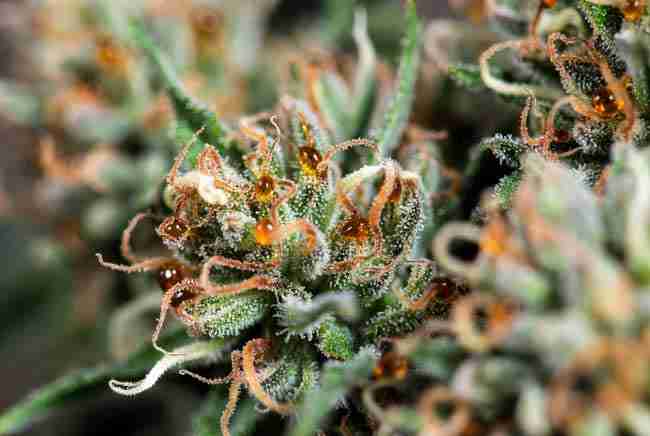
Not all microscopes are created equal for cannabis. You want something that shows clear color and structure without driving you crazy. Here’s a practical breakdown of what actually works well for regular growers.
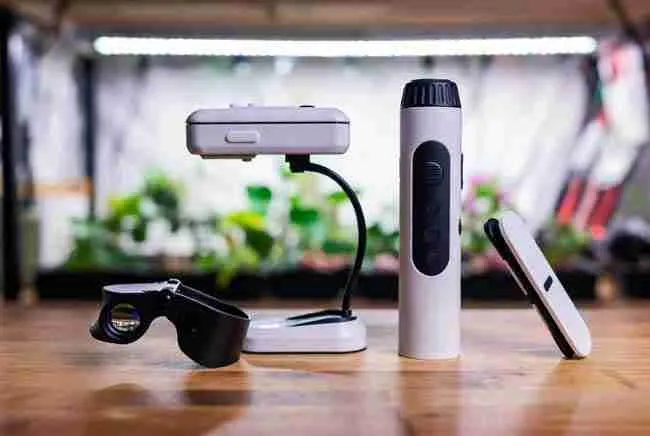
Budget option: Jeweler’s loupe (10x–60x) Cheap, tiny, and always in your pocket. Great for quick checks. Pros: No batteries, super portable, cheap. Cons: Hard on the eyes after a while, tough to take clear photos, small viewing area. Best for: Quick spot checks when you’re in a hurry.
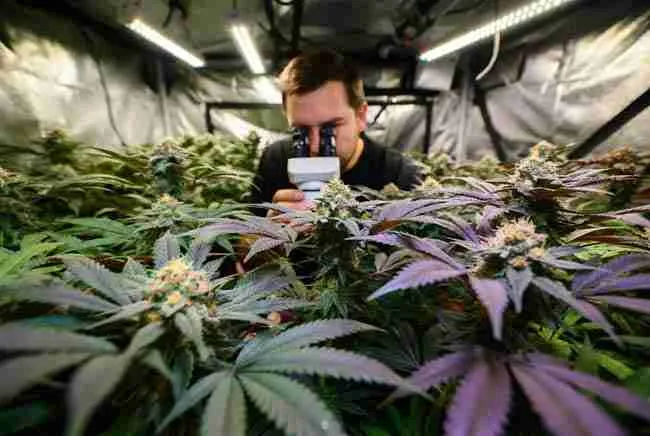
Sweet spot for most people: USB or wireless digital microscope (40x–200x) These plug into your phone or computer or connect wirelessly. You see everything on a big screen and can snap photos or videos instantly. Popular solid choices include models like Jiusion, Skybasic, or phone clip-on styles around 200x. Pros: Big clear view, easy photography for logging, higher magnification shows fine details, many have built-in LED lights. Cons: Cheap ones can be fiddly to focus at first, some need a steady hand or simple stand. Specs to look for: At least 1080p photo capability, good LED lighting (adjustable is nice), 50–200x useful range for trichomes (higher than 200x is often overkill and harder to focus on bumpy buds).
Wireless handheld with screen or app: A step up if you want zero cables. Many come with companion apps that make capturing and organizing photos even easier. Pros: Very portable, great for moving around the tent, apps often let you zoom, annotate, or save straight to folders. Cons: Slightly higher price, battery life matters on longer sessions.
When you’re shopping, read recent reviews for “trichome” or “cannabis” specifically. Lighting and focus ease matter more than crazy high magnification numbers. A steady 100–150x with good light beats 1000x that’s blurry every time.
How to Photograph Your Trichomes Like a Pro (Peak Potency Trichome Photography)
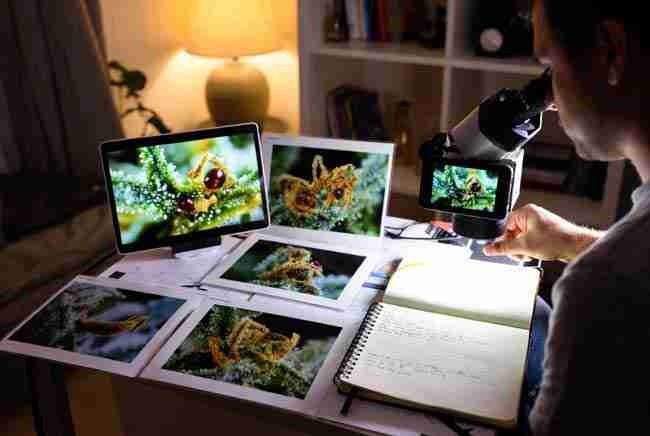
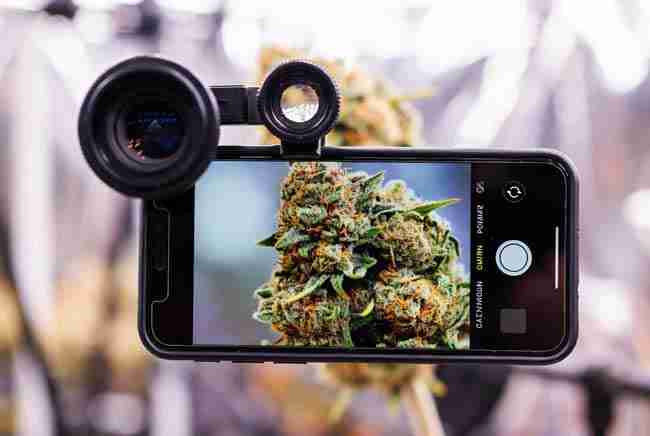
This is where the magic happens for consistent results. One effective approach involves taking weekly photos starting in late flower and comparing them side by side. You’ll see the progression clearly instead of trying to remember what last week looked like.
Start checking around week 5–6 of flower (or when you first see pistils starting to brown). Take photos every 5–7 days from the same plants and angles. By the time you’re close, you’ll have a beautiful visual timeline.
Quick tips for great shots:
- Use the microscope’s built-in lights or add a small diffused light source. Harsh shadows hide color.
- Hold the scope steady or rest it lightly on a sugar leaf. A cheap little stand or even a clamp helps a ton.
- Take 5–10 shots per plant from different bud sites. Top colas often finish a bit earlier than lower branches.
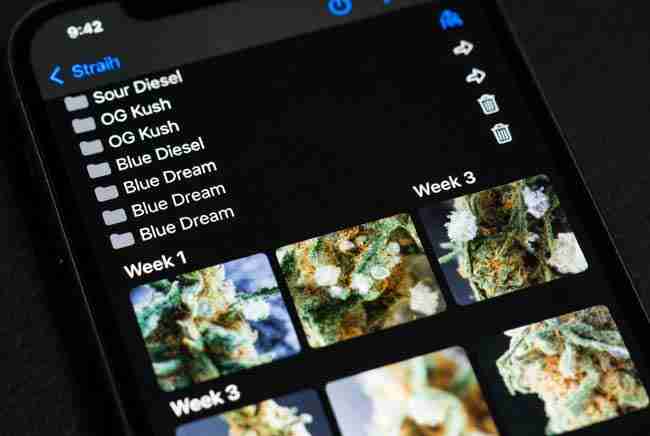
- Save everything in a folder named by strain and date. Your phone’s gallery app or a free notes app works fine. Some wireless microscope apps make this even smoother for cannabis harvest timing app style organization.
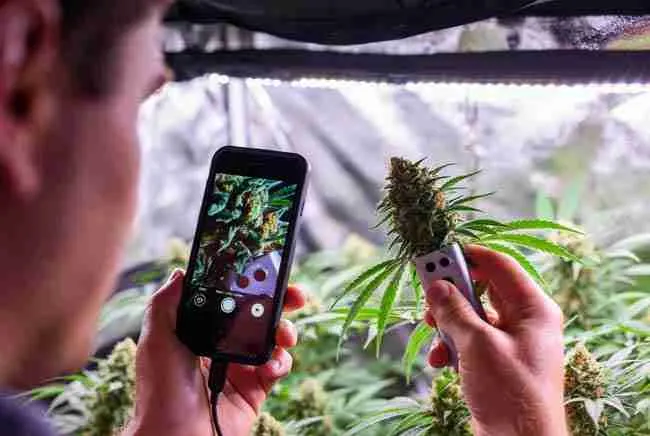
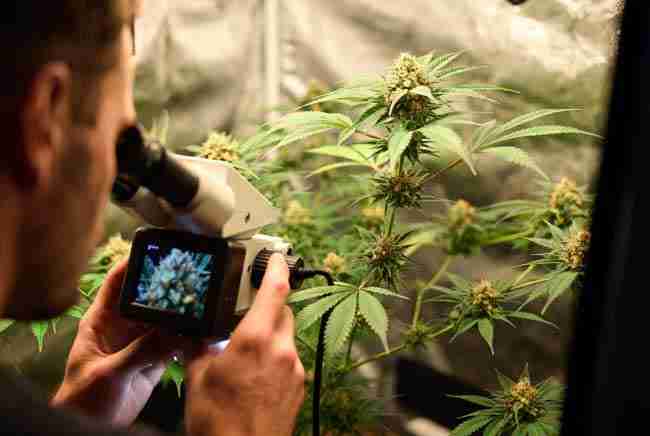
The photo below shows a simple but effective setup in action. You can see how easy it becomes once you get the hang of it.
Reading Cloudy vs Amber Trichomes and What They Actually Do to Your High
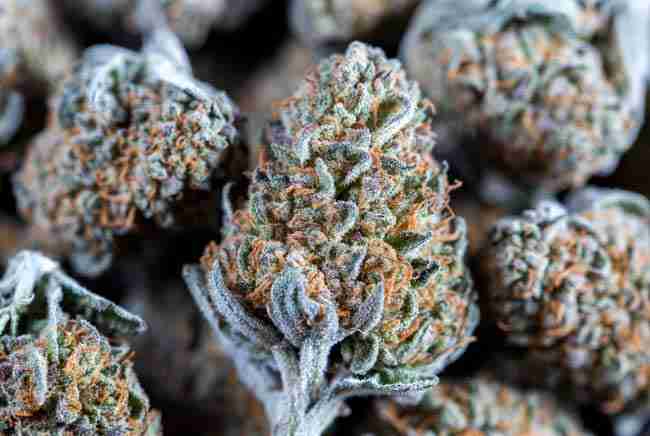
This part is pure gold once you can see it clearly. The image above shows mostly cloudy trichomes — that milky look is what you’re usually chasing for peak potency and bright effects.
Cloudy trichomes generally mean maximum THC and full terpene expression. Expect energetic, cerebral, creative, or uplifting effects depending on the strain. Flavor is usually at its brightest here too.
When you start seeing more amber (like in the image above), the effects shift. A little amber (10–20%) often adds nice body relaxation and can round out the high beautifully. Push past 30–40% amber and many people notice it gets heavier, more sedative, and sometimes less “high” feeling overall because THC has converted further into CBN.
There’s no single perfect percentage for every strain or every person. Some folks love harvesting at first sign of amber for a balanced but still heady experience. Others wait for 20–30% amber when they want deeper relaxation or pain relief. The key is watching your own plants over a couple grows and noting what you like best. That’s the real power of digital harvest decision cannabis — you stop following generic rules and start following what actually works for your garden and your body.
Building a Simple Digital Log So You Never Second-Guess Again
Photos are useless if you can’t find or compare them later. Keep it dead simple. Create a folder for each strain and grow. Inside, drop weekly photos with clear names like “Week7-TopCola-Cloudy85.jpg”.
Some growers like using a free spreadsheet or note app to track estimated percentages alongside the photos. Others just flip through the gallery and compare side by side. The image below shows exactly the kind of organized comparison setup that makes decisions obvious instead of stressful.
After a couple rounds you’ll start noticing patterns. “This strain hits peak cloudy around day 63 every time.” Or “These genetics like a bit more amber for the flavor I want.” That knowledge carries over to future grows and makes you a much better grower.
Why Starting with Green Avenger Seeds Makes This Whole Process Even Better
Great timing only matters if your plants have great potential in the first place. That’s where quality genetics shine. When you grow from Green Avenger Seeds you’re starting with vigorous plants that were bred for strong resin production and rich terpene profiles. Precise digital trichome analysis simply lets you harvest at the exact moment those traits are fully expressed.
You’ll notice the difference in the final product — denser buds, louder aroma, smoother smoke, and effects that actually match what the strain description promised. It turns a good grow into a memorable one.
Common Mistakes and Pro Tips for Trichome Success
A few quick things that trip people up:
- Checking only one bud or one part of the plant. Different colas finish at slightly different times.
- Bad lighting making everything look darker or lighter than it really is.
- Getting discouraged on the first few tries with focus. It gets easy fast with a little practice.
- Forgetting that some strains naturally run more amber or stay cloudier longer. Always let the plant and your photos guide you more than the calendar.
Pro move: Take your photos at the same time of day with similar lighting each week. Consistency makes comparisons way more reliable.
You’ve got everything you need now. Grab a solid digital microscope, start snapping weekly photos in late flower, and watch your harvest timing get sharper with every round.